0
Skip to Content
Meridian Farm and Forge
HOME
About
WEDDING FLORAL
FARM & FLORAL
WOOL
FORGE ABOUT
BELT BUCKLES
BELT STRAPS
COPPER CUFFS
FORGED UTENSILS
FORGED BOWLS
METAL ARTWORK
CORPORATE GIFTS
FORGE GALLERY
Blog
Meridian Farm and Forge
HOME
About
WEDDING FLORAL
FARM & FLORAL
WOOL
FORGE ABOUT
BELT BUCKLES
BELT STRAPS
COPPER CUFFS
FORGED UTENSILS
FORGED BOWLS
METAL ARTWORK
CORPORATE GIFTS
FORGE GALLERY
Blog
HOME
About
Folder: SHOP FARM & FLORAL
Back
WEDDING FLORAL
FARM & FLORAL
WOOL
Folder: SHOP FORGE
Back
FORGE ABOUT
BELT BUCKLES
BELT STRAPS
COPPER CUFFS
FORGED UTENSILS
FORGED BOWLS
METAL ARTWORK
CORPORATE GIFTS
FORGE GALLERY
Blog
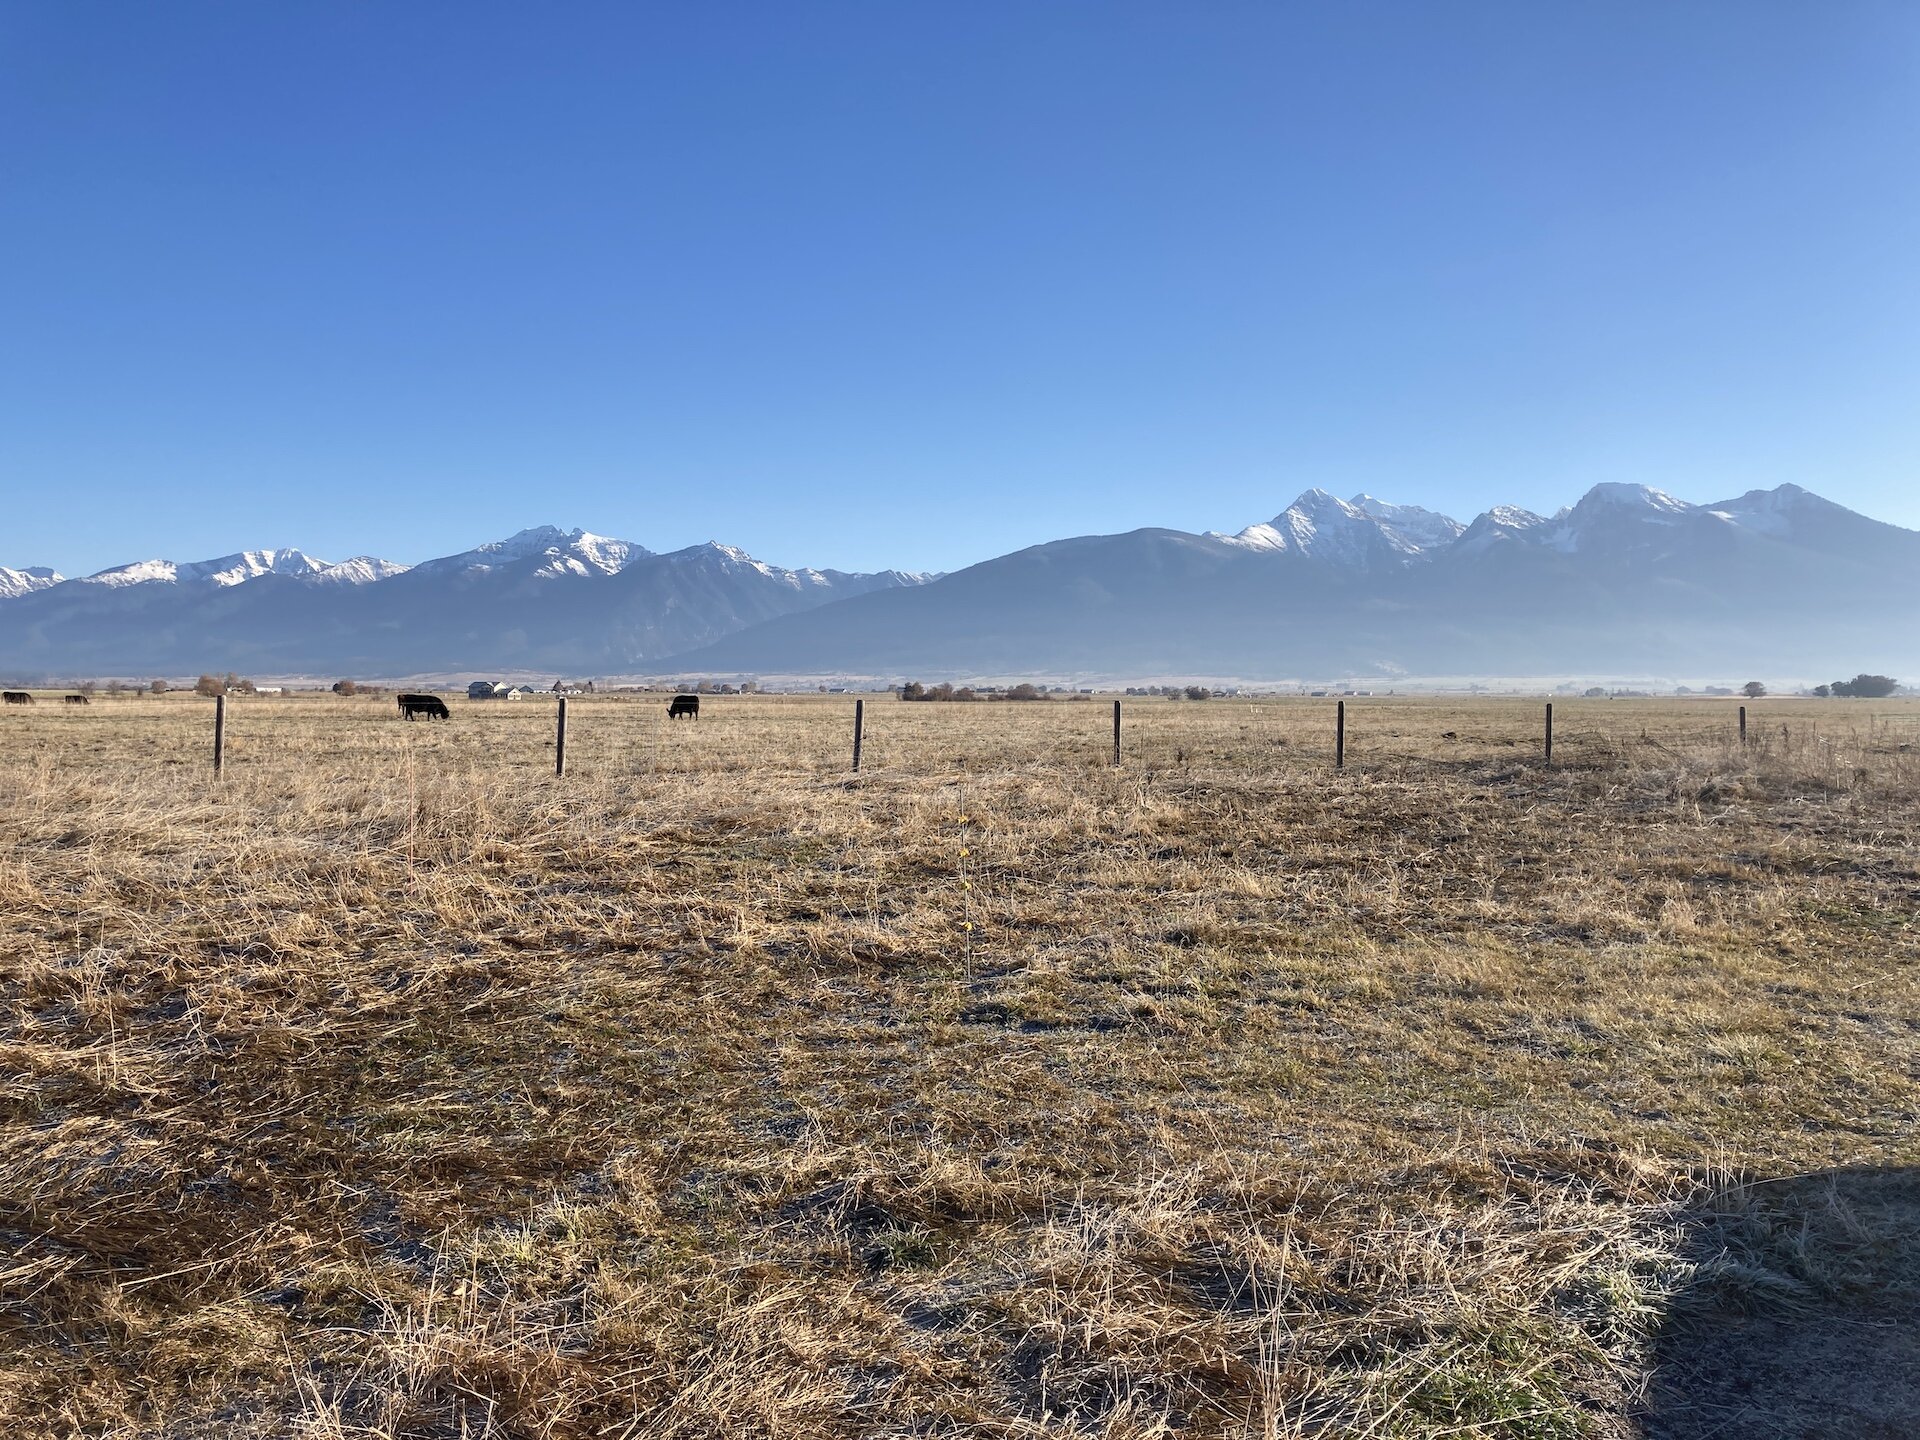
 Bare ground.  View fullsize
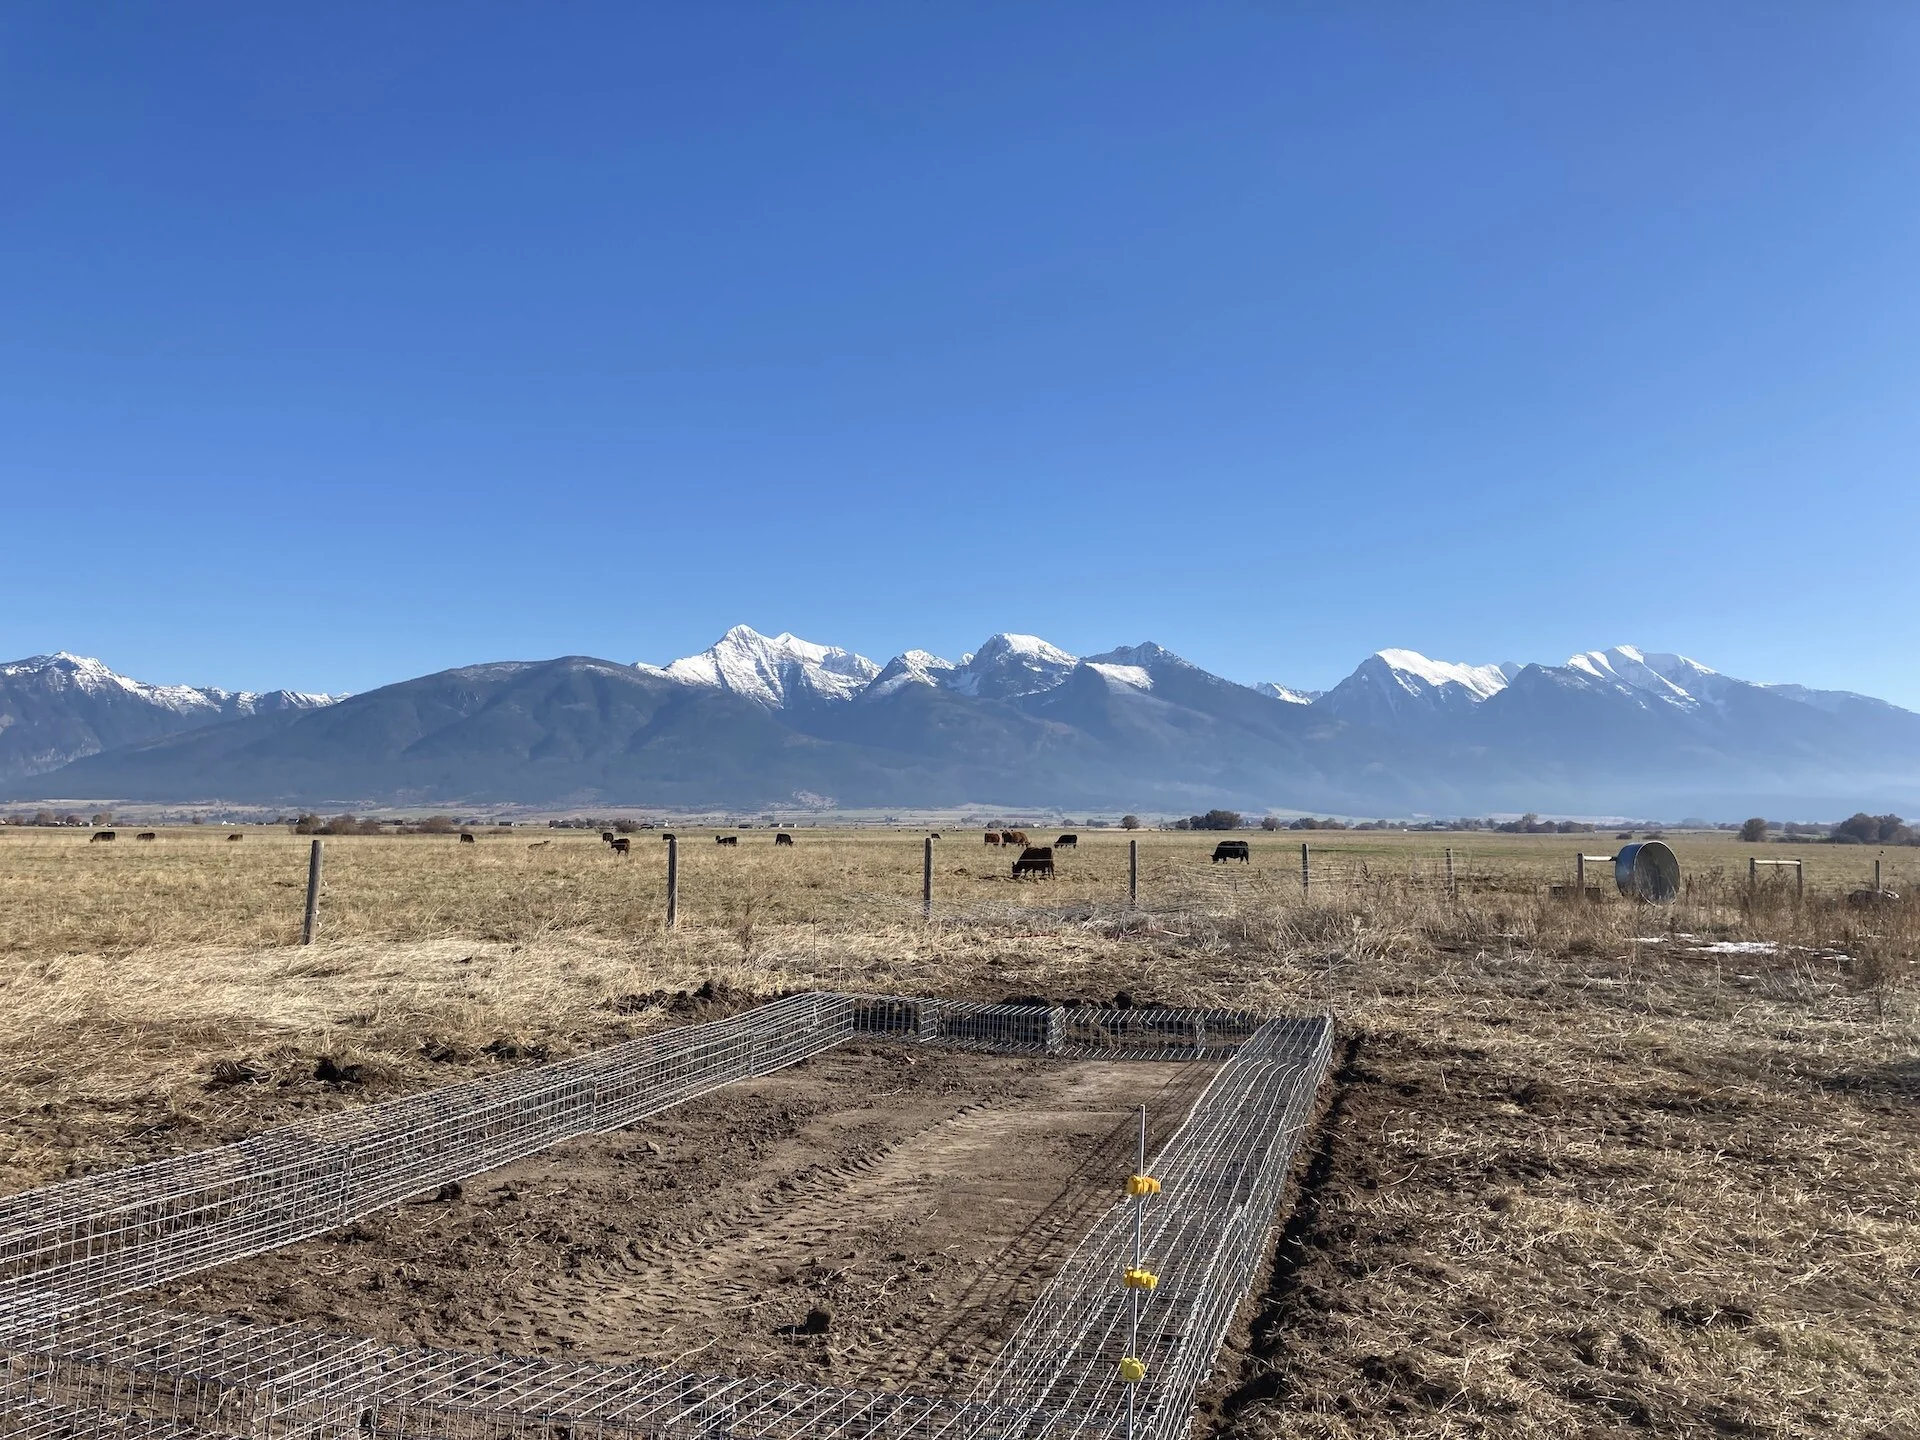
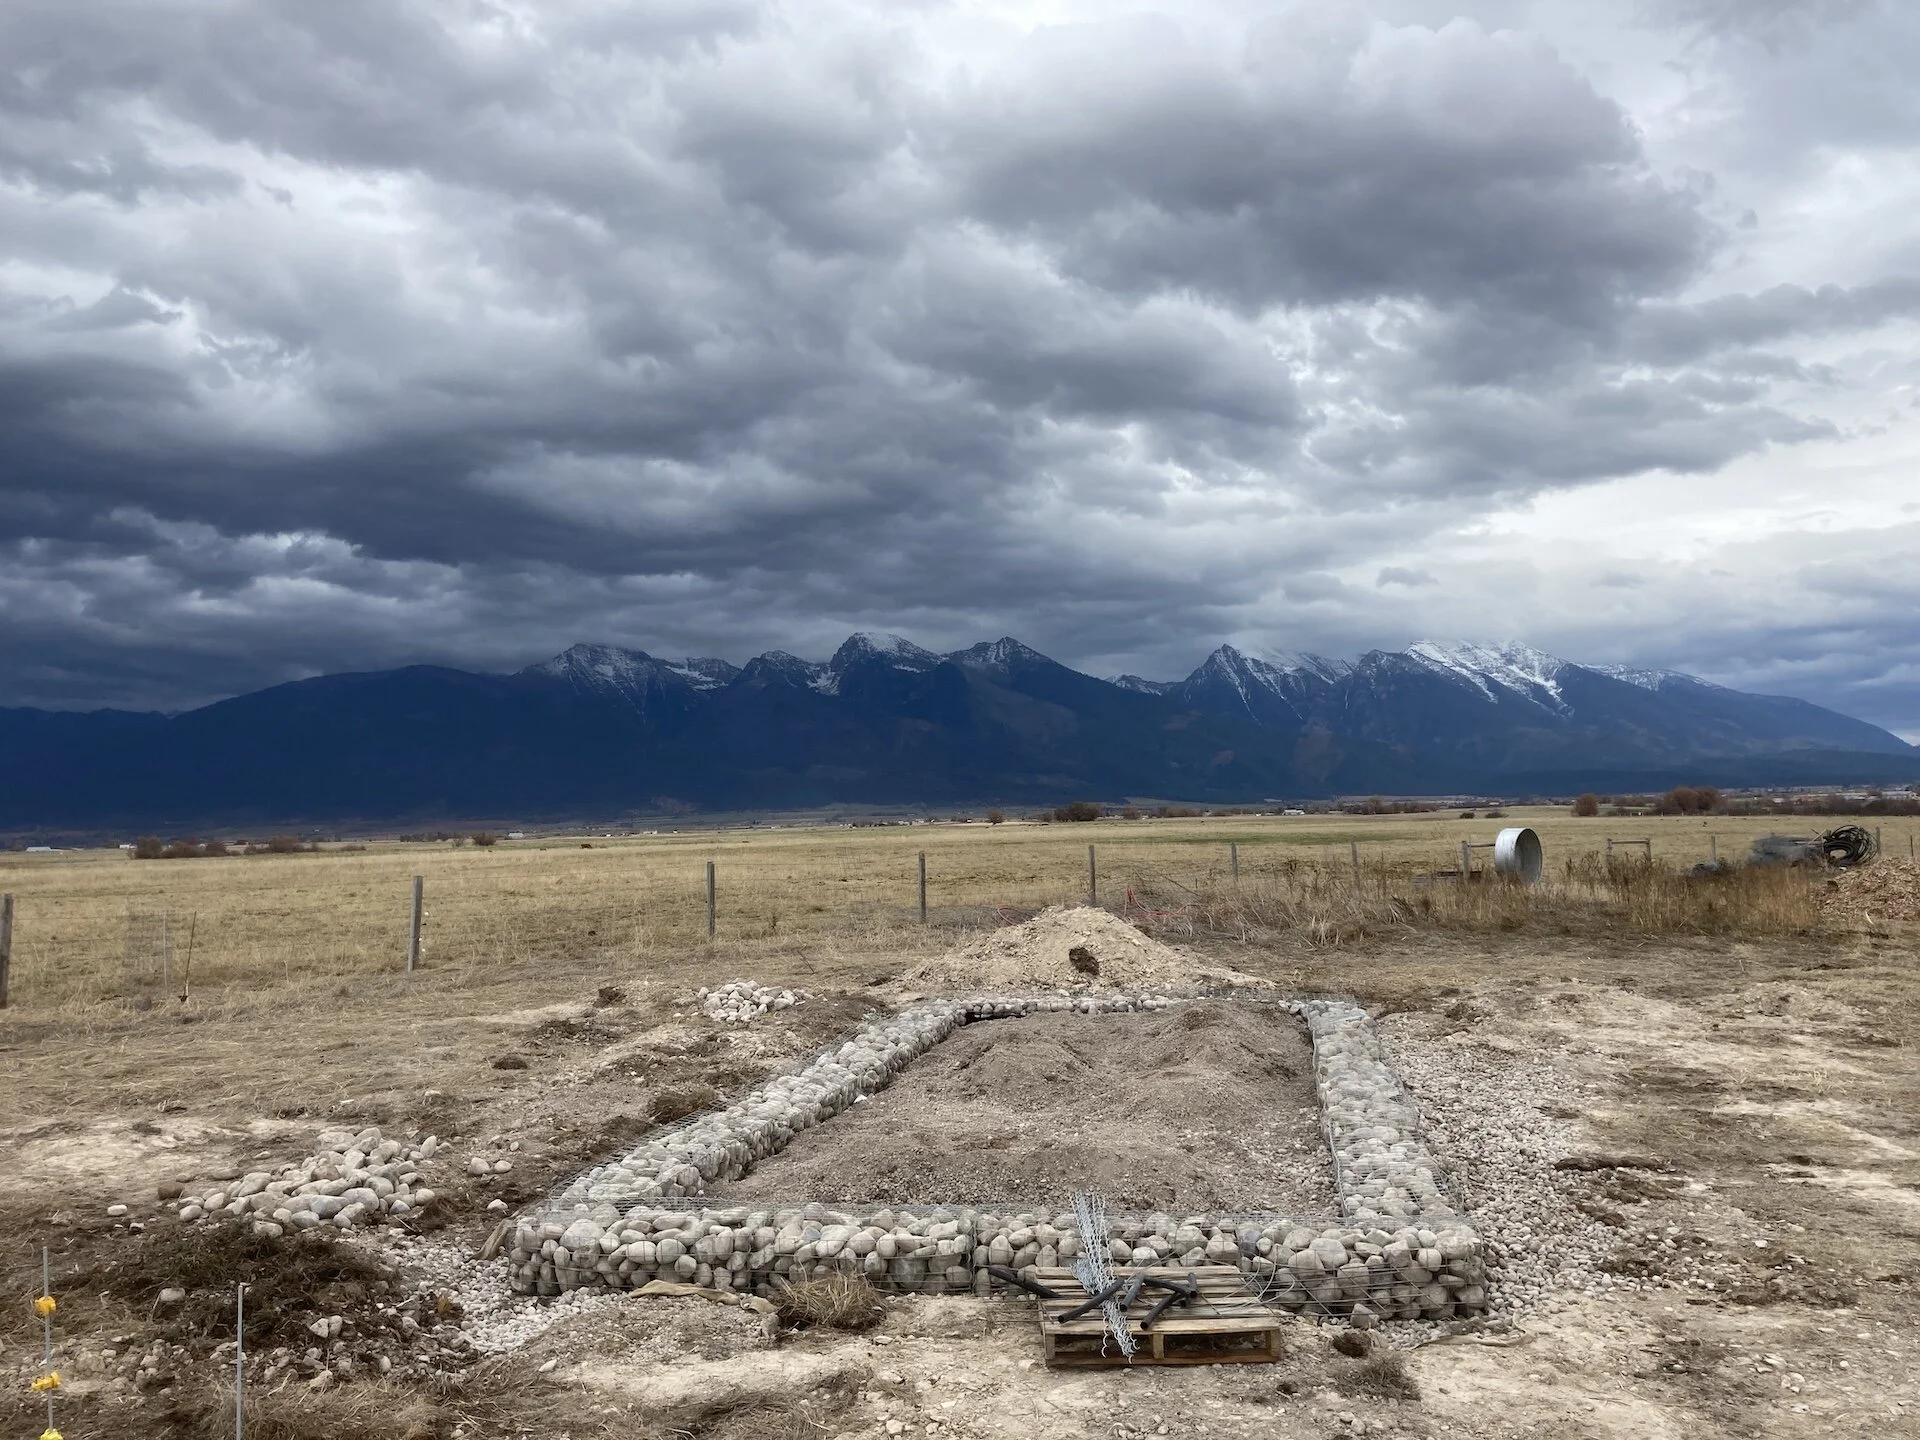
 The site has been cleared and leveled.  Gabion cages assembled and put in place to mark out excavation path.  View fullsize
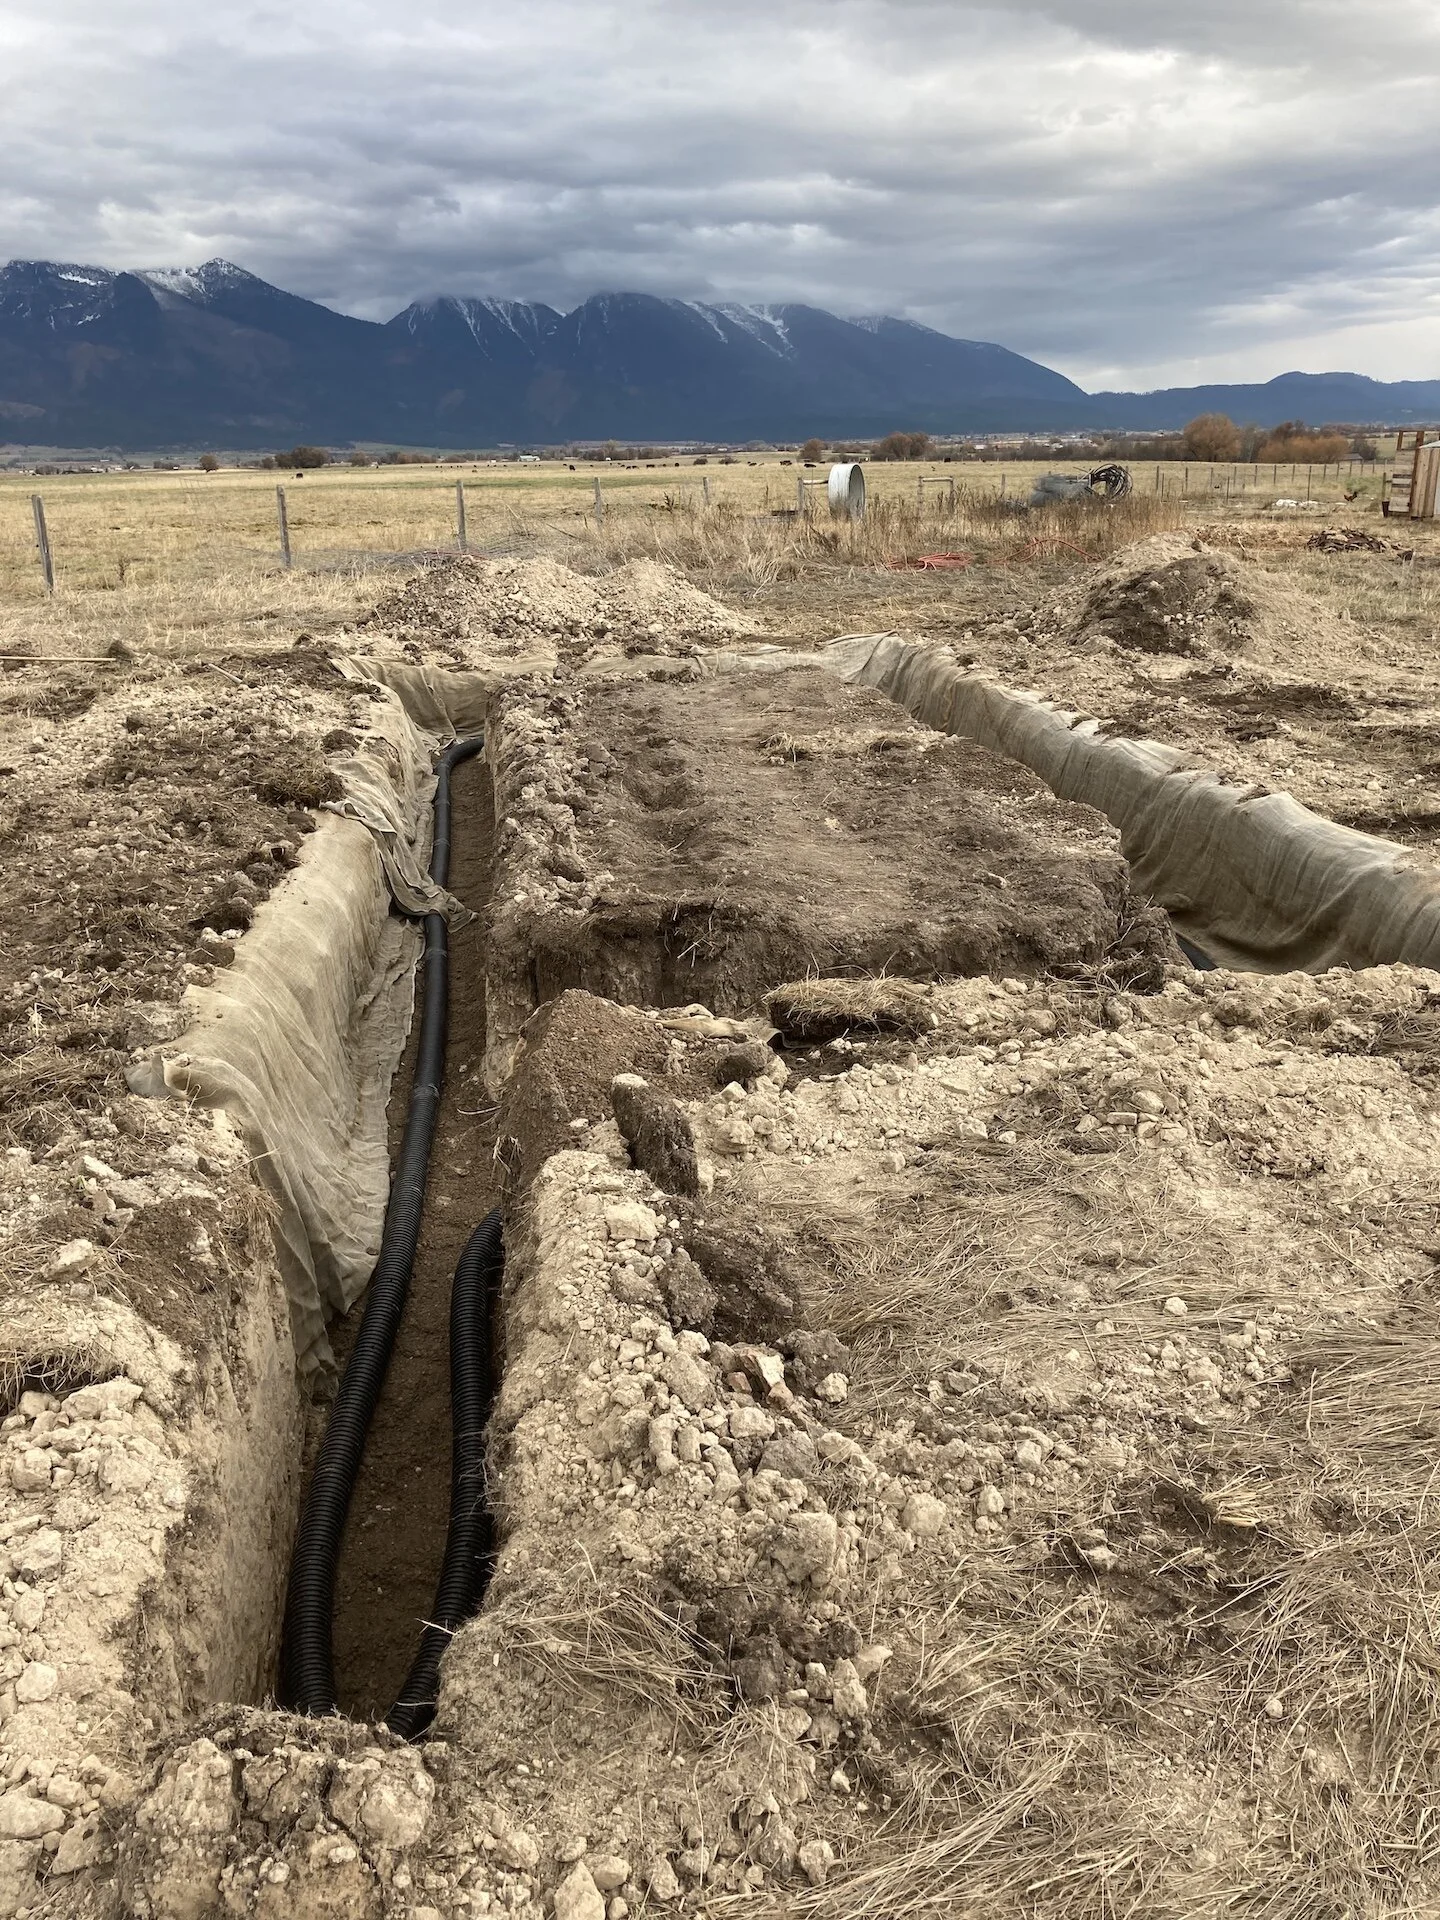
 After excavation, the trench was backfilled with sand.  A drainpipe was layed over the sand.  Some burlap was draped to prevent silt migration.  Drain rock was used for the remaining fill up to just below grade.  View fullsize
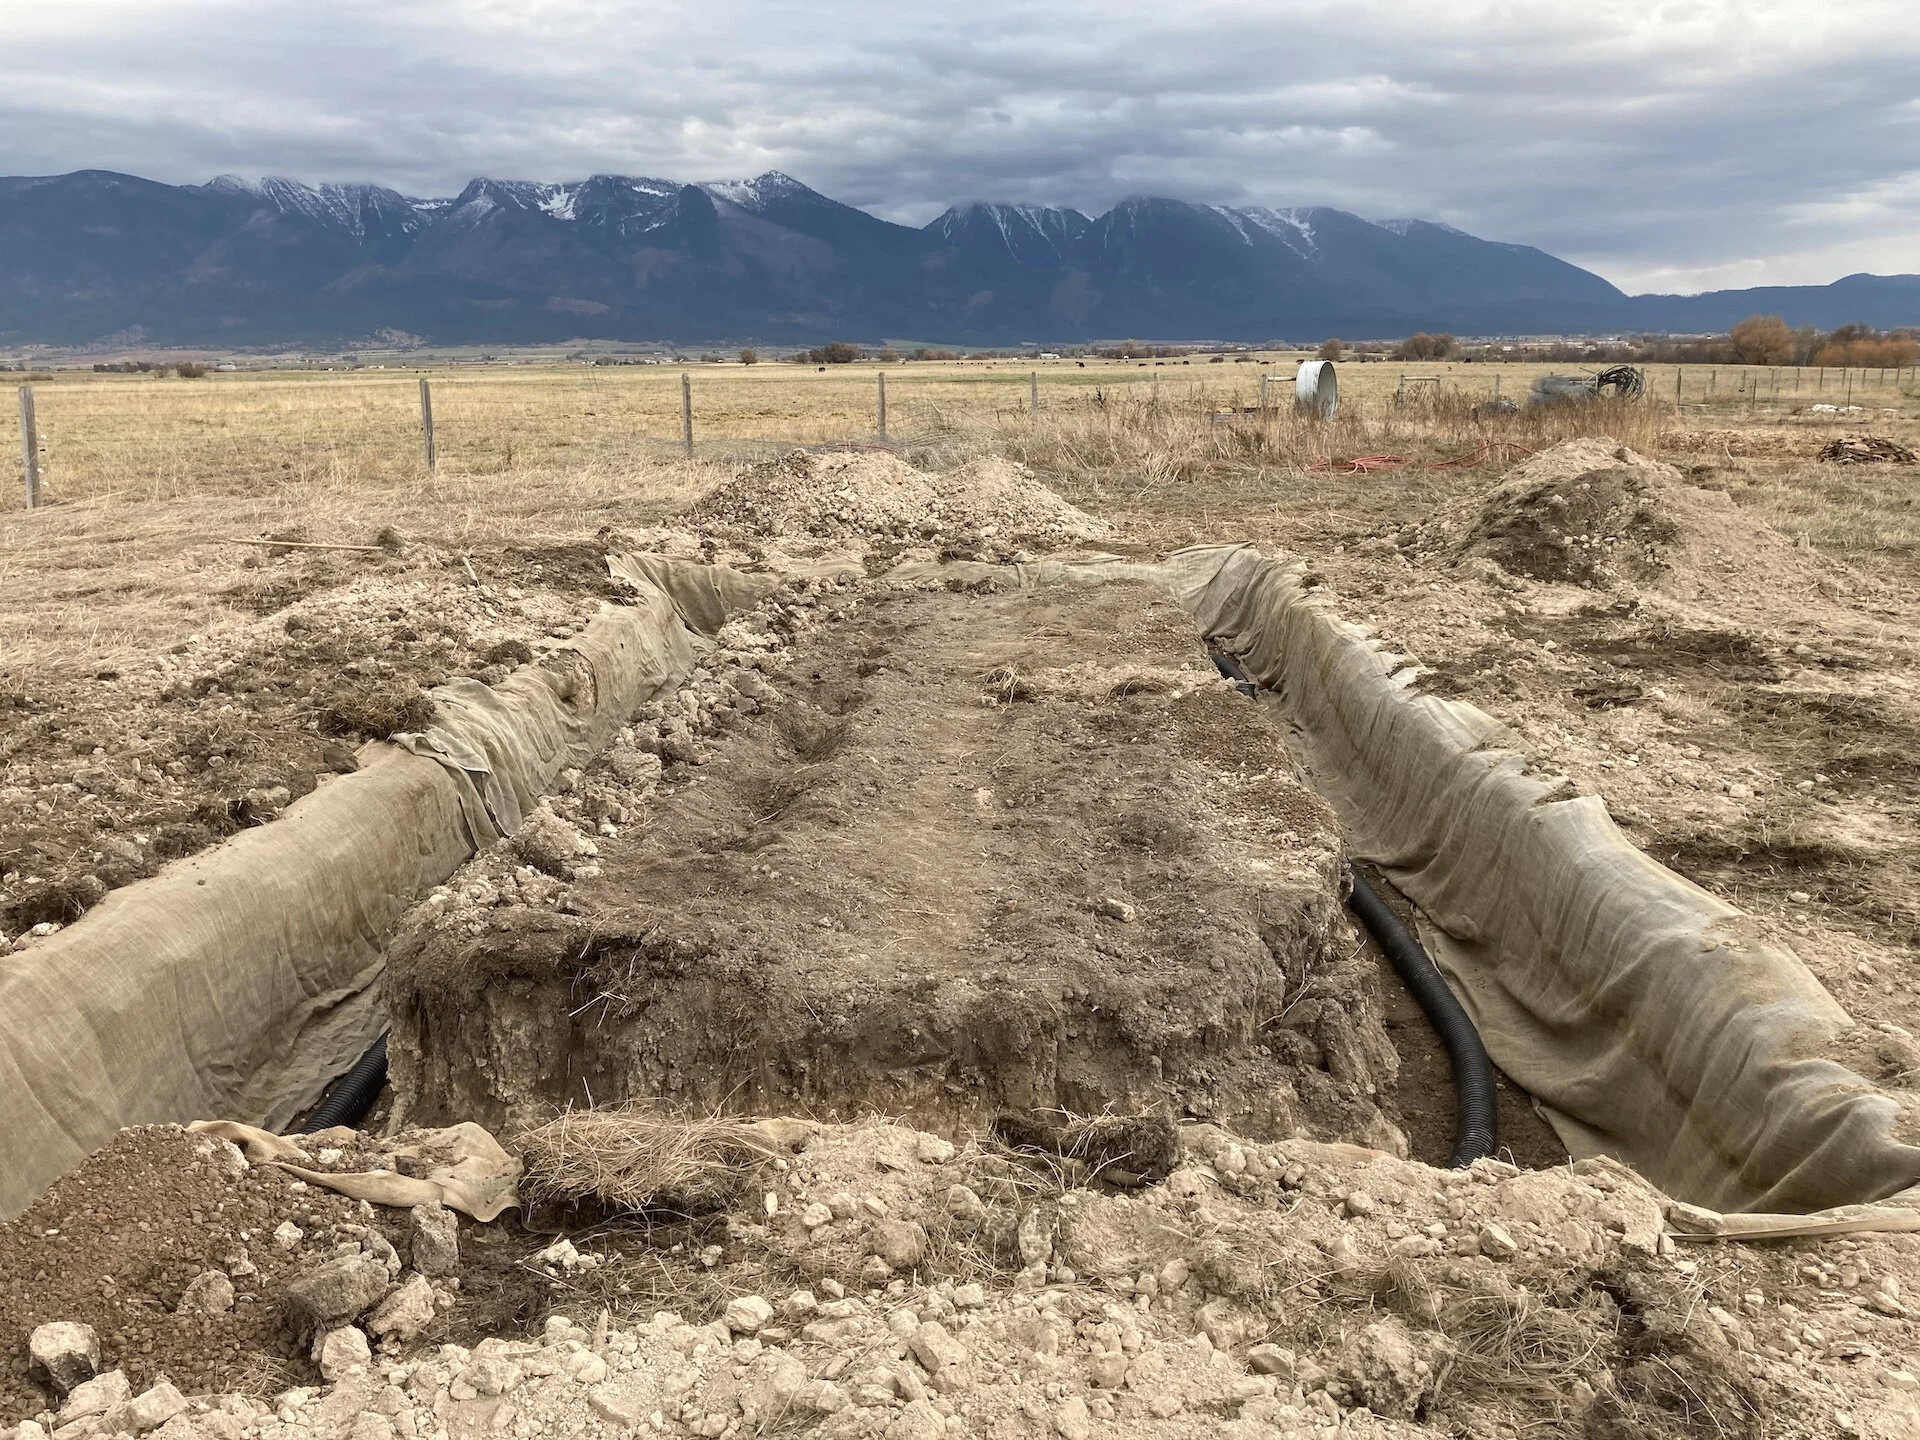
 Another shot of the foundation trench.  Drain pipe heads towards a really deep section on the west side of the foundation trench.   View fullsize
 With the trench backfilled, the Gabions are set in place.  View fullsize
 Gabions being filled with larger rock.   View fullsize
 Feed bags were used as a weed barrier beneath the greenhouse floor.  The floor was backfilled with 3/4” aggregate. View fullsize
 Filling Gabions with rock and other concrete debris sitting around the farm.  View fullsize
 Filling the gabions in sections.  1” poly pipe sections were put into the rock to accept compression wires later in the process.   View fullsize
 Gabions filled in sealed up - ready for bales once the south wall framing was complete.  View fullsize
 South wall framing was done with 2X6’s and was ~ 10’ tall.  Everything had to be prepared so that the structure could be assembled during a good weather window.  Didn’t want the bales getting wet! View fullsize
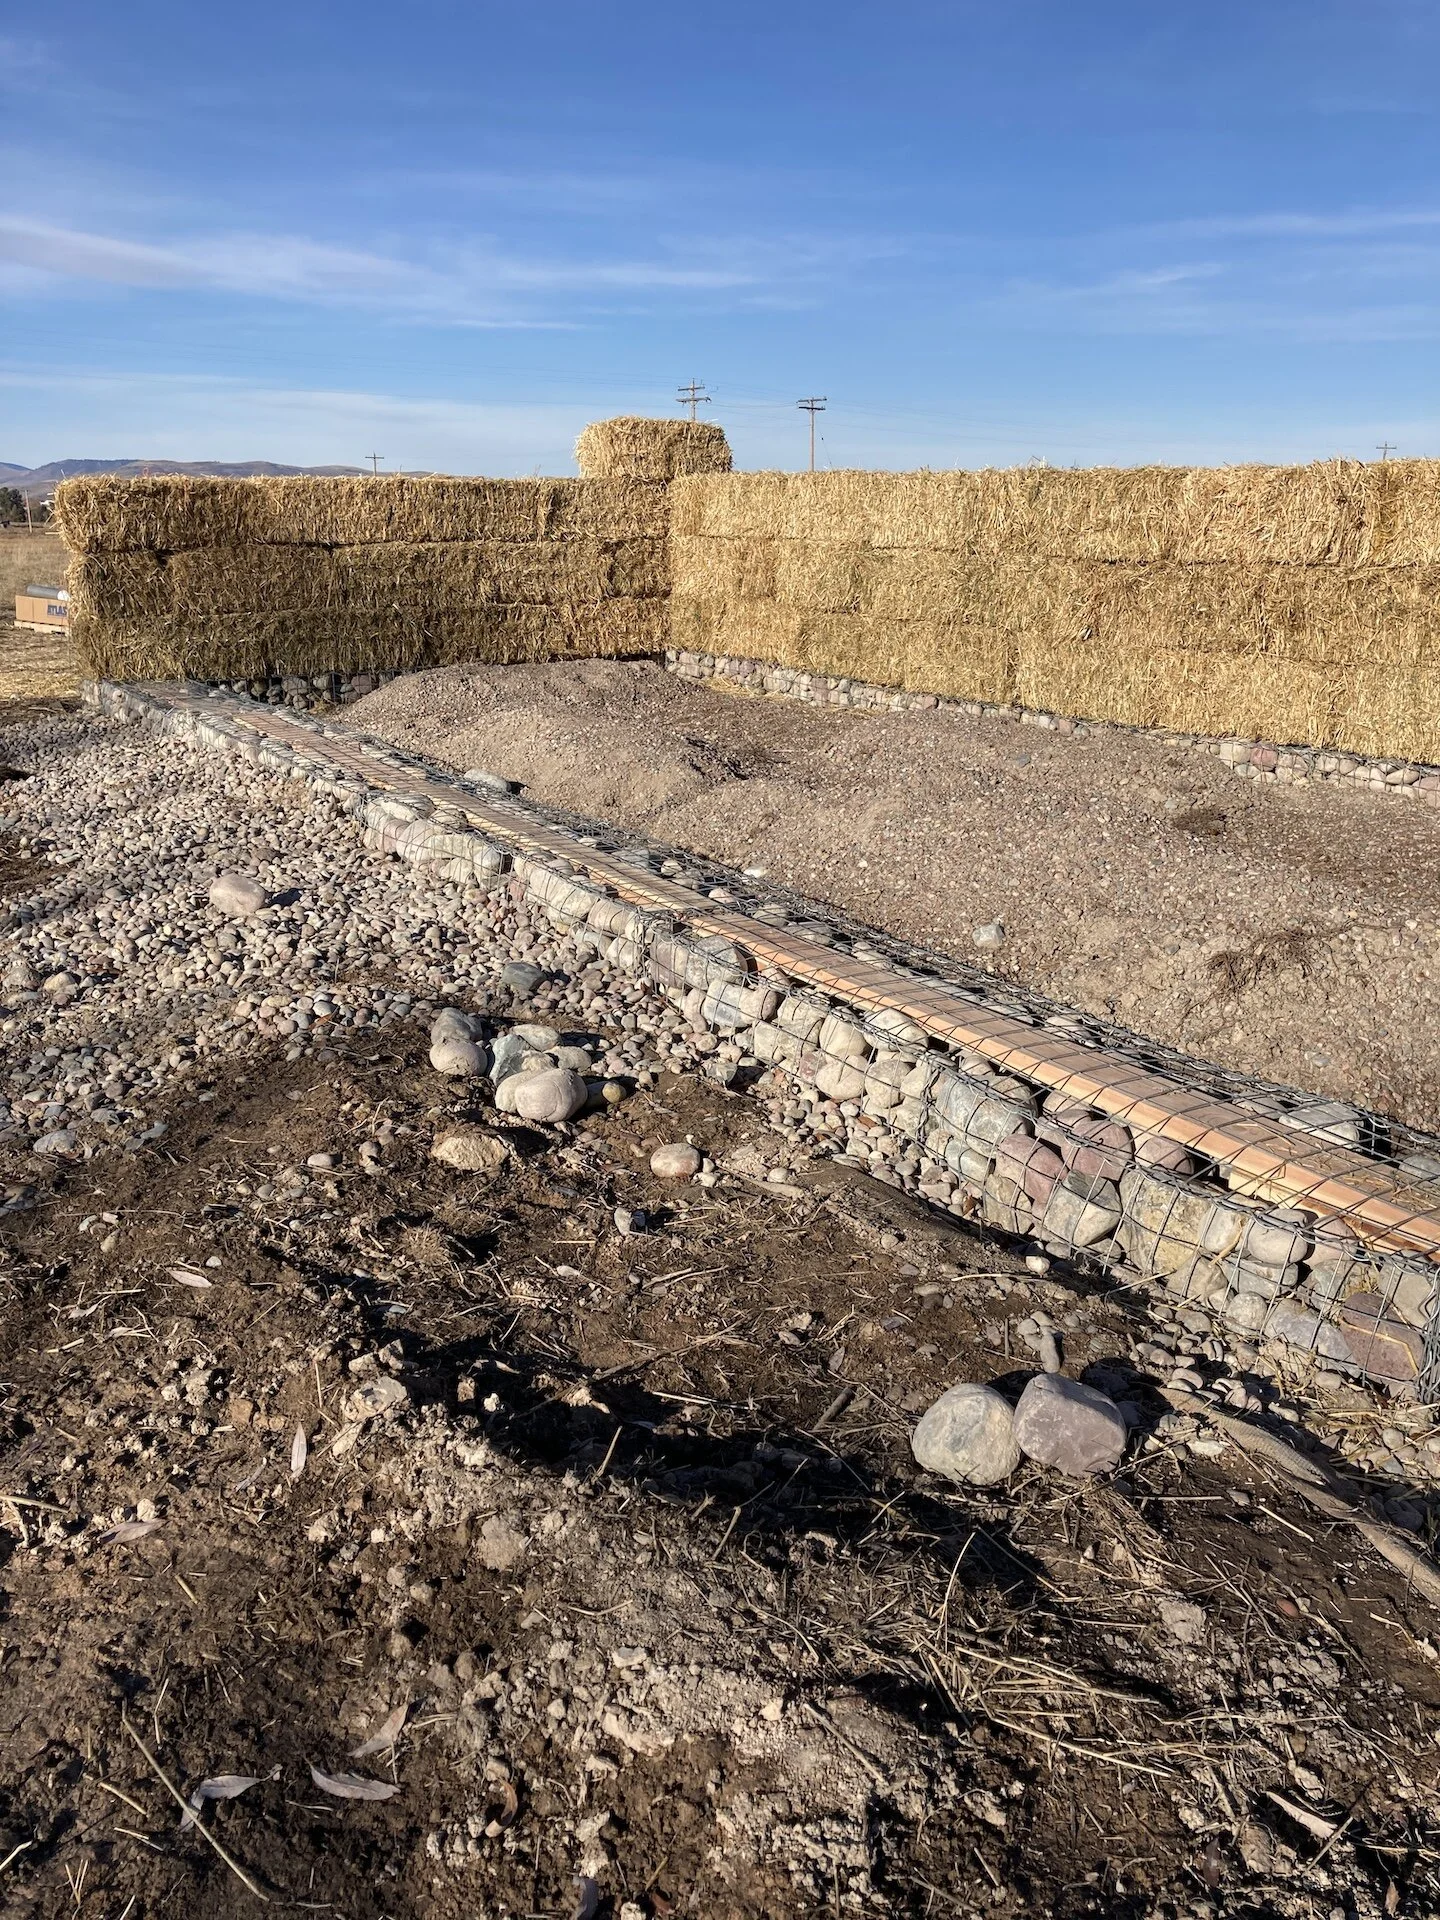
 The bale walls went up quickly.  Bales were picked up locally, we bought ~ 120-ish.  Note the 2X6’s set into the Gabions on the south end.  This is so the south framed wall could be screwed into the foundation. View fullsize
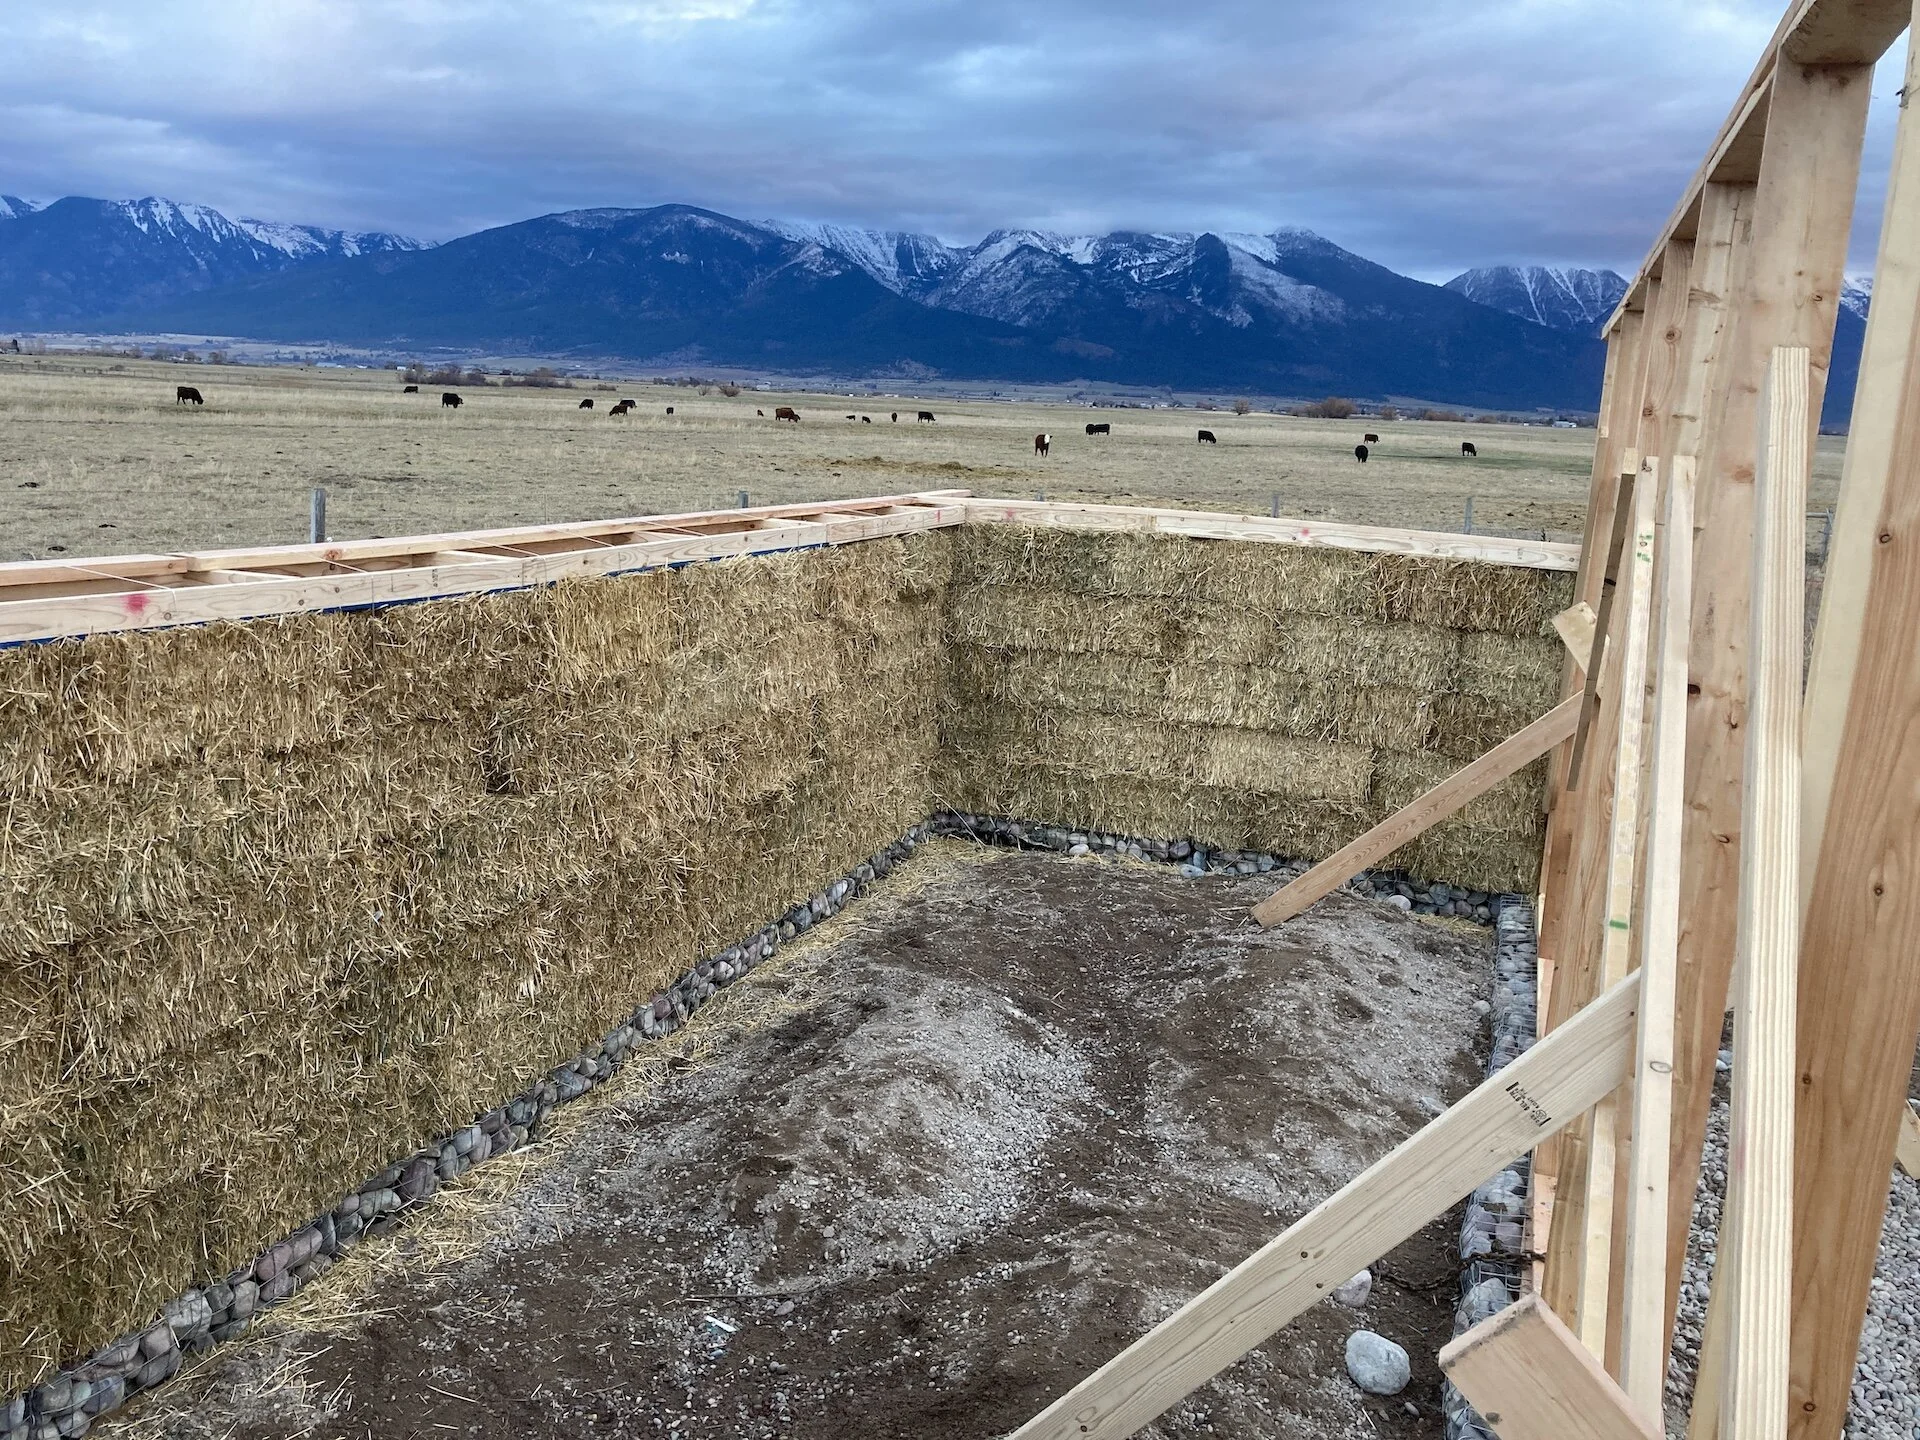
 Putting up bales.  Walls were ultimately 6 bales high.   View fullsize
 Taking a break while putting up bales.  We put in as much floor fill as we could with the loader before the structure walls prevented doing so.   View fullsize
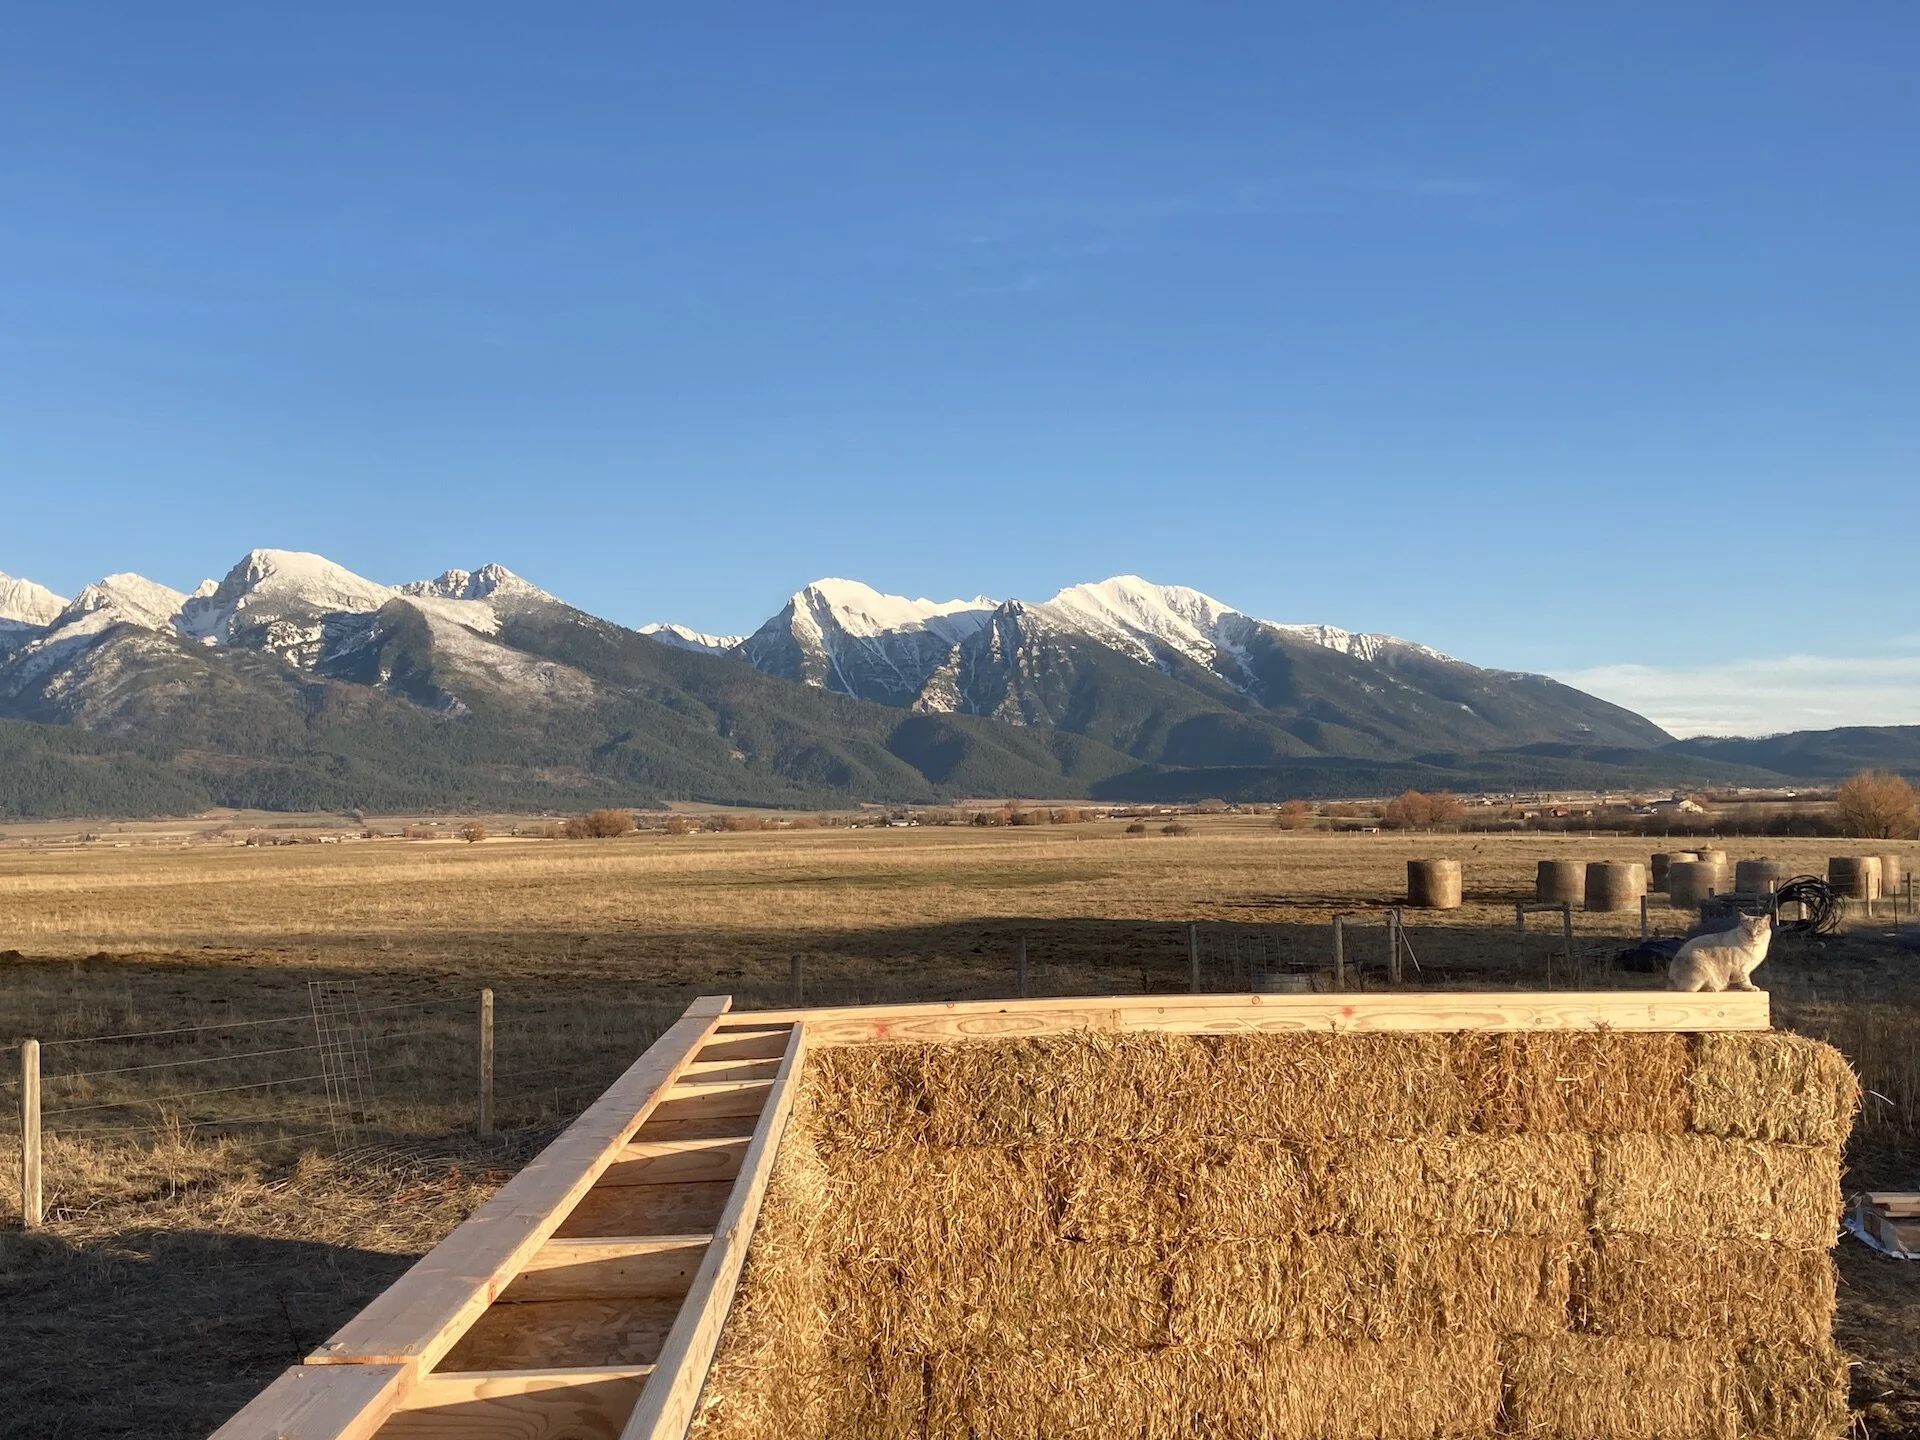
 Once the bales were up, the pre-assembled  ‘top-cap’ was put on the walls.  These were OSB framed with 2X4’s.  These served to compress the walls against the foundation.   View fullsize
 Enjoying some winter sunshine.  Bale walls and top cap in place.  Turns out kids don’t need too much to keep them entertained - a few piles of dirt will suffice.   View fullsize
 Winter came late - we were able to do most of the work before any real snow hit the valley.   View fullsize
 The bales up and compressed, we put up the south wall framing in two pieces.   View fullsize
 Another view from the west side of the structure.  Fastening the south wall to the top cap.   View fullsize
 Cutting and installing rafters.   View fullsize
 A little help from our friends.  This bale bump that Snowberry is asleep on was ultimately cut off and covered with OSB.  Many things were figured out as I went and changed/updated on the fly.   View fullsize
 Moving along with rafters.  The roof needed to go up quickly during a nice weather window.   View fullsize
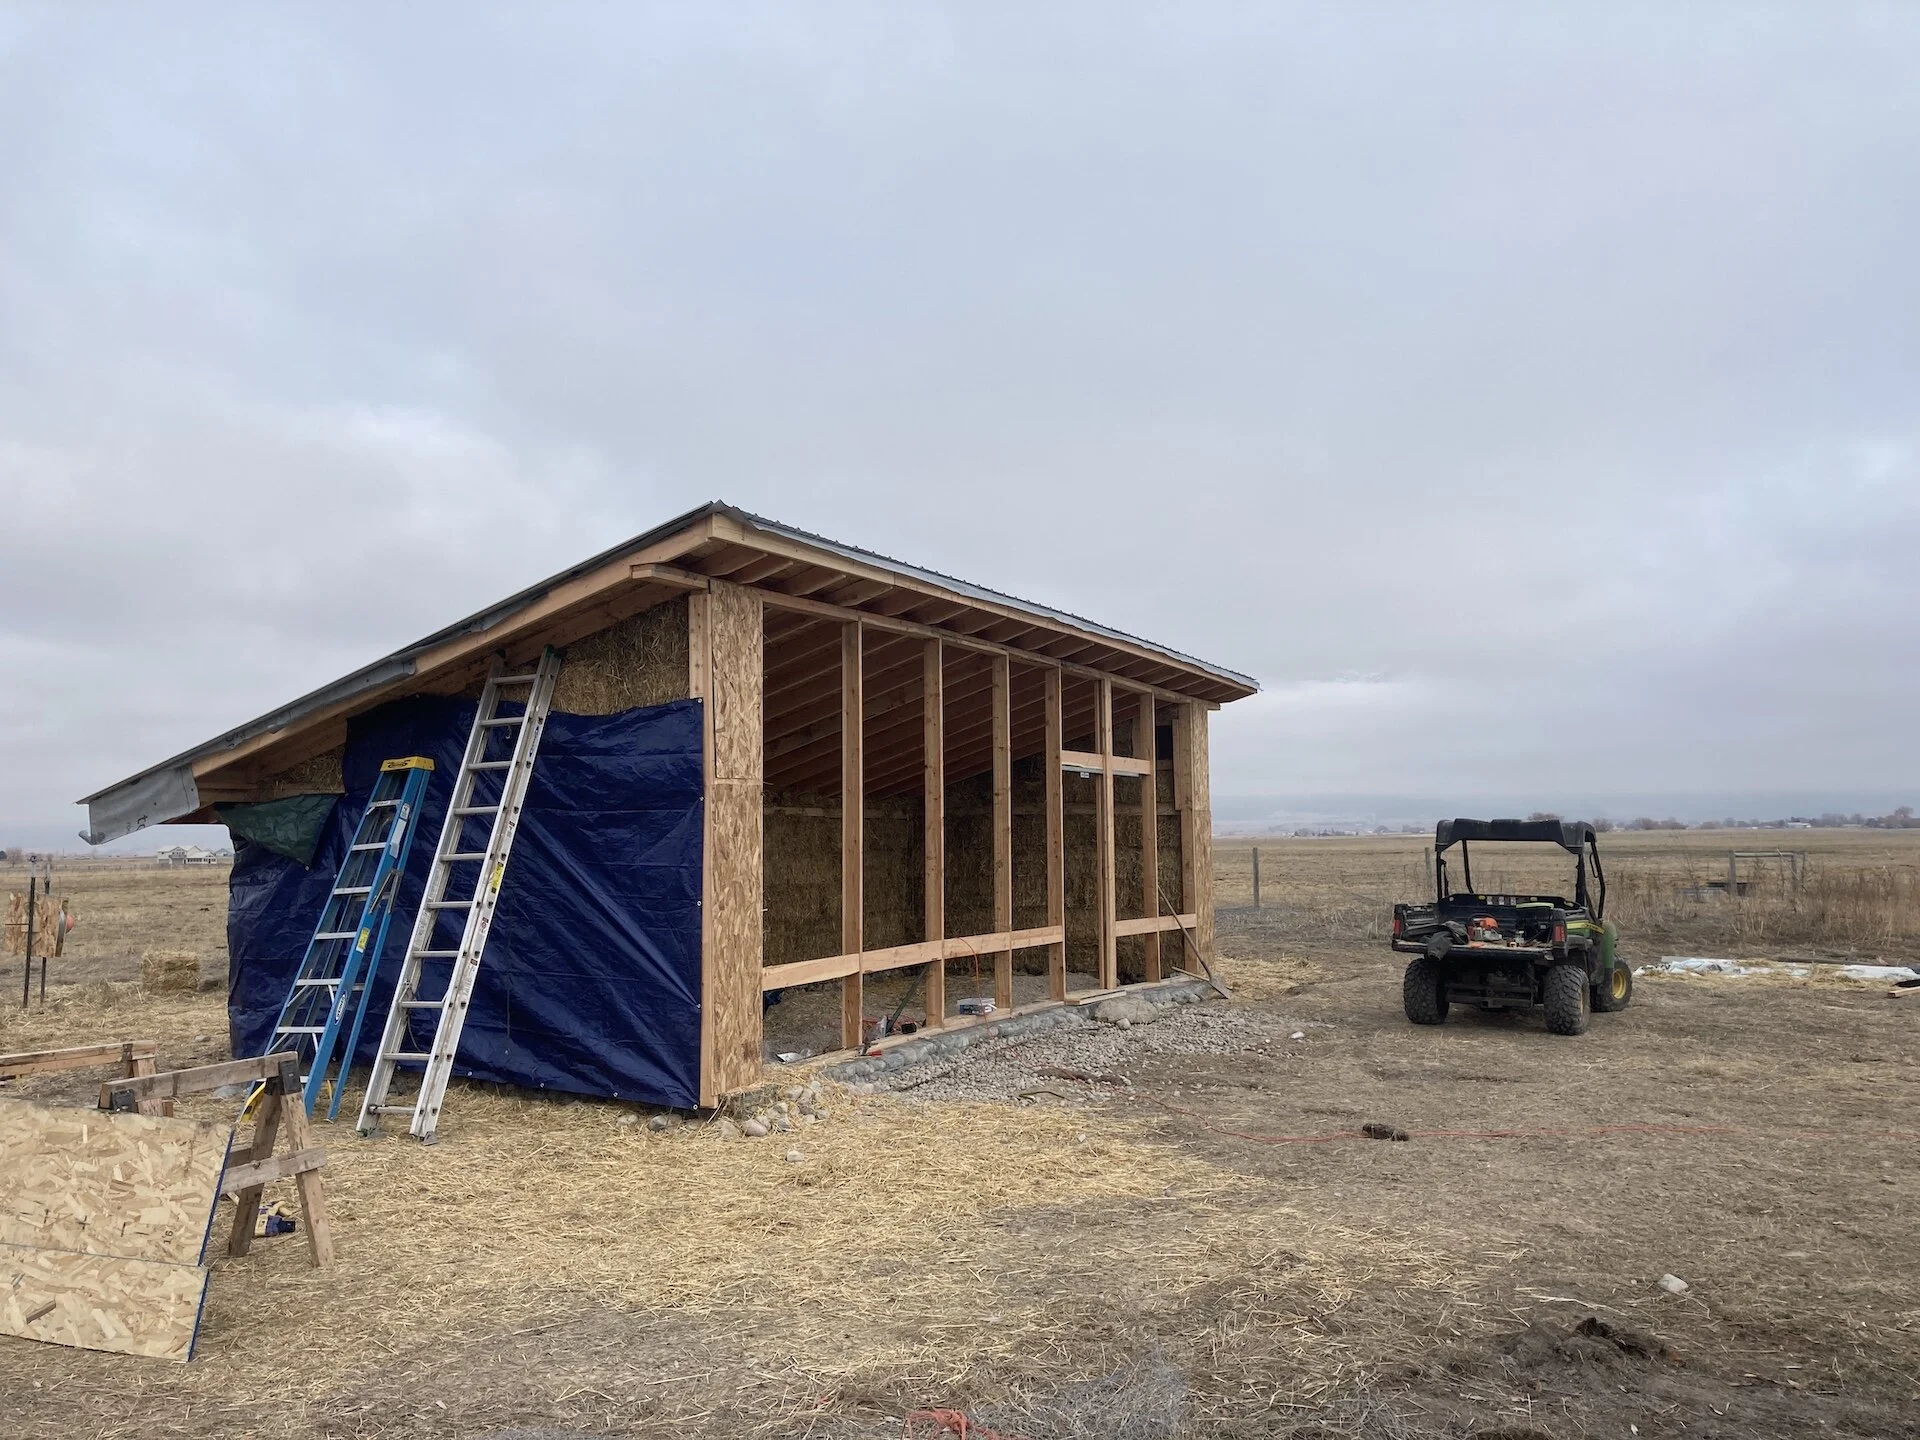
 On the rafters was OSB, roof sheeting and then metal panels.  While we completed inside mudding during the winter, outside mudding would need to wait for spring when temps were warmer.  We covered the outside in tarps to keep any precip off of the b View fullsize
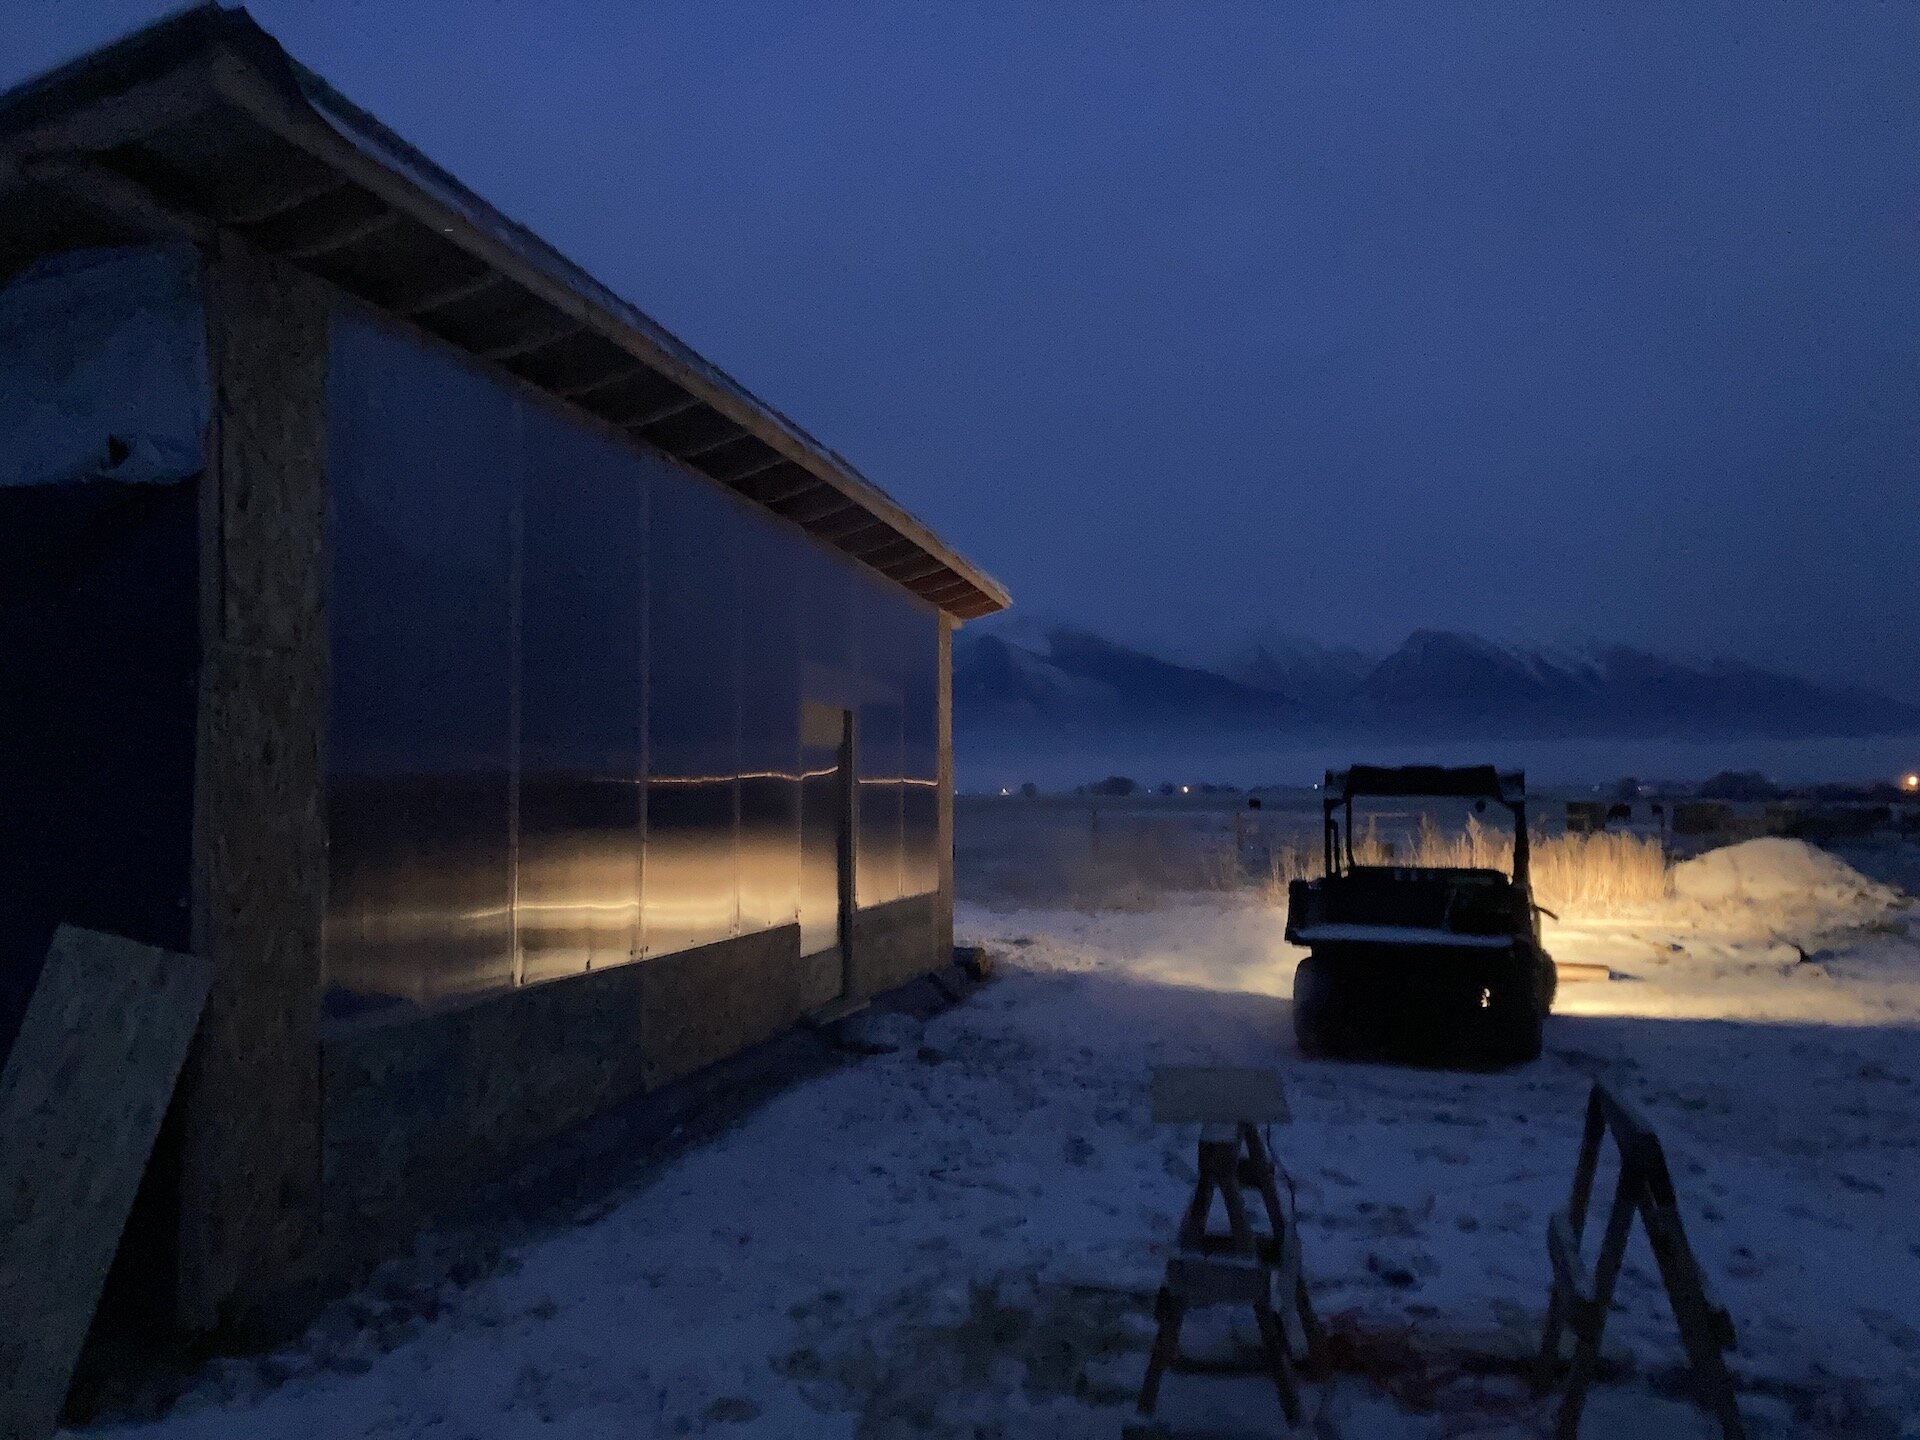
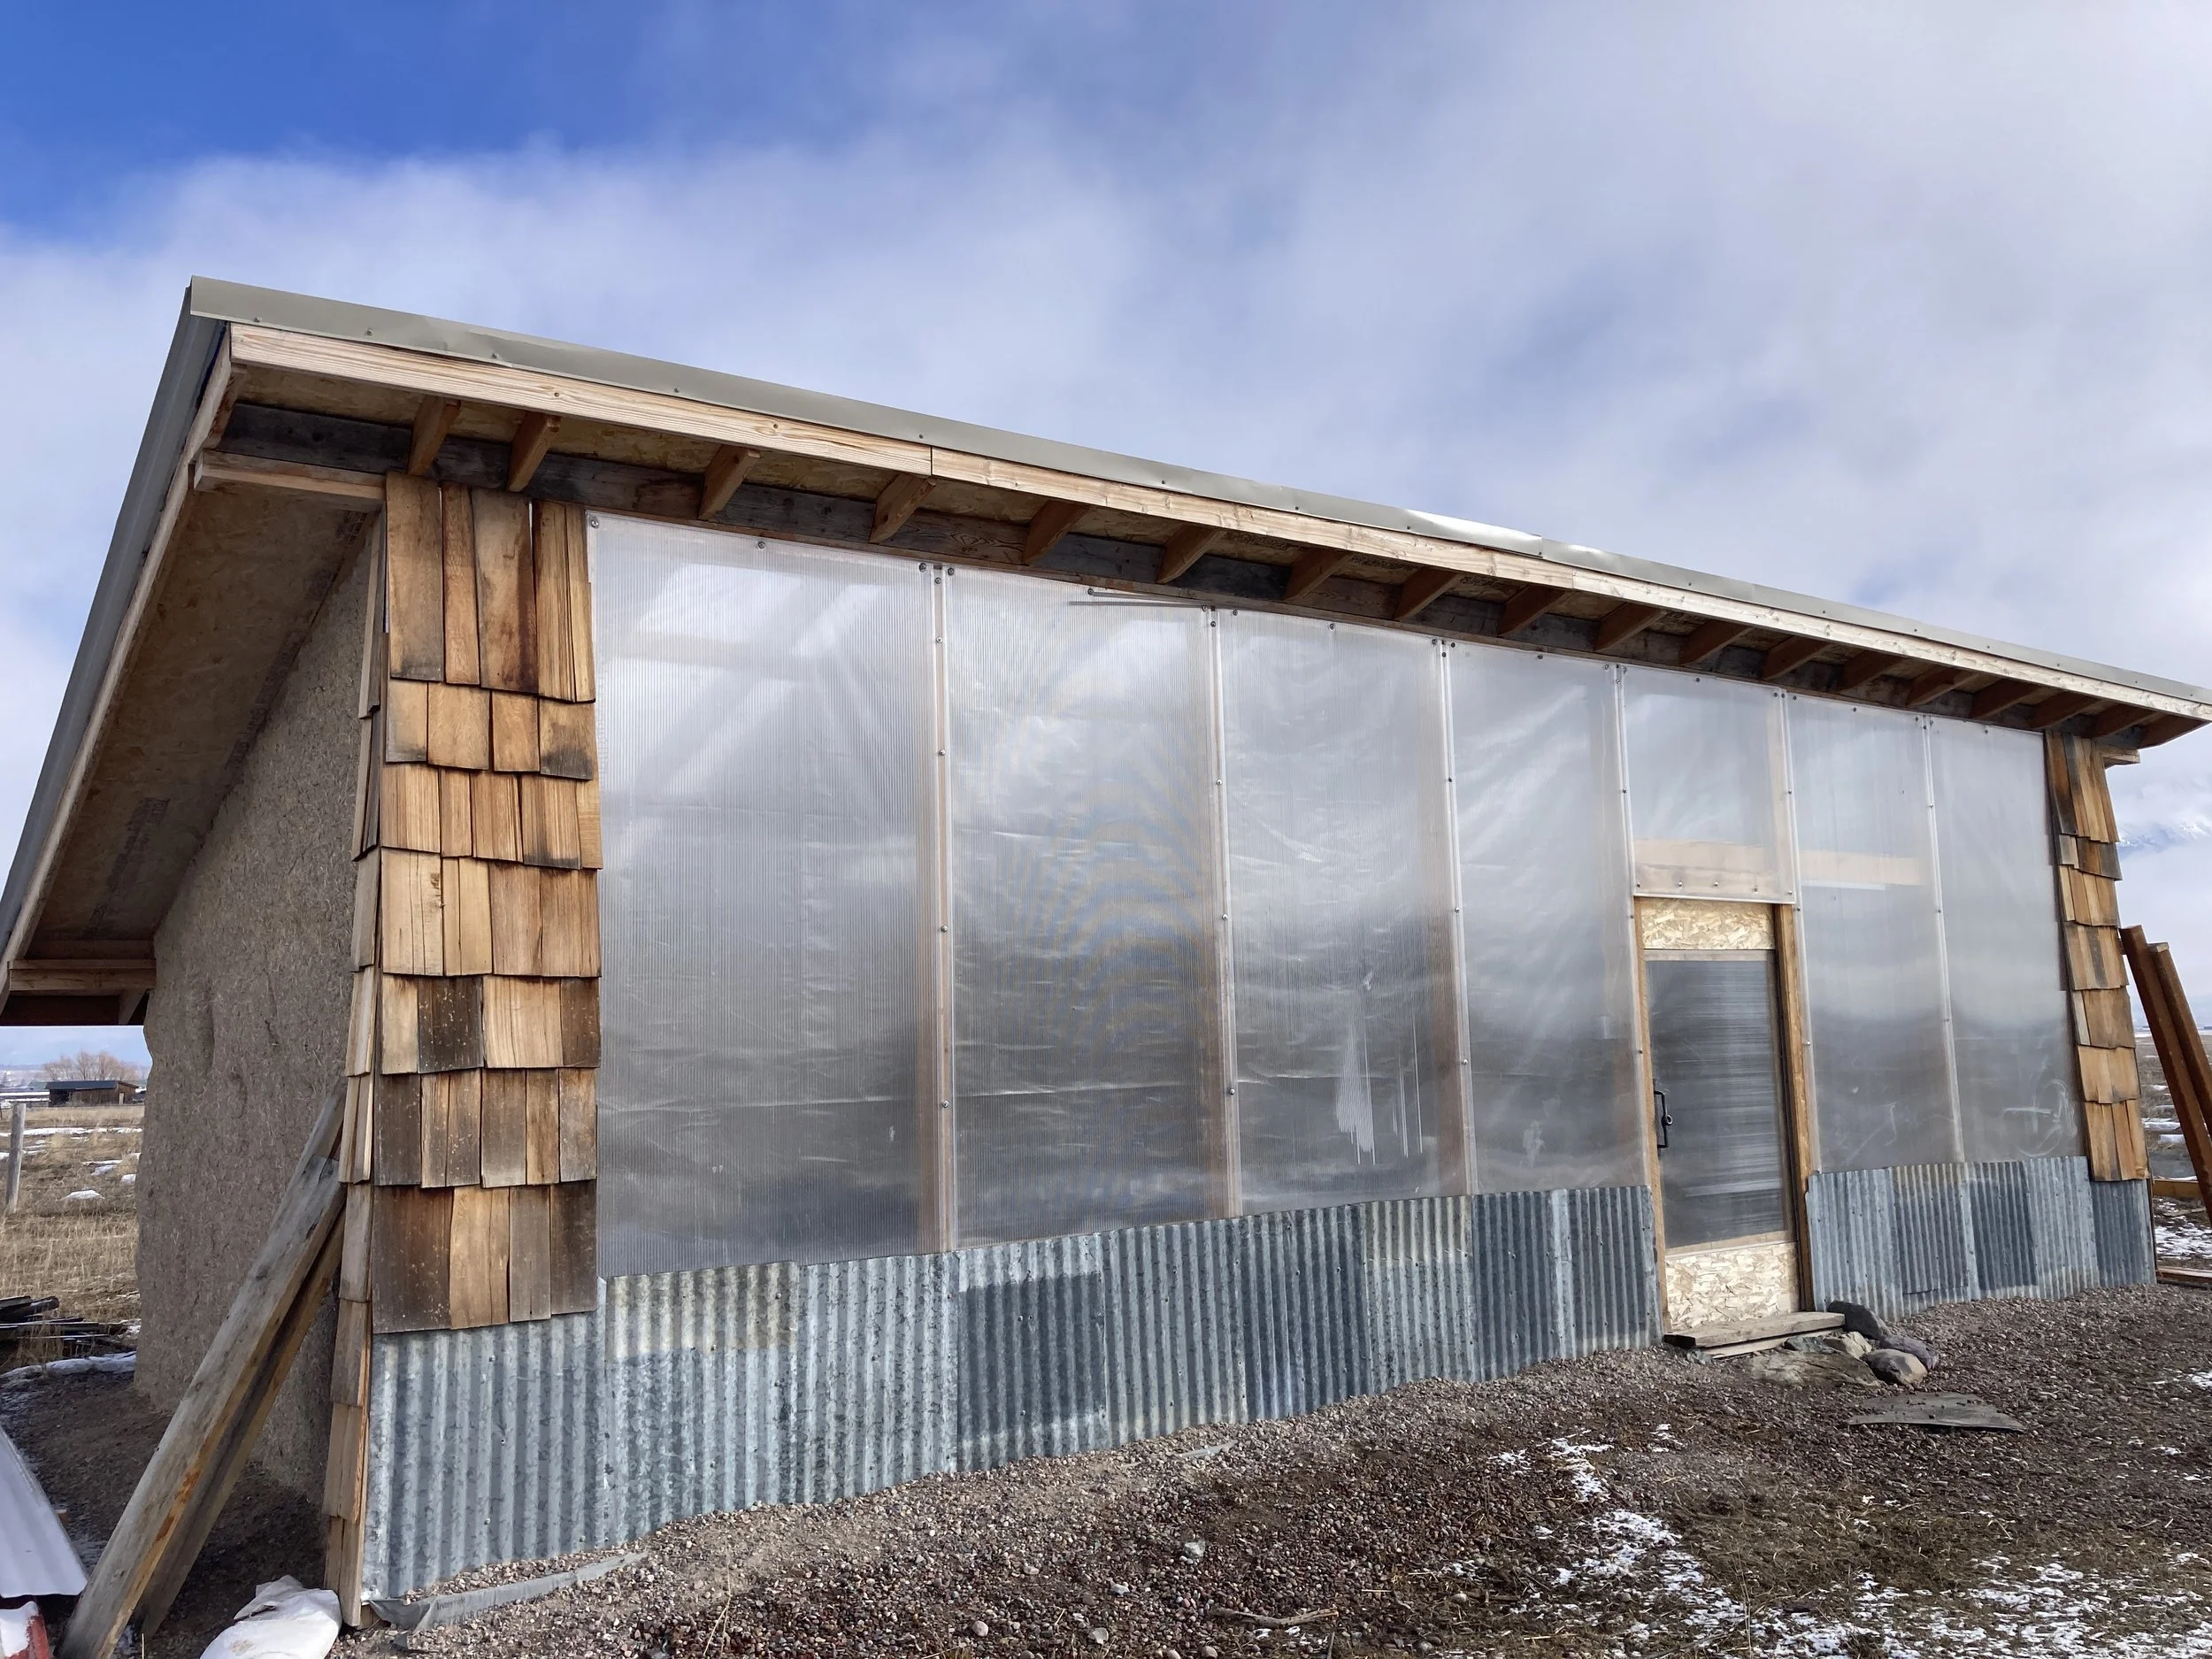
 Got the roof on just in time for some snow squalls.  Seven, 10 mm polycarbonate panels were set into the south wall.  I built a custom sliding door with additional poly panels and plywood.   View fullsize
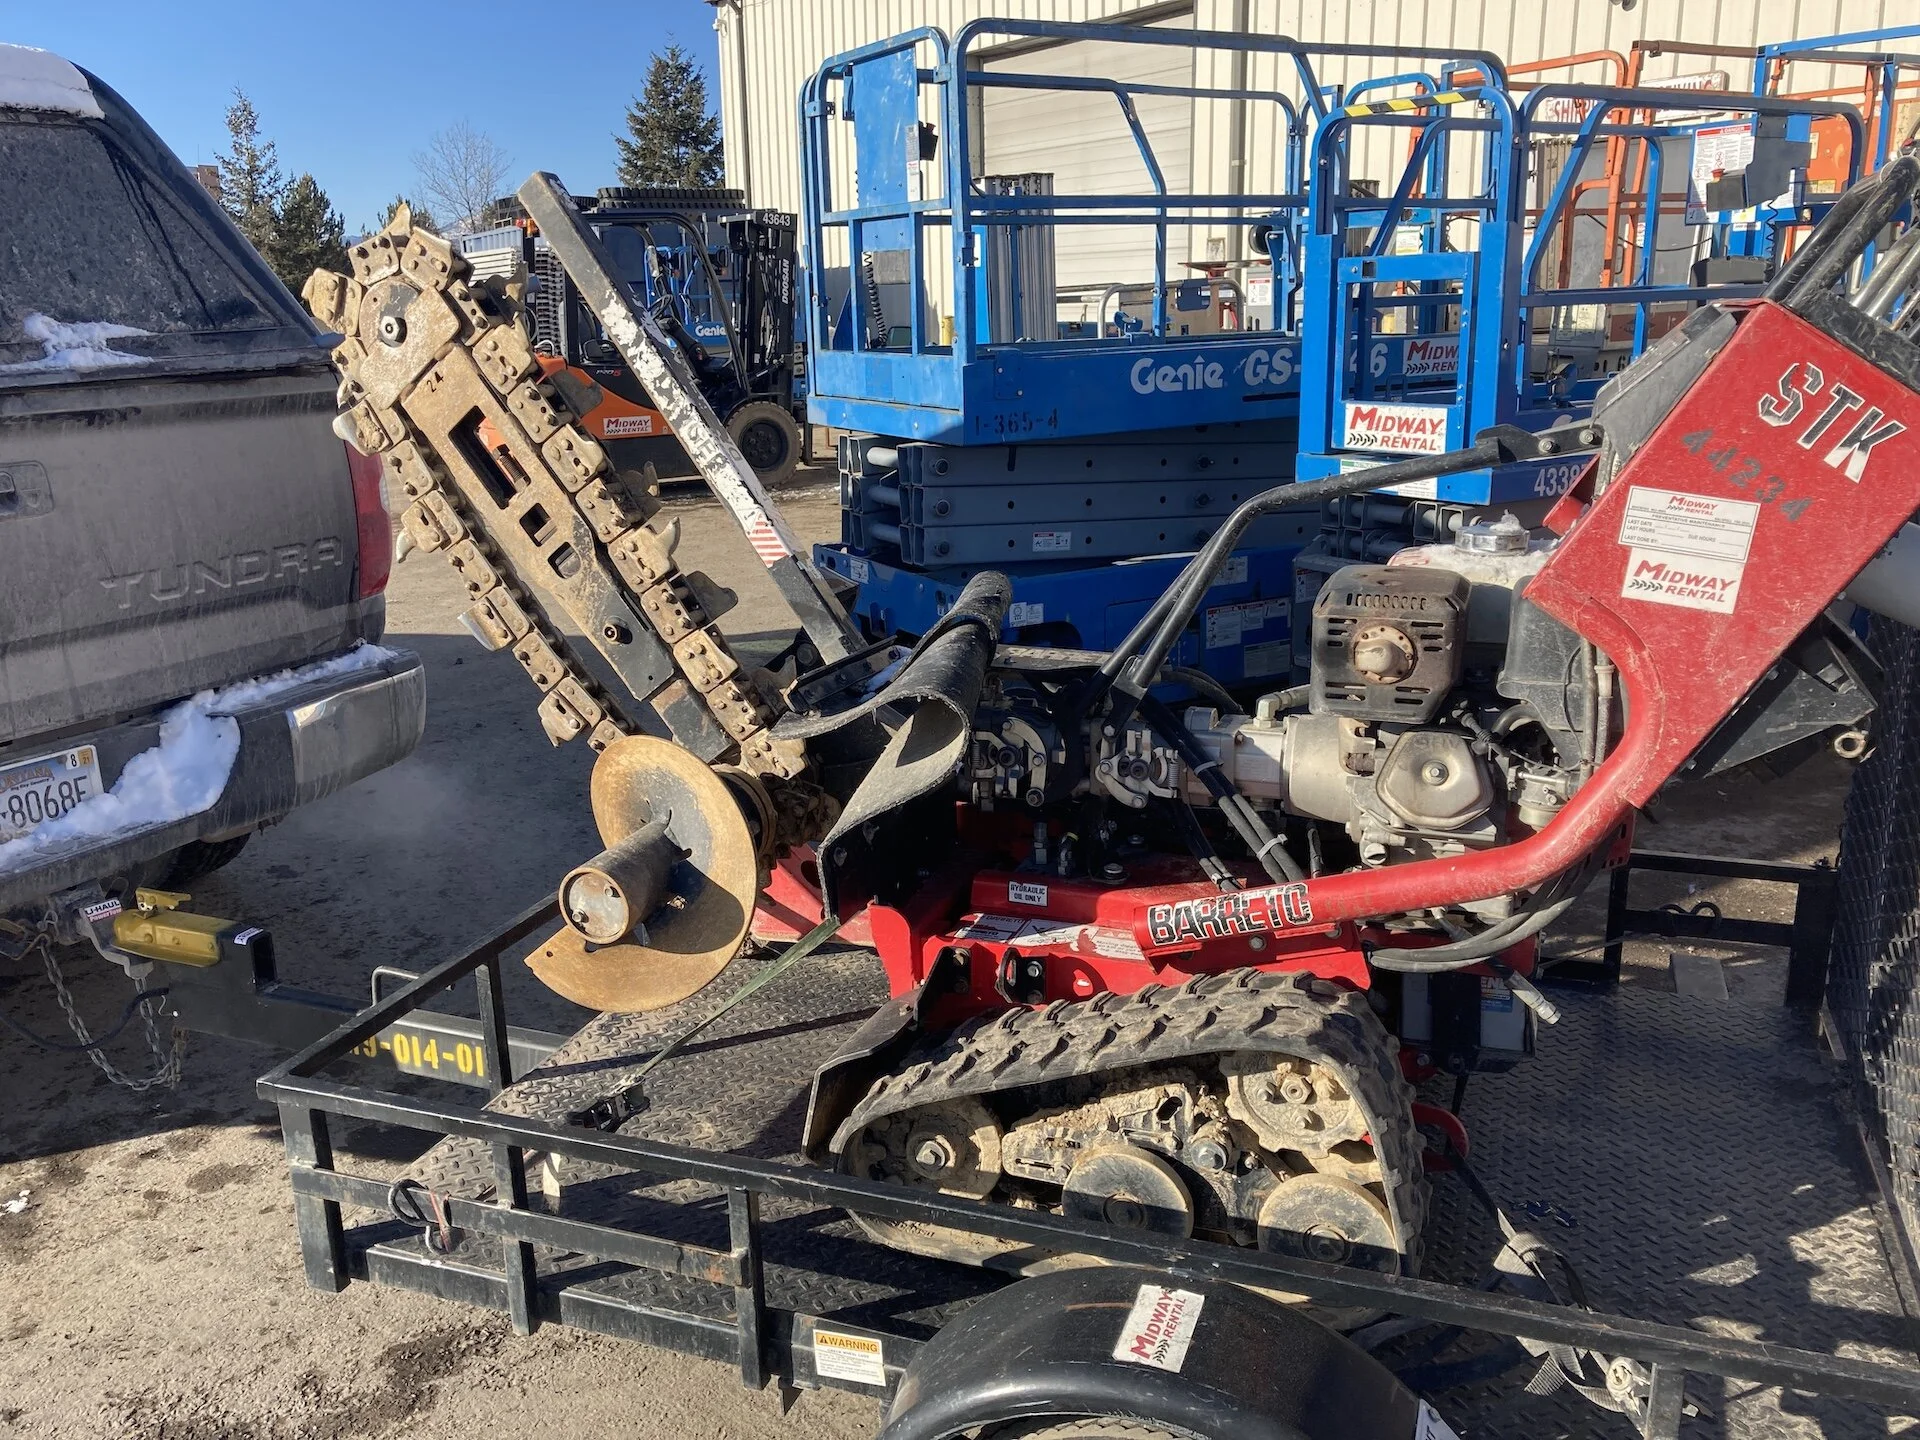
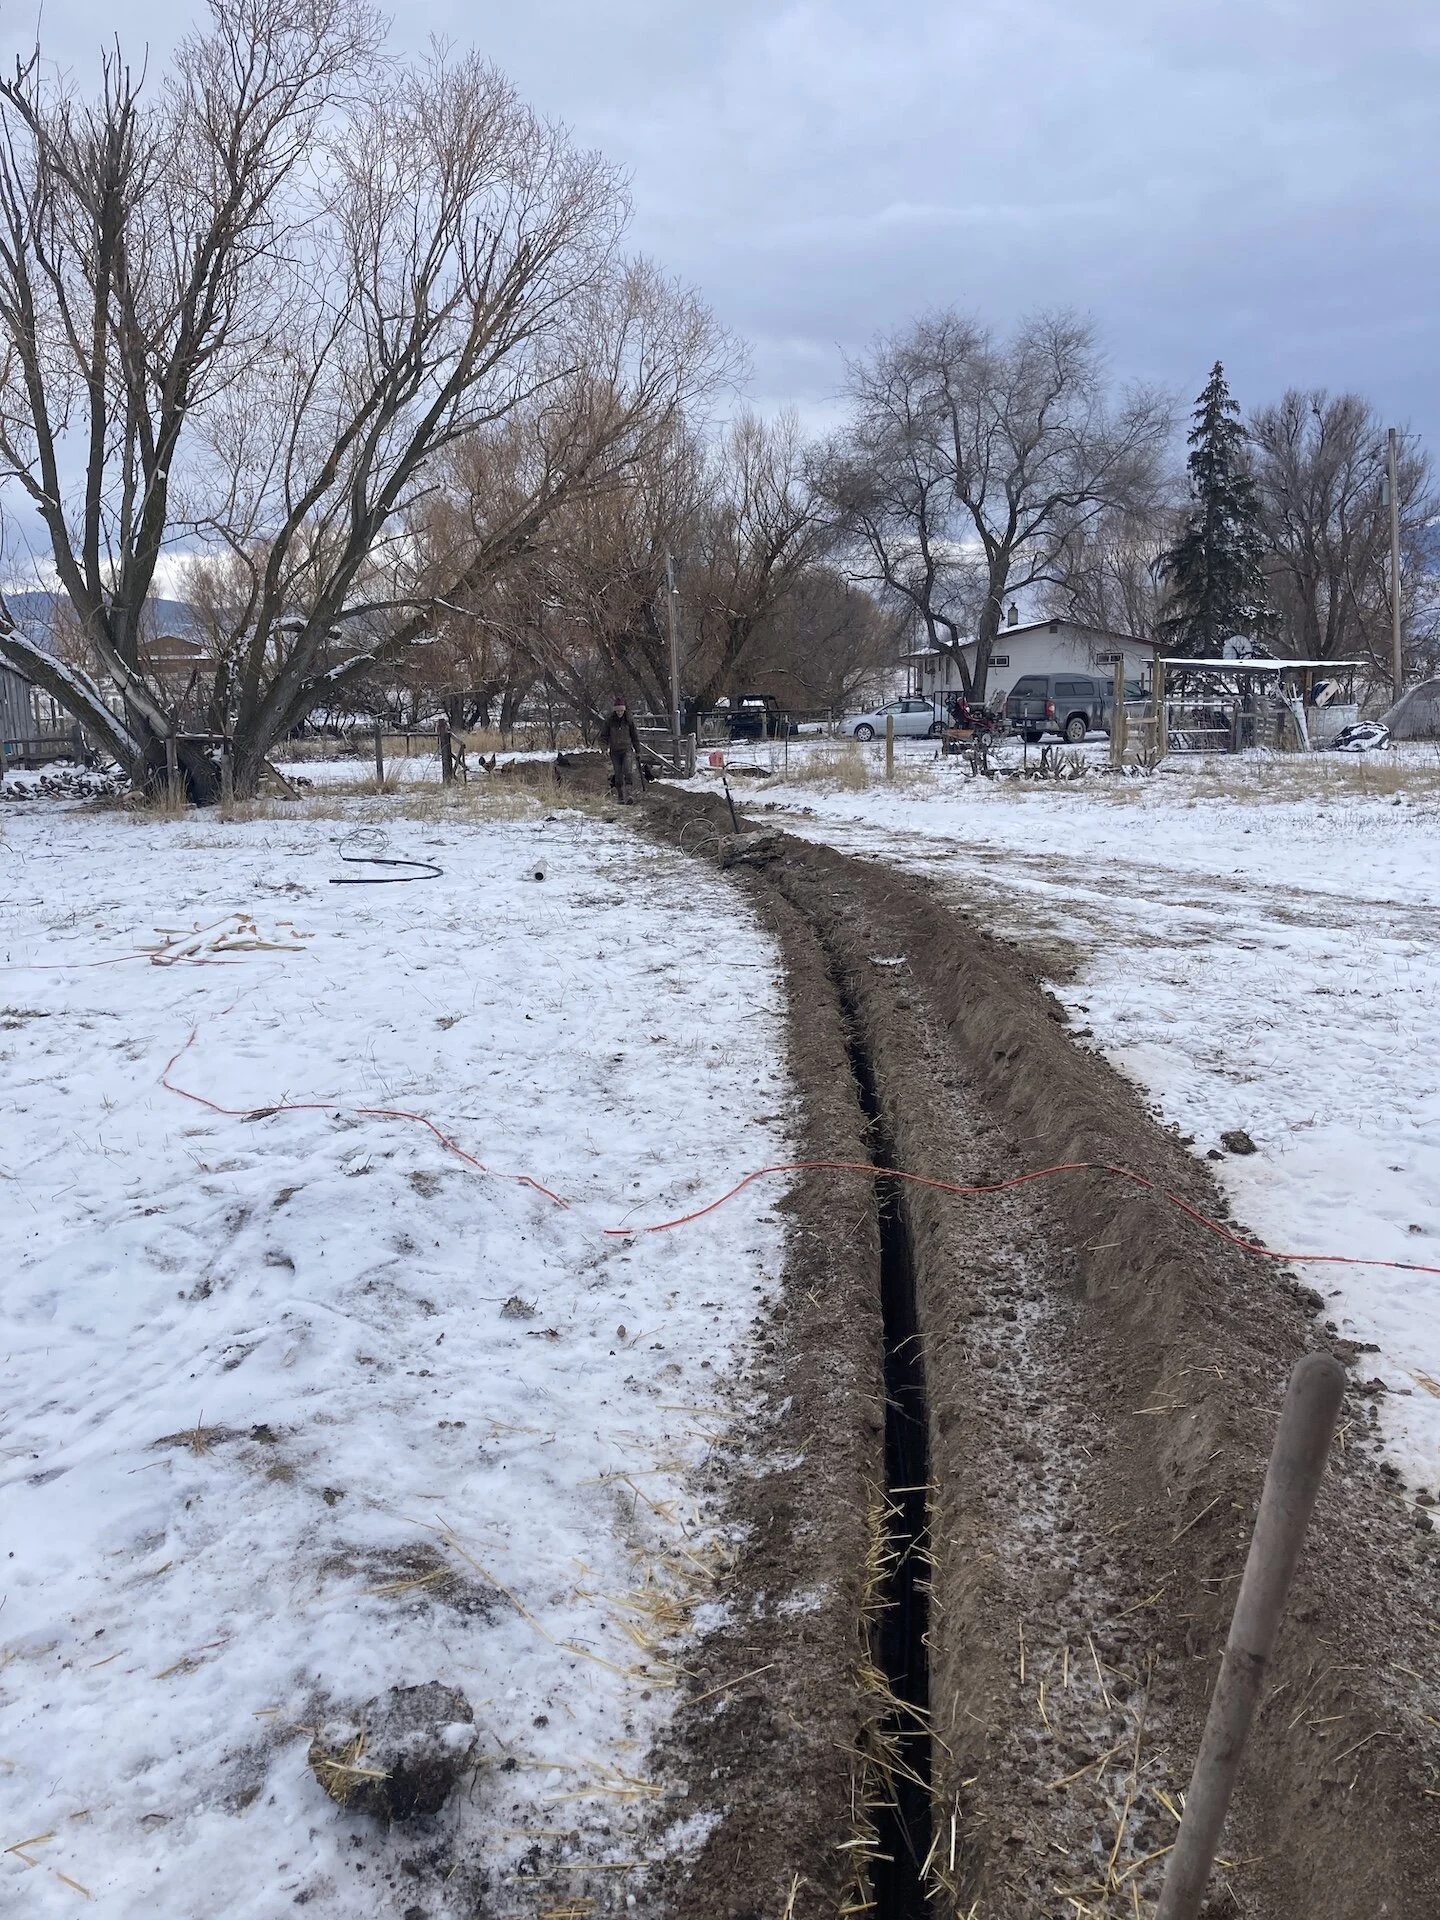
 Next step was to put in some power so we could run heat in there to get started on the inside mudding.  I rented a trencher over Christmas time to put in an electrical line over ~ 200 foot run.   View fullsize
 The trench from the main breaker to the greenhouse.  Ended up being sort of epic!  I recommend doing this when the ground is not frozen.   View fullsize
 With the structure mostly built and sealed up for winter, it was time to turn attentions to the inside.  Here I insulated the window bases with loose straw.   View fullsize
 The base of the walls, where the bales meet the gabions were blocked with some scrap blue board pieces around the inside perimeter.  Until we had everything mudded, feed bags were used to block drafts.  Feed bags were also used below the windows to View fullsize
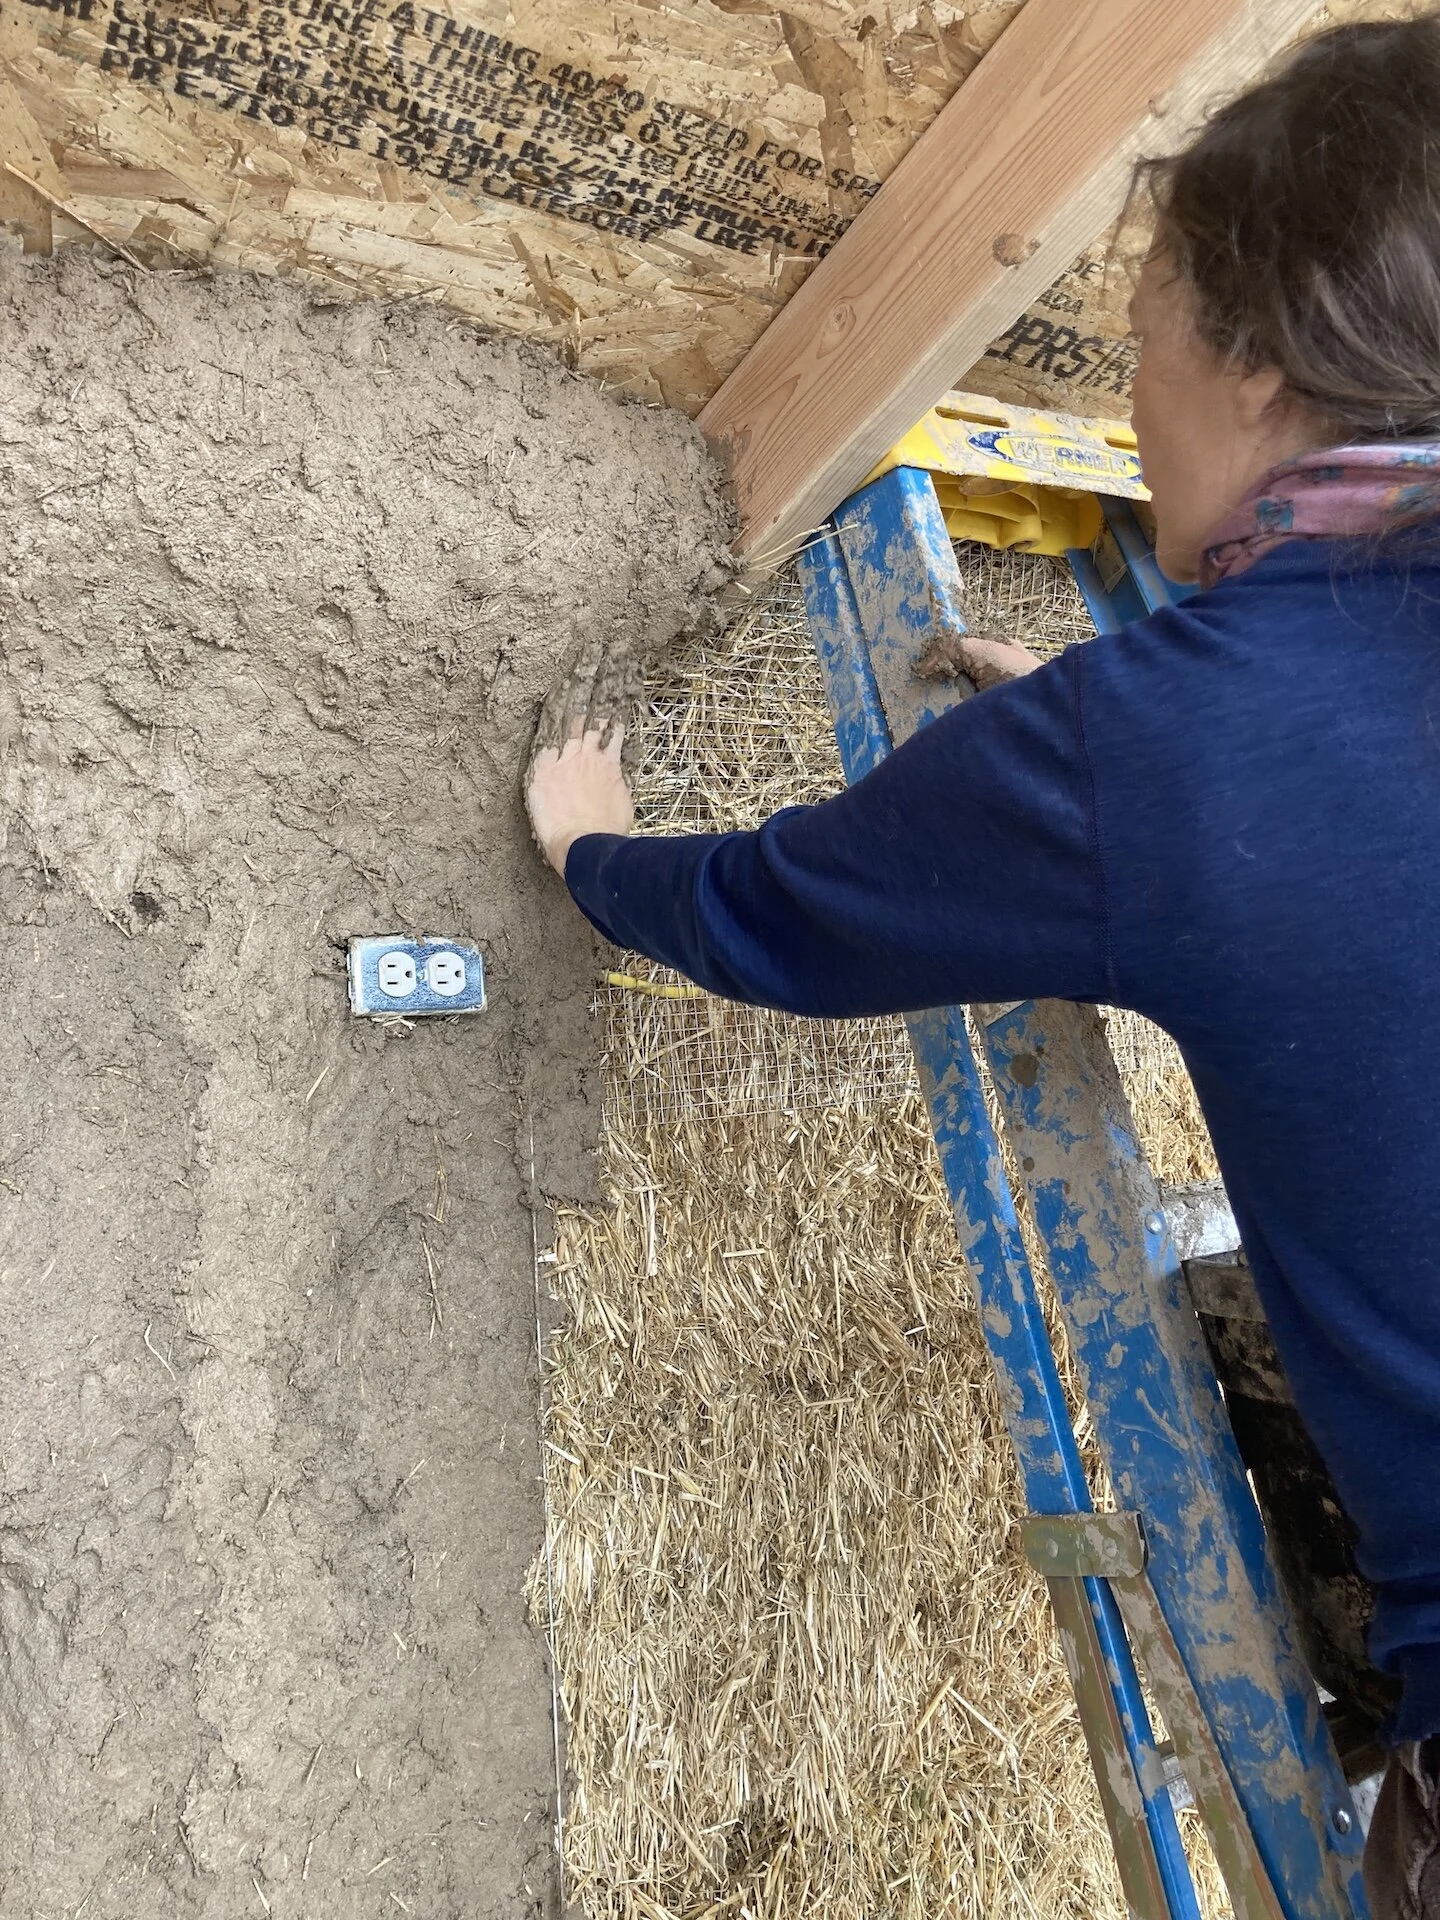
 WIth the electrical installed (subpanel and circuits for lights, general outlets, heater, fan, etc.) it was time to start mudding.  Having never done this before we did a test section and gave it ~ 2 weeks to dry.  Our recipe consisted of loose stra View fullsize
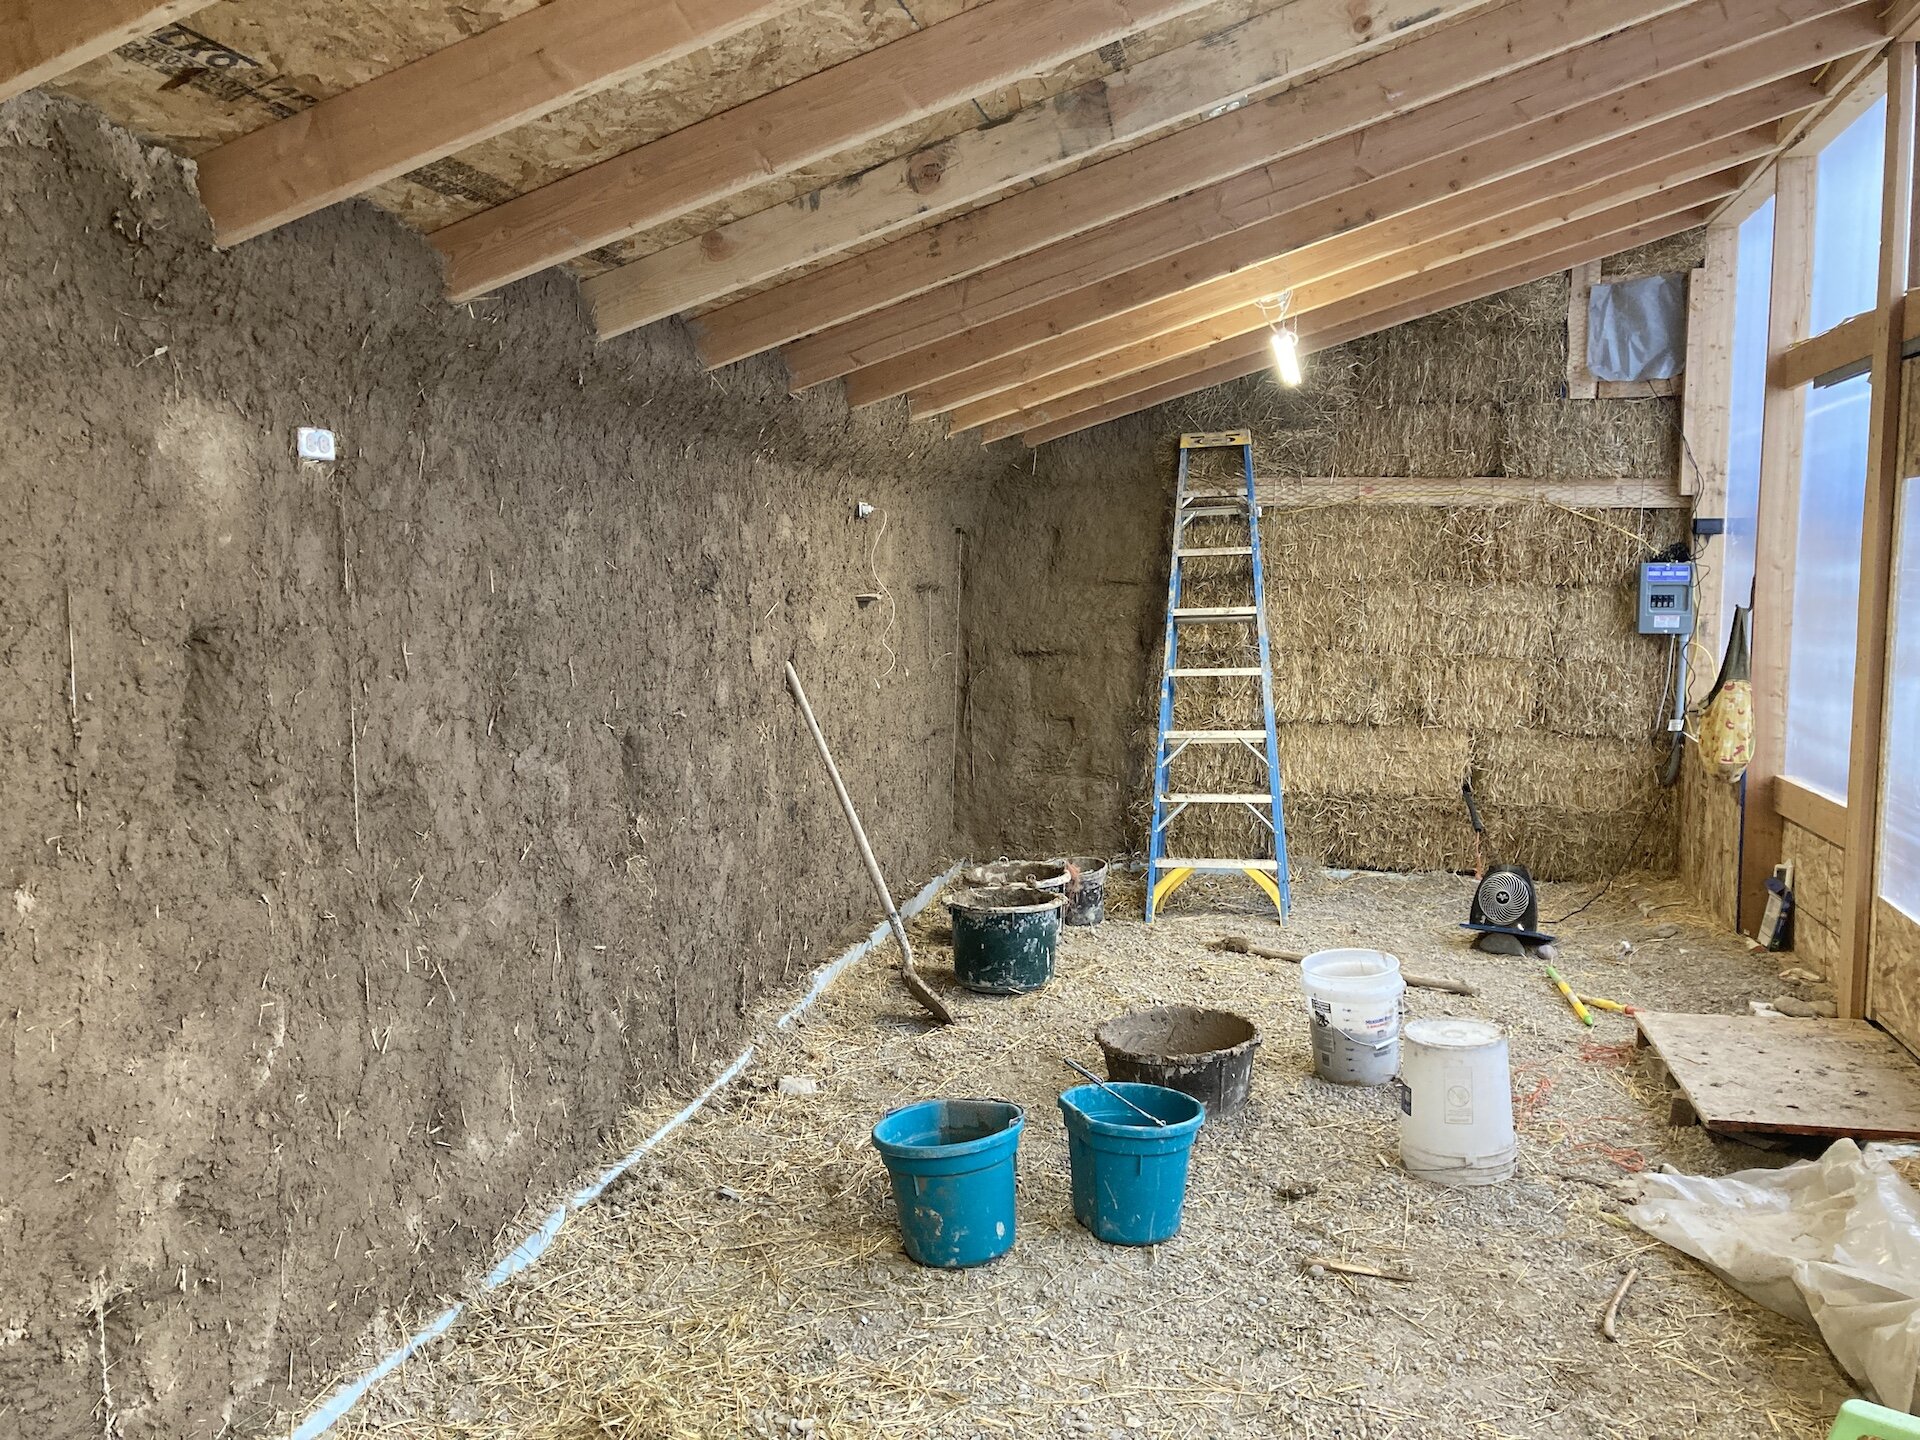
 Starting at a one end and working our way around, two of us mixed and mudded over the course of a week or so.  Many batches of mud were mixed by hand in a large feed bucket.  I’ll be finding a concrete mixer for mudding the outside this spring…. View fullsize
 While somewhat tedious, the mudding process was very rewarding.  By following the random contours, bulges and depressions of the bale walls, the undulations and alcoves of the walls remain apparent.  This resulted in a relative ‘living’ structure th View fullsize
 Nearly mudded!  Note the wires protruding from the walls.  These are high-tensile wires preloading the walls between the top cap and the gabion cages; this is a highly structural component of the load bearing walls.  On the right is the electrical s View fullsize
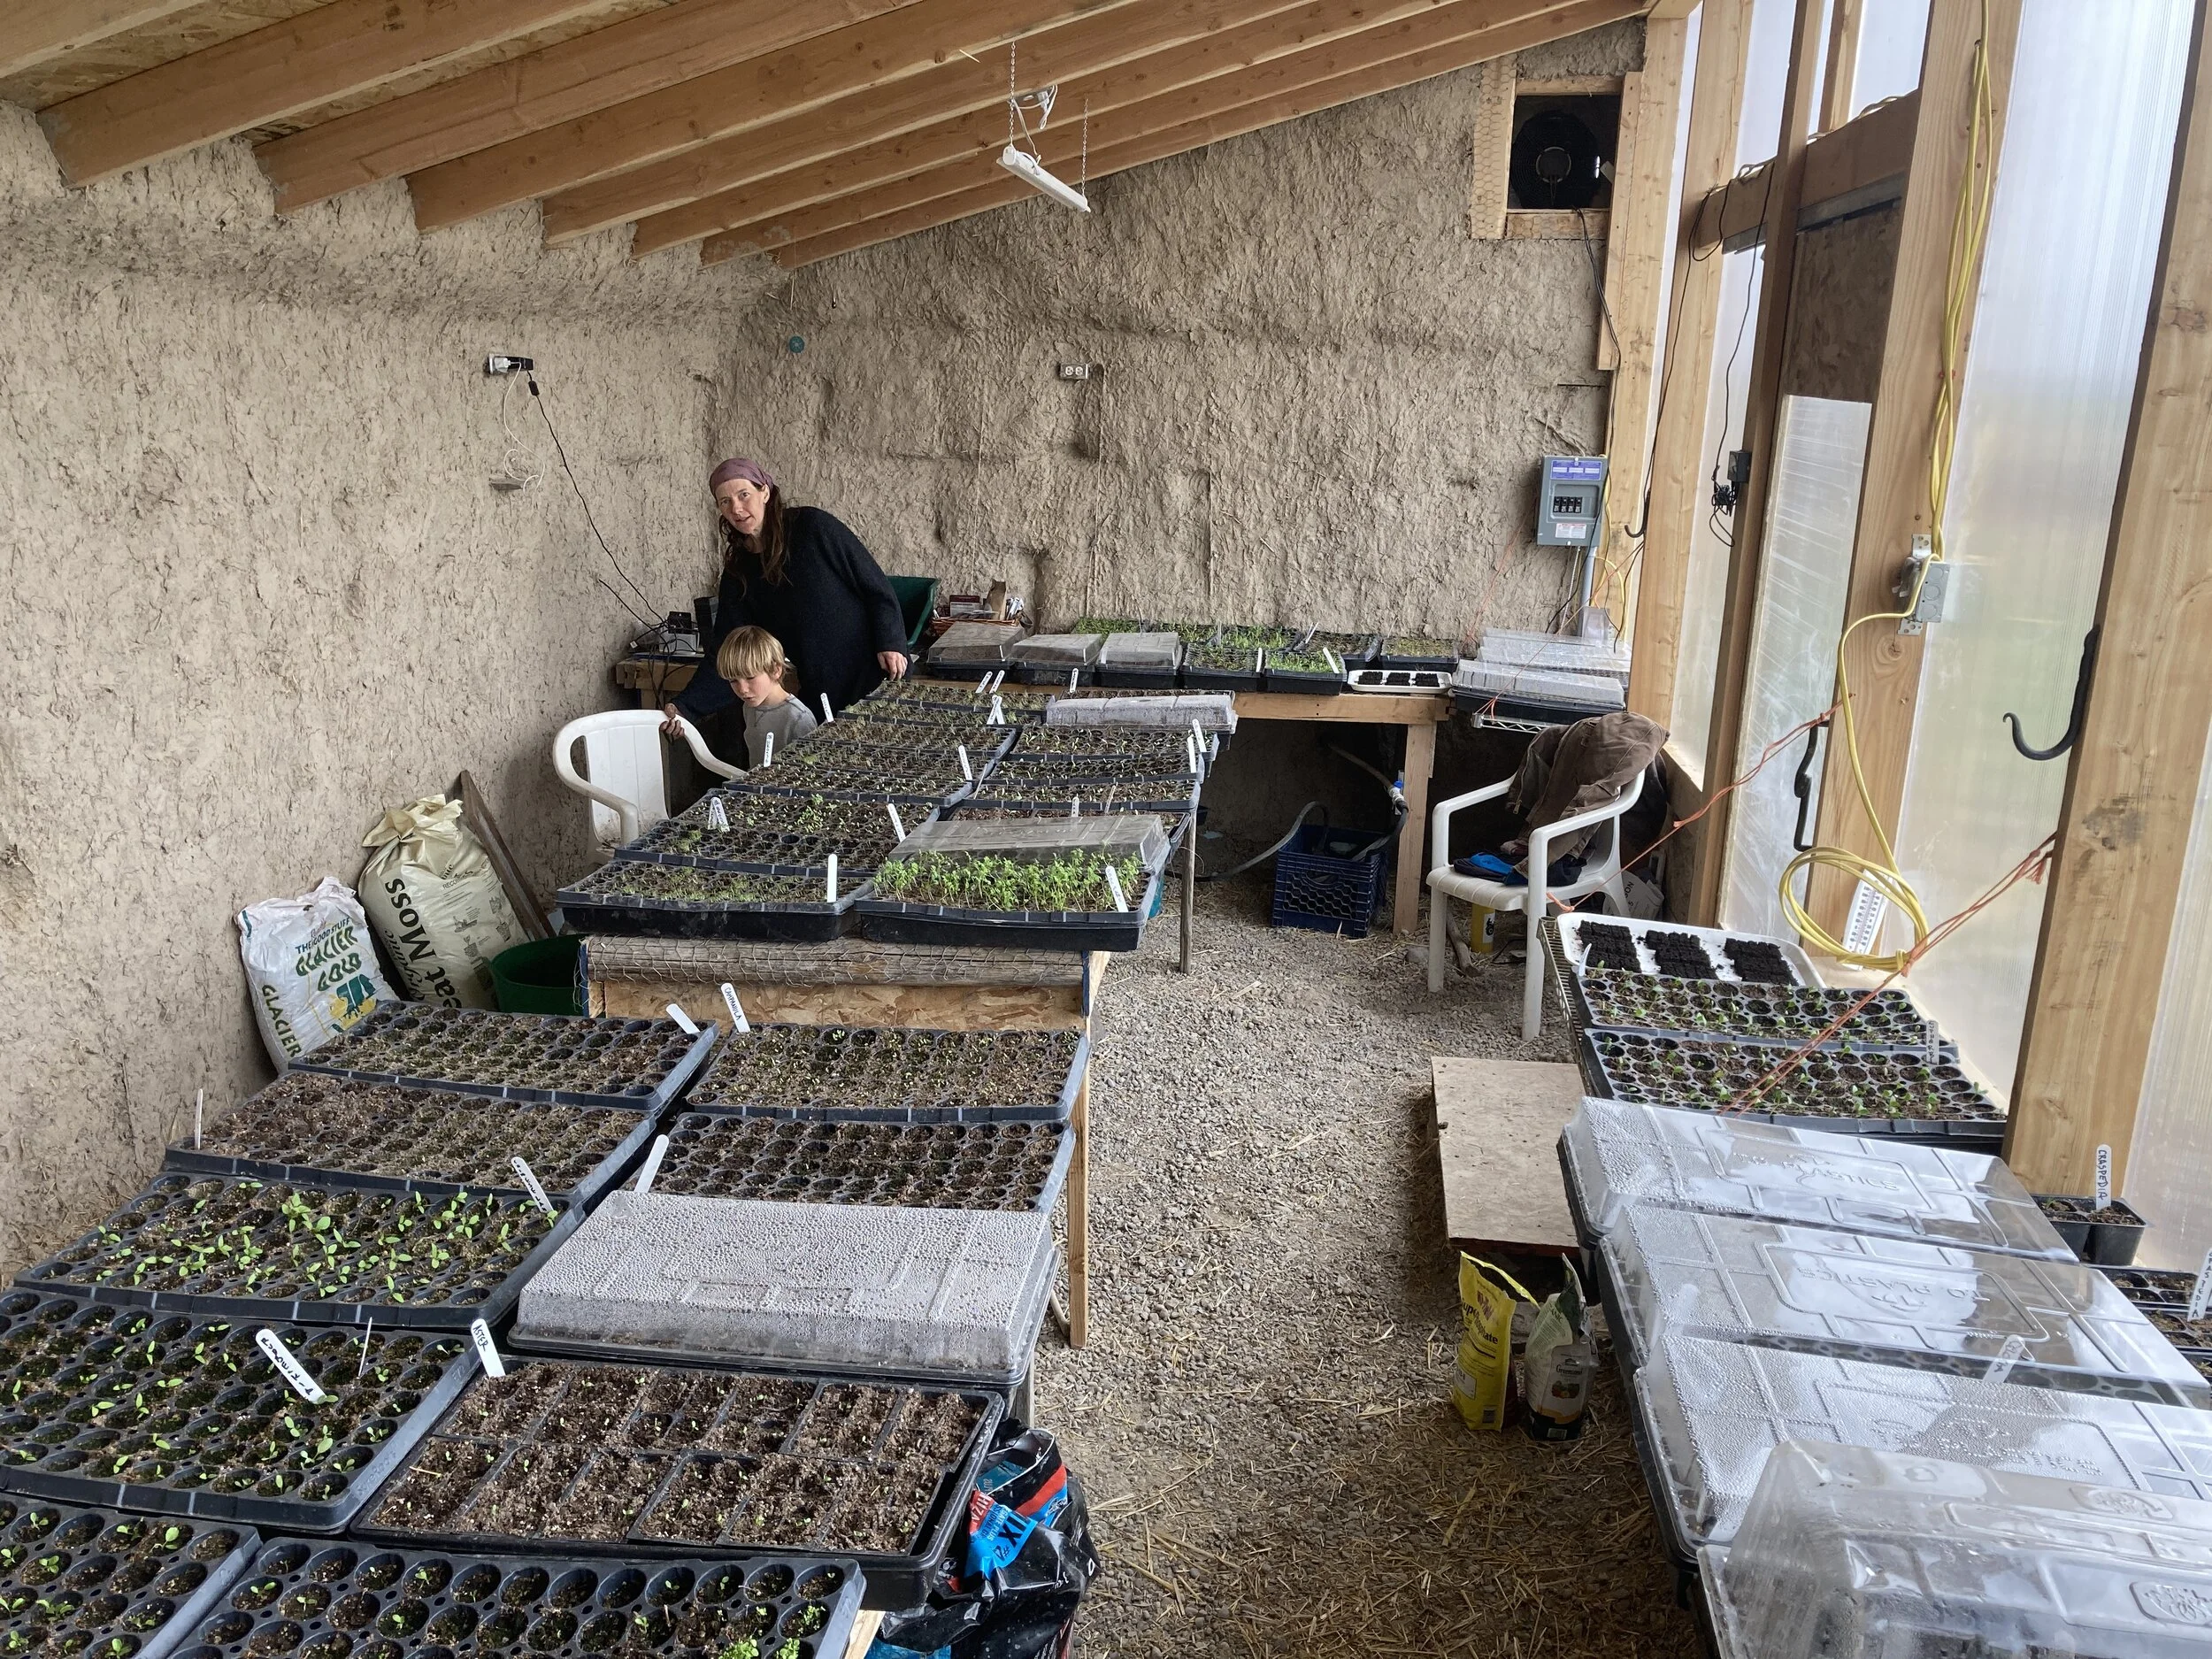
 Once the inside of the greenhouse was fully mudded, we put together some tables and jumped into planting starts.   View fullsize
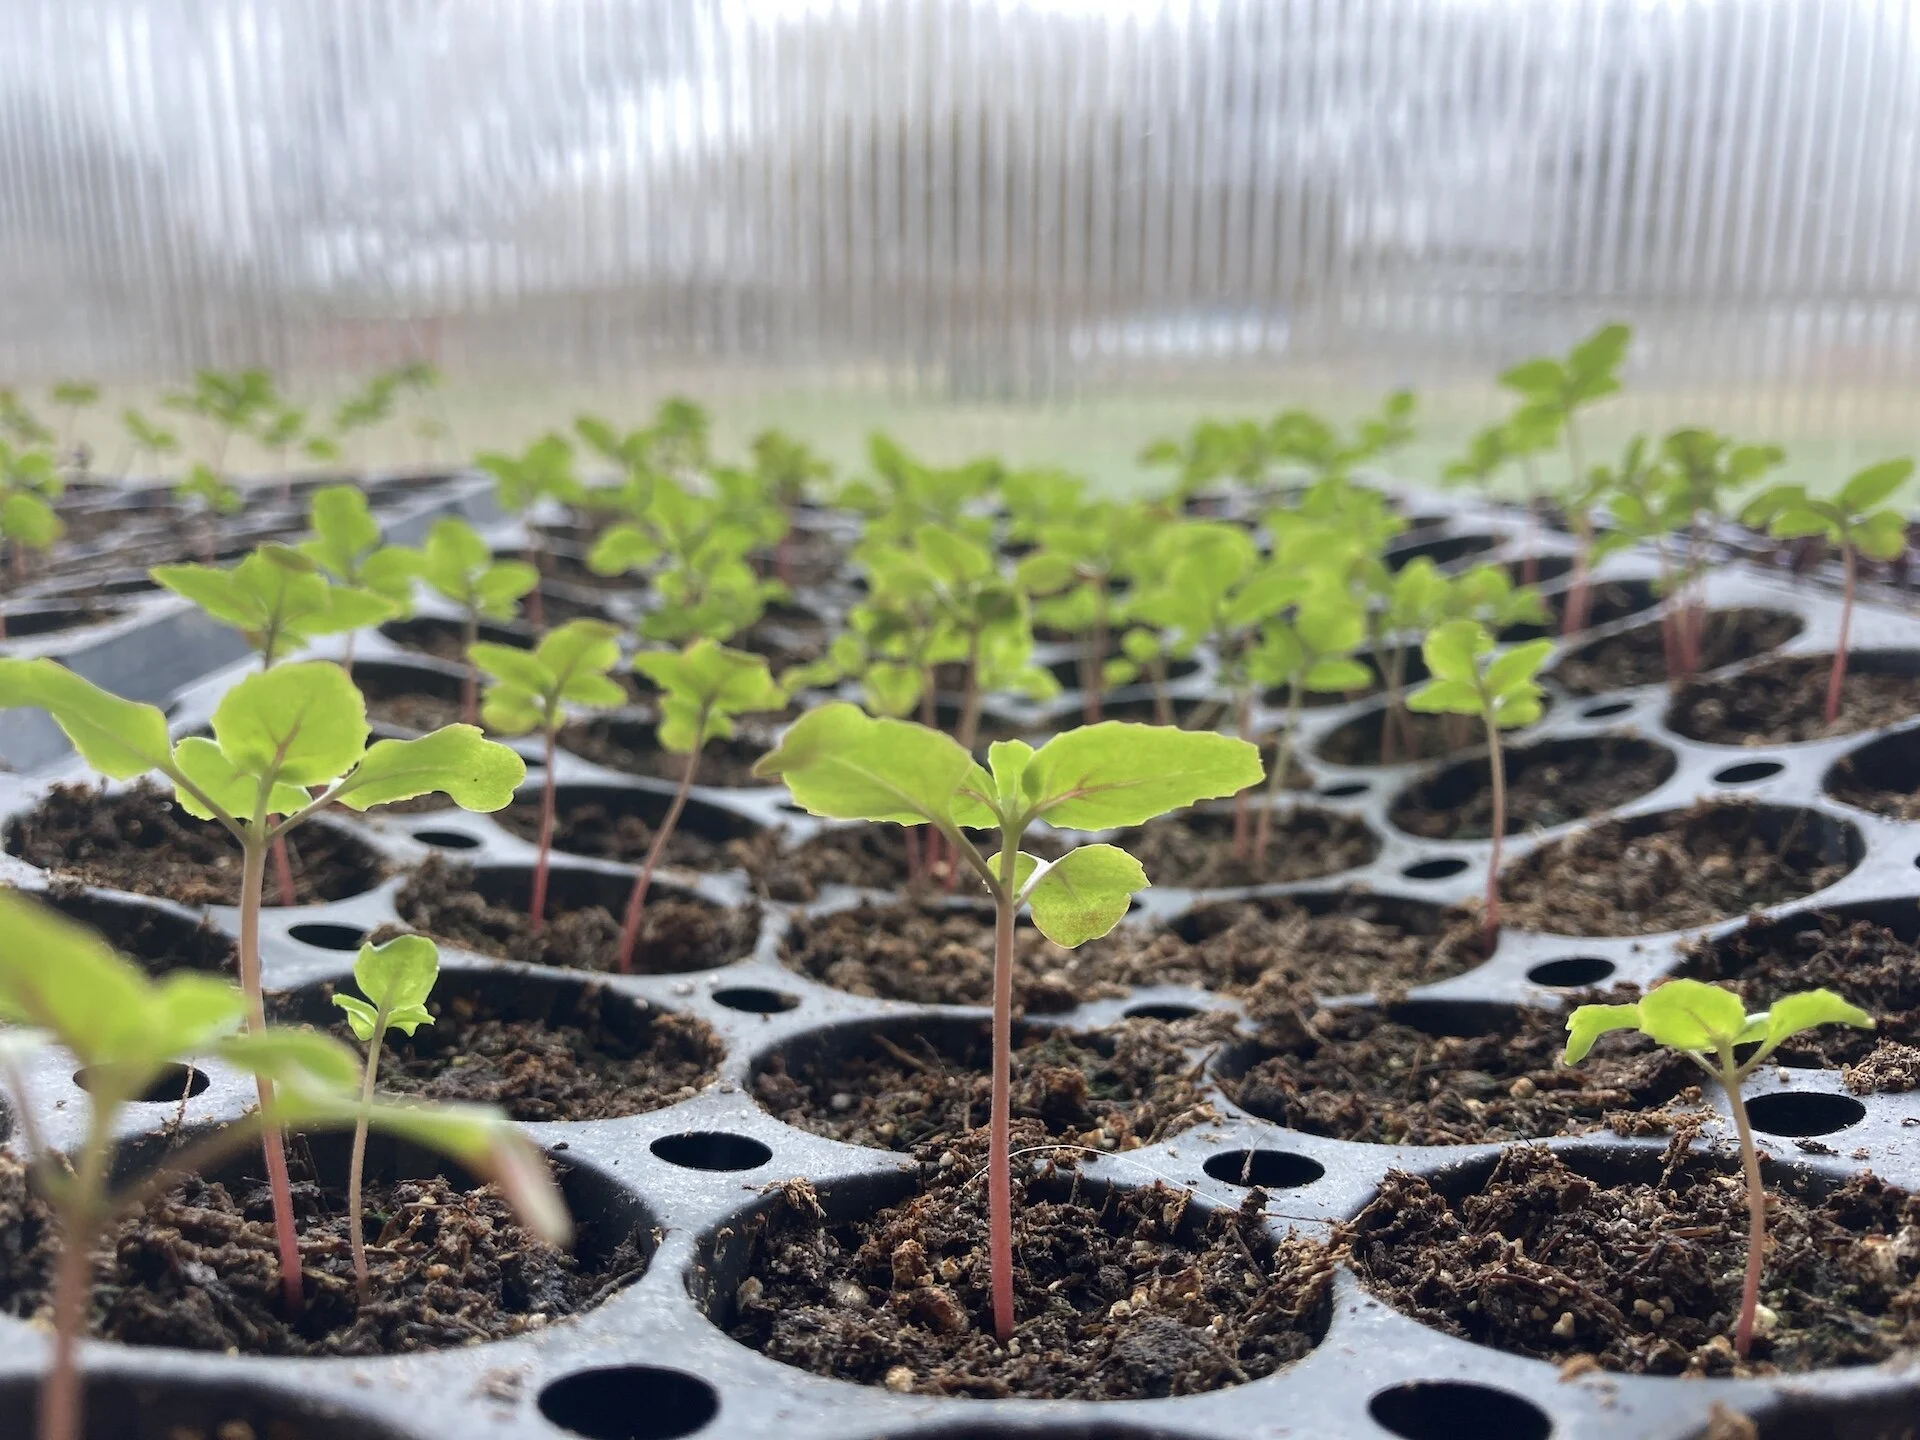
 The greenhouse space exceeded our expectations - plant starts are cruising.  Here is some clarkia reaching for the light!  View fullsize
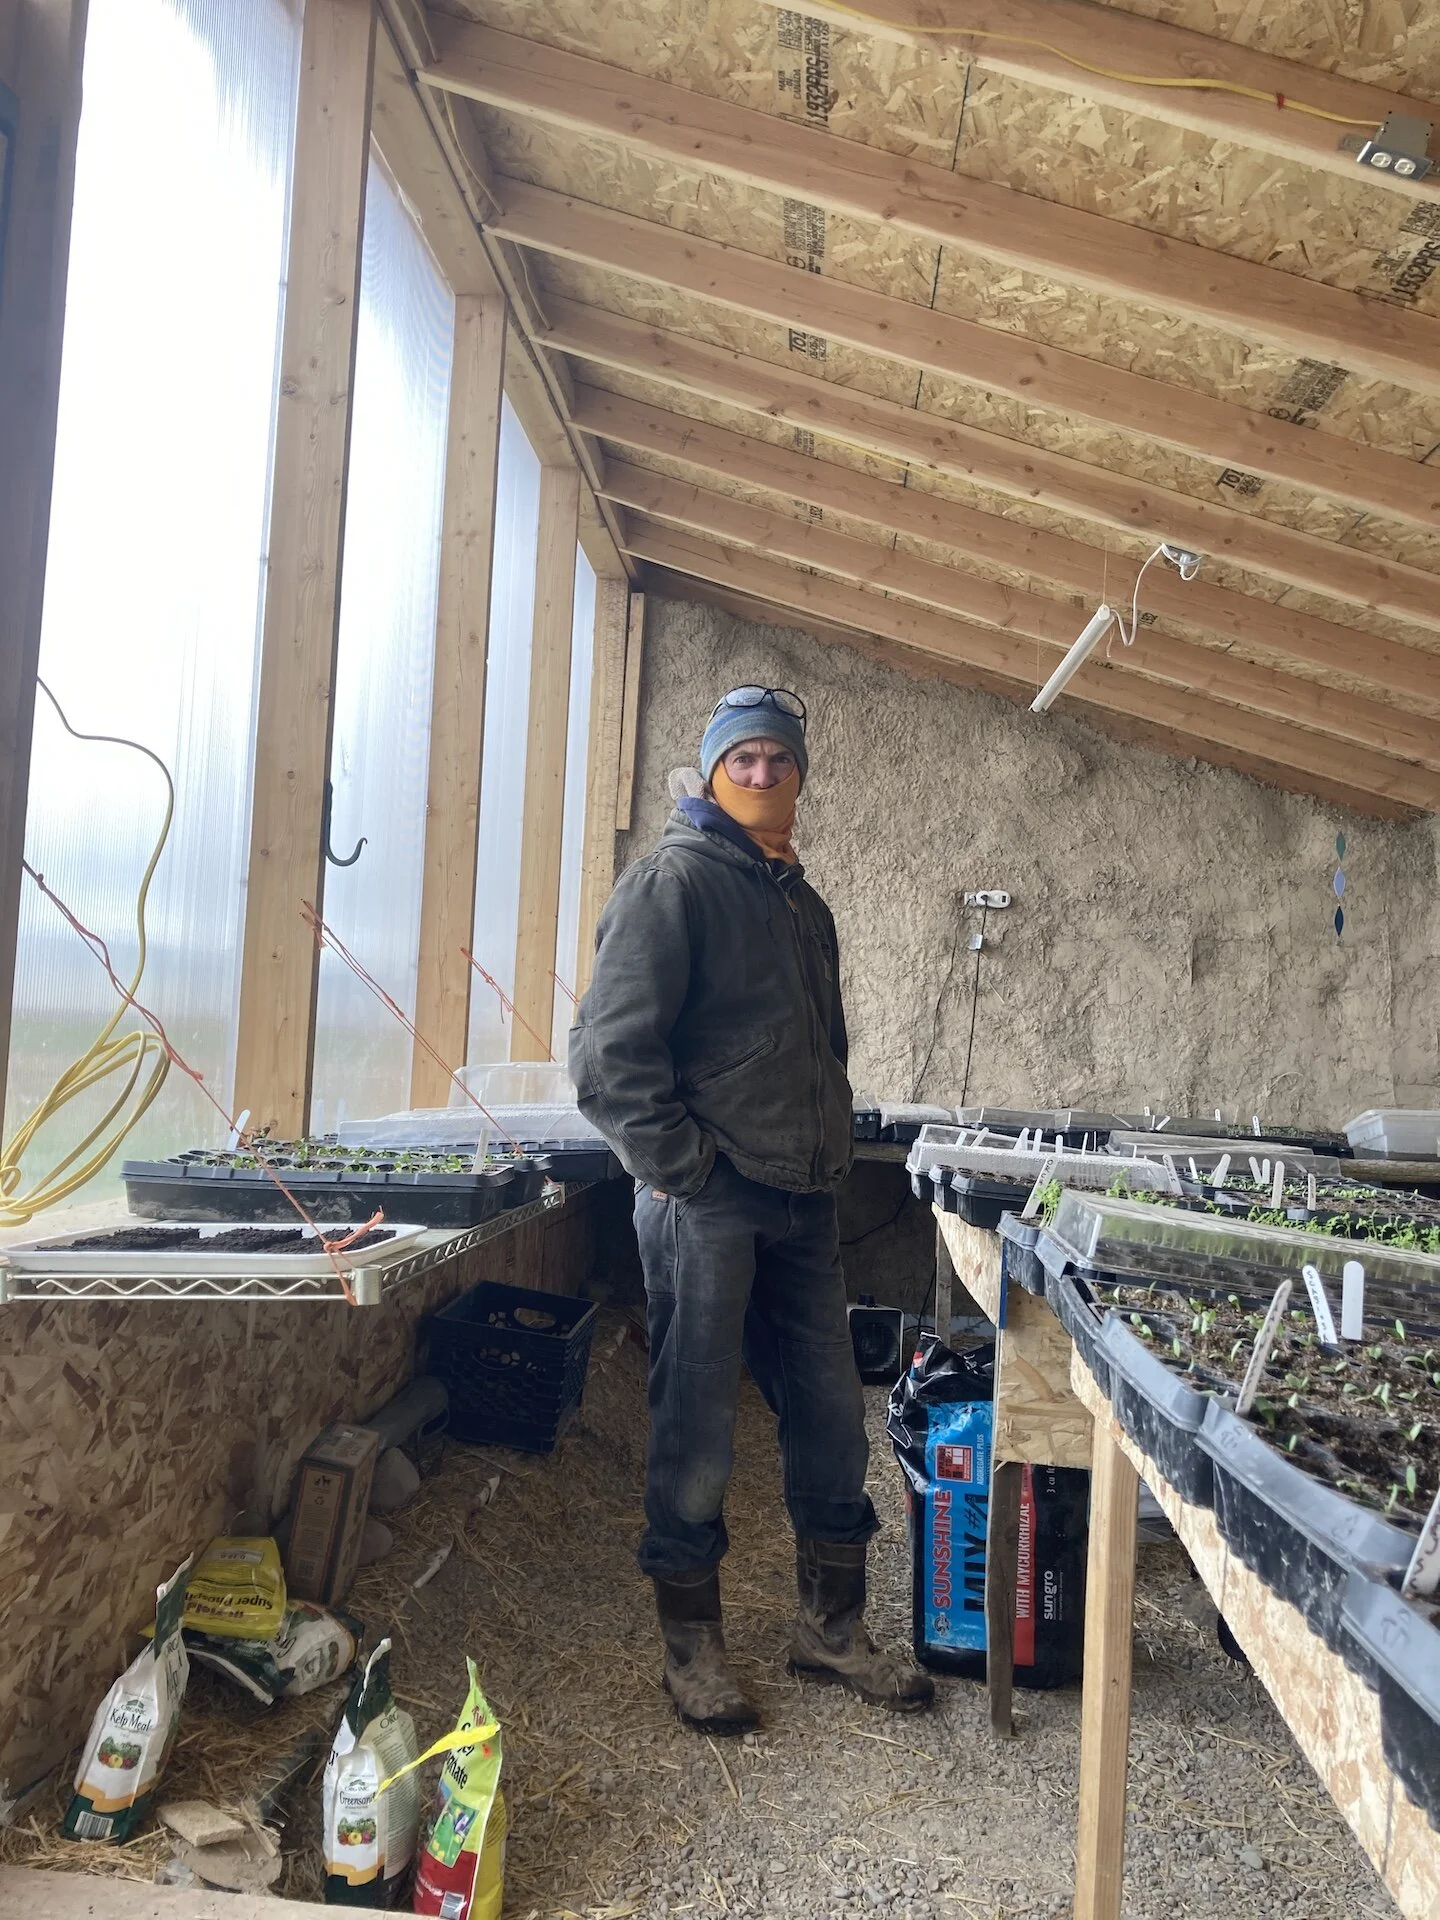
 Farmers hard at work prepping starts in the strawbale greenhouse! View fullsize
 April 10th.  Outside, a Montana spring - sideways snow squalls and chilly temps in the 20’s.  Inside, a comfy 65.   View fullsize
 August 2021.  Pulling off the tarps that had covered the walls through winter, spring and summer we found our chickens had laid many eggs, as well , birds and mice had found nice homes.  No permanent damage, but we should have mudded this thing in M View fullsize
 August 2021.  Good weather and good friends make hard work much easier.  Mixing mud batches by hand, four of us put on a single base coat of mud in about 8 hours.   View fullsize
 Good progress on the first outer base coat.   View fullsize
 Happy mudder - exhibit A.   View fullsize
 Happy mudder - exhibit B.  A second coat was applied a few weeks later.  This fall/winter, we will be adding some siding to the south wall adding thermal mass and tightening things up for winter.  Winter greens and next springs flower starts just ar View fullsize
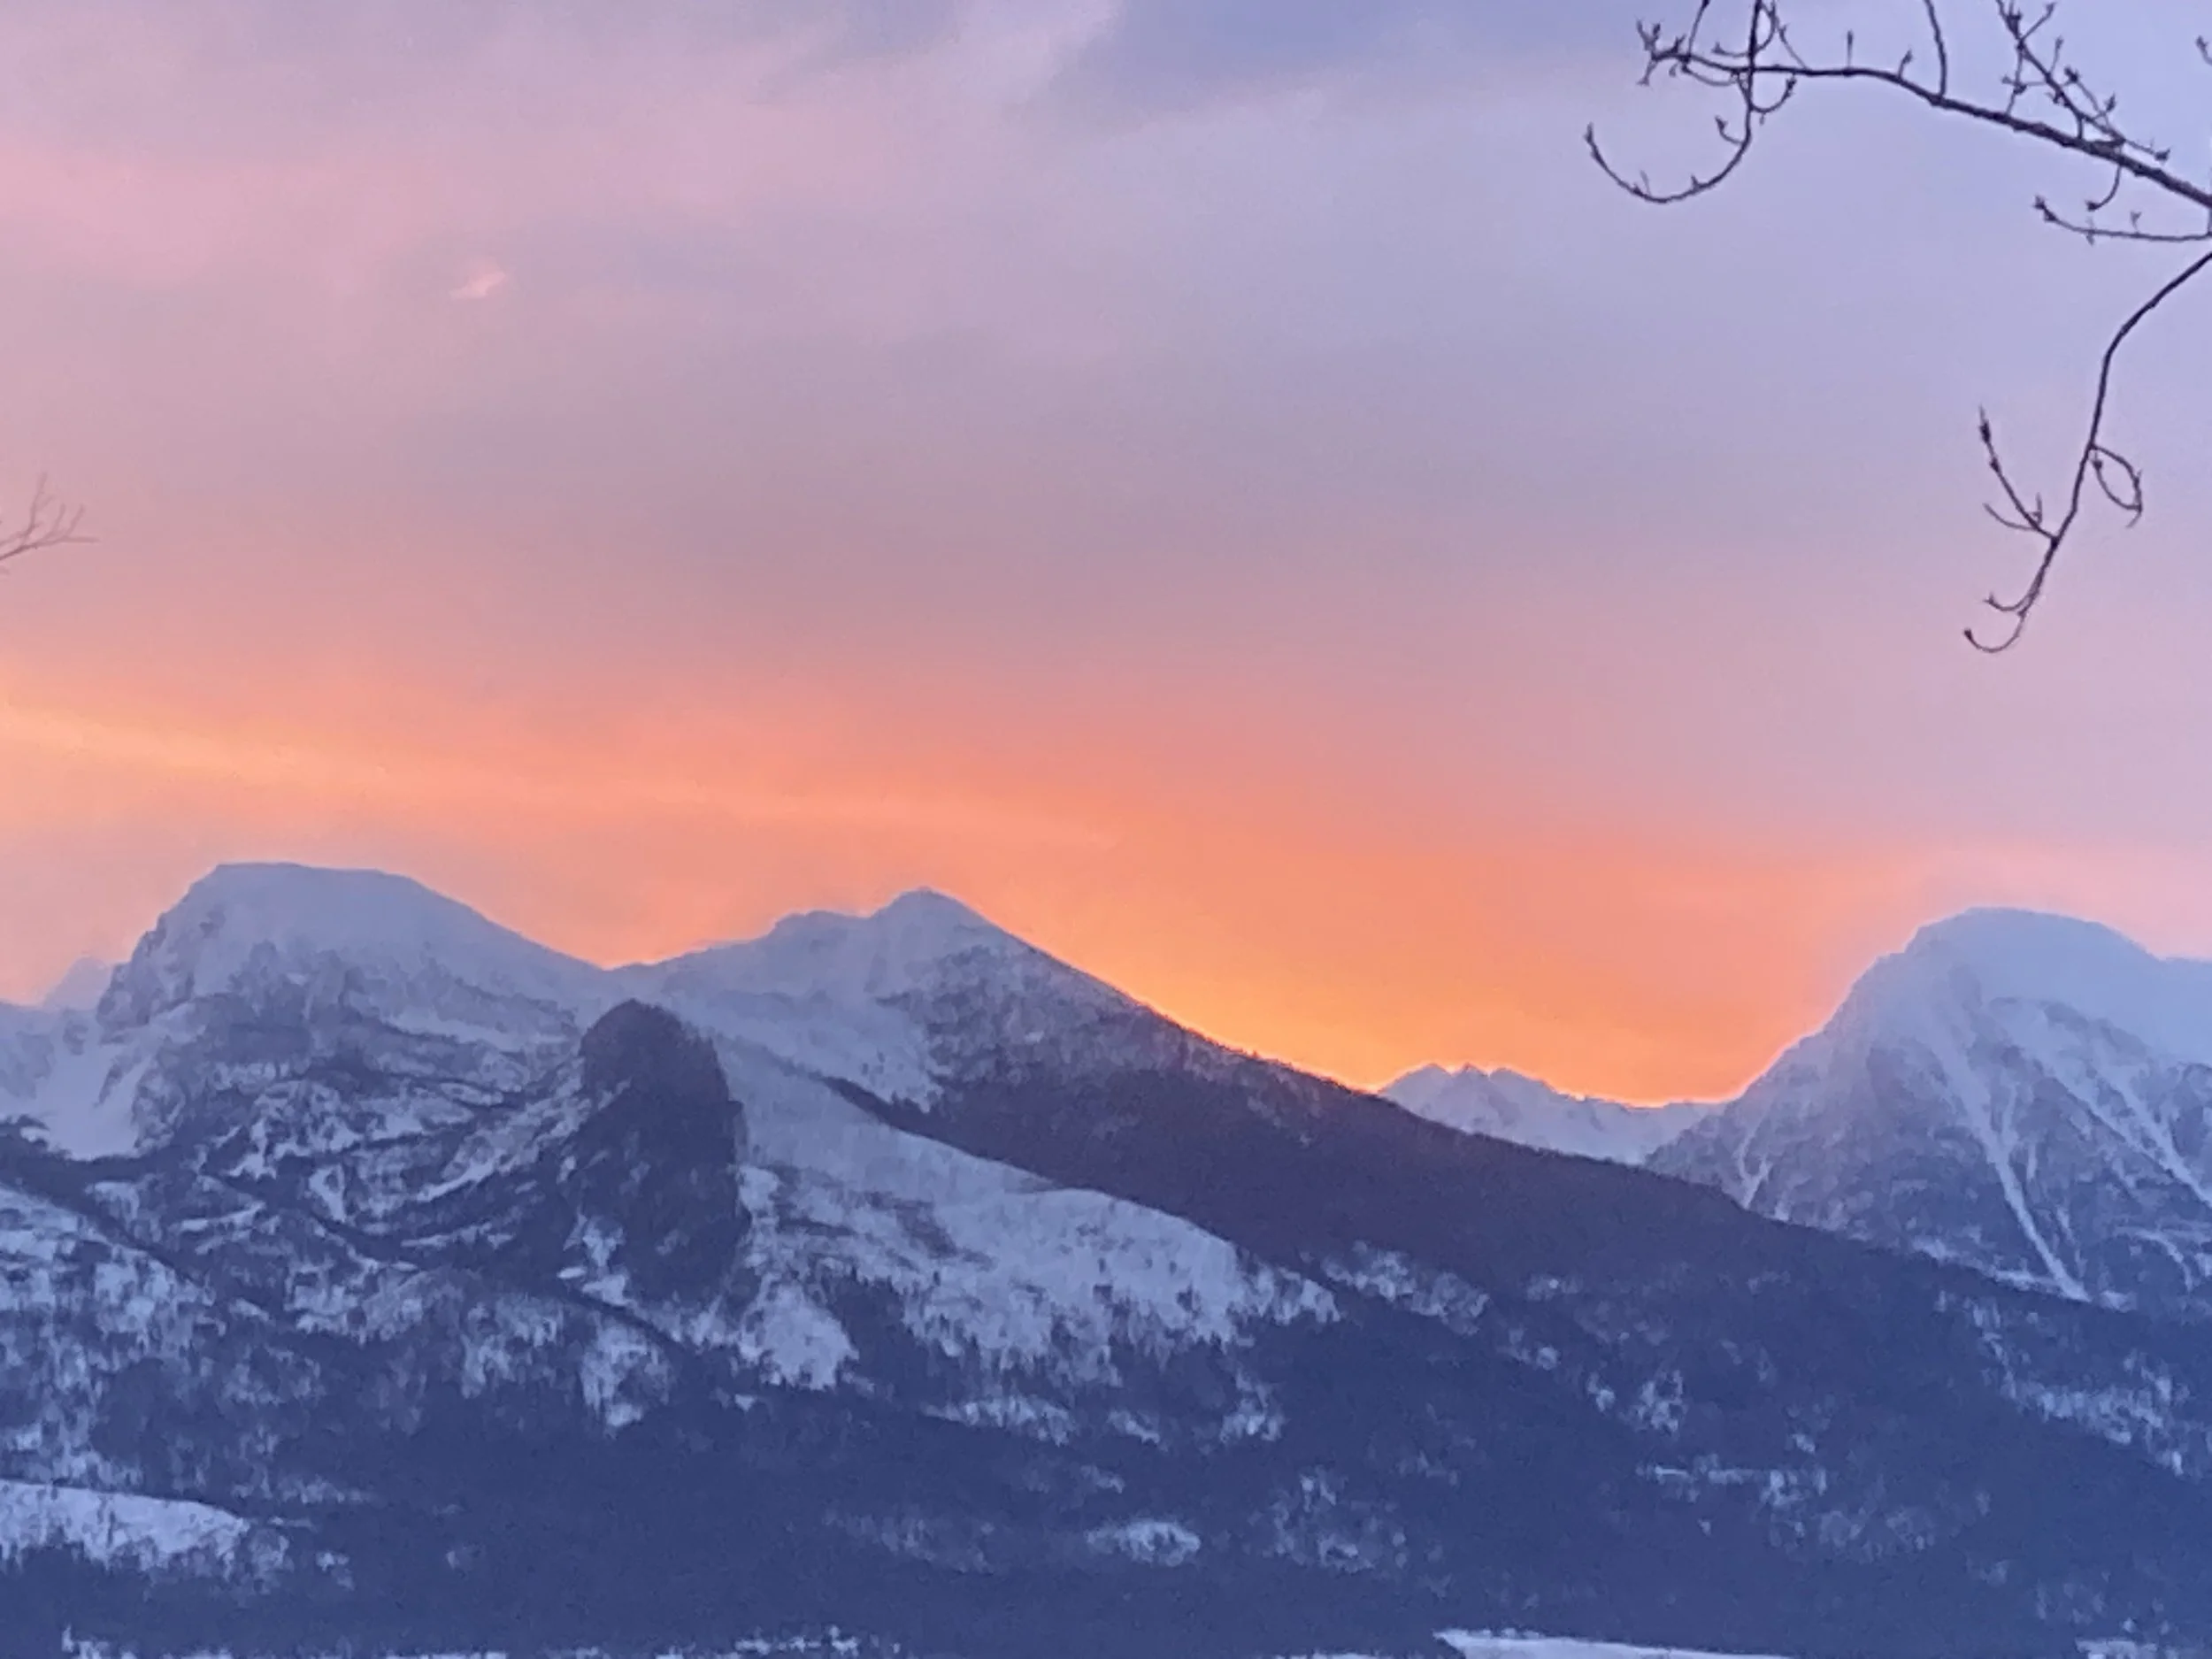
 Gratuitous sun rise picture.  Mudding of the exterior greenhouse walls was completed in September of 2021 in anticipation of the oncoming winter.  From there we prepped for our 2022 growing season thinking the greenhouse would be adequate as it was. View fullsize
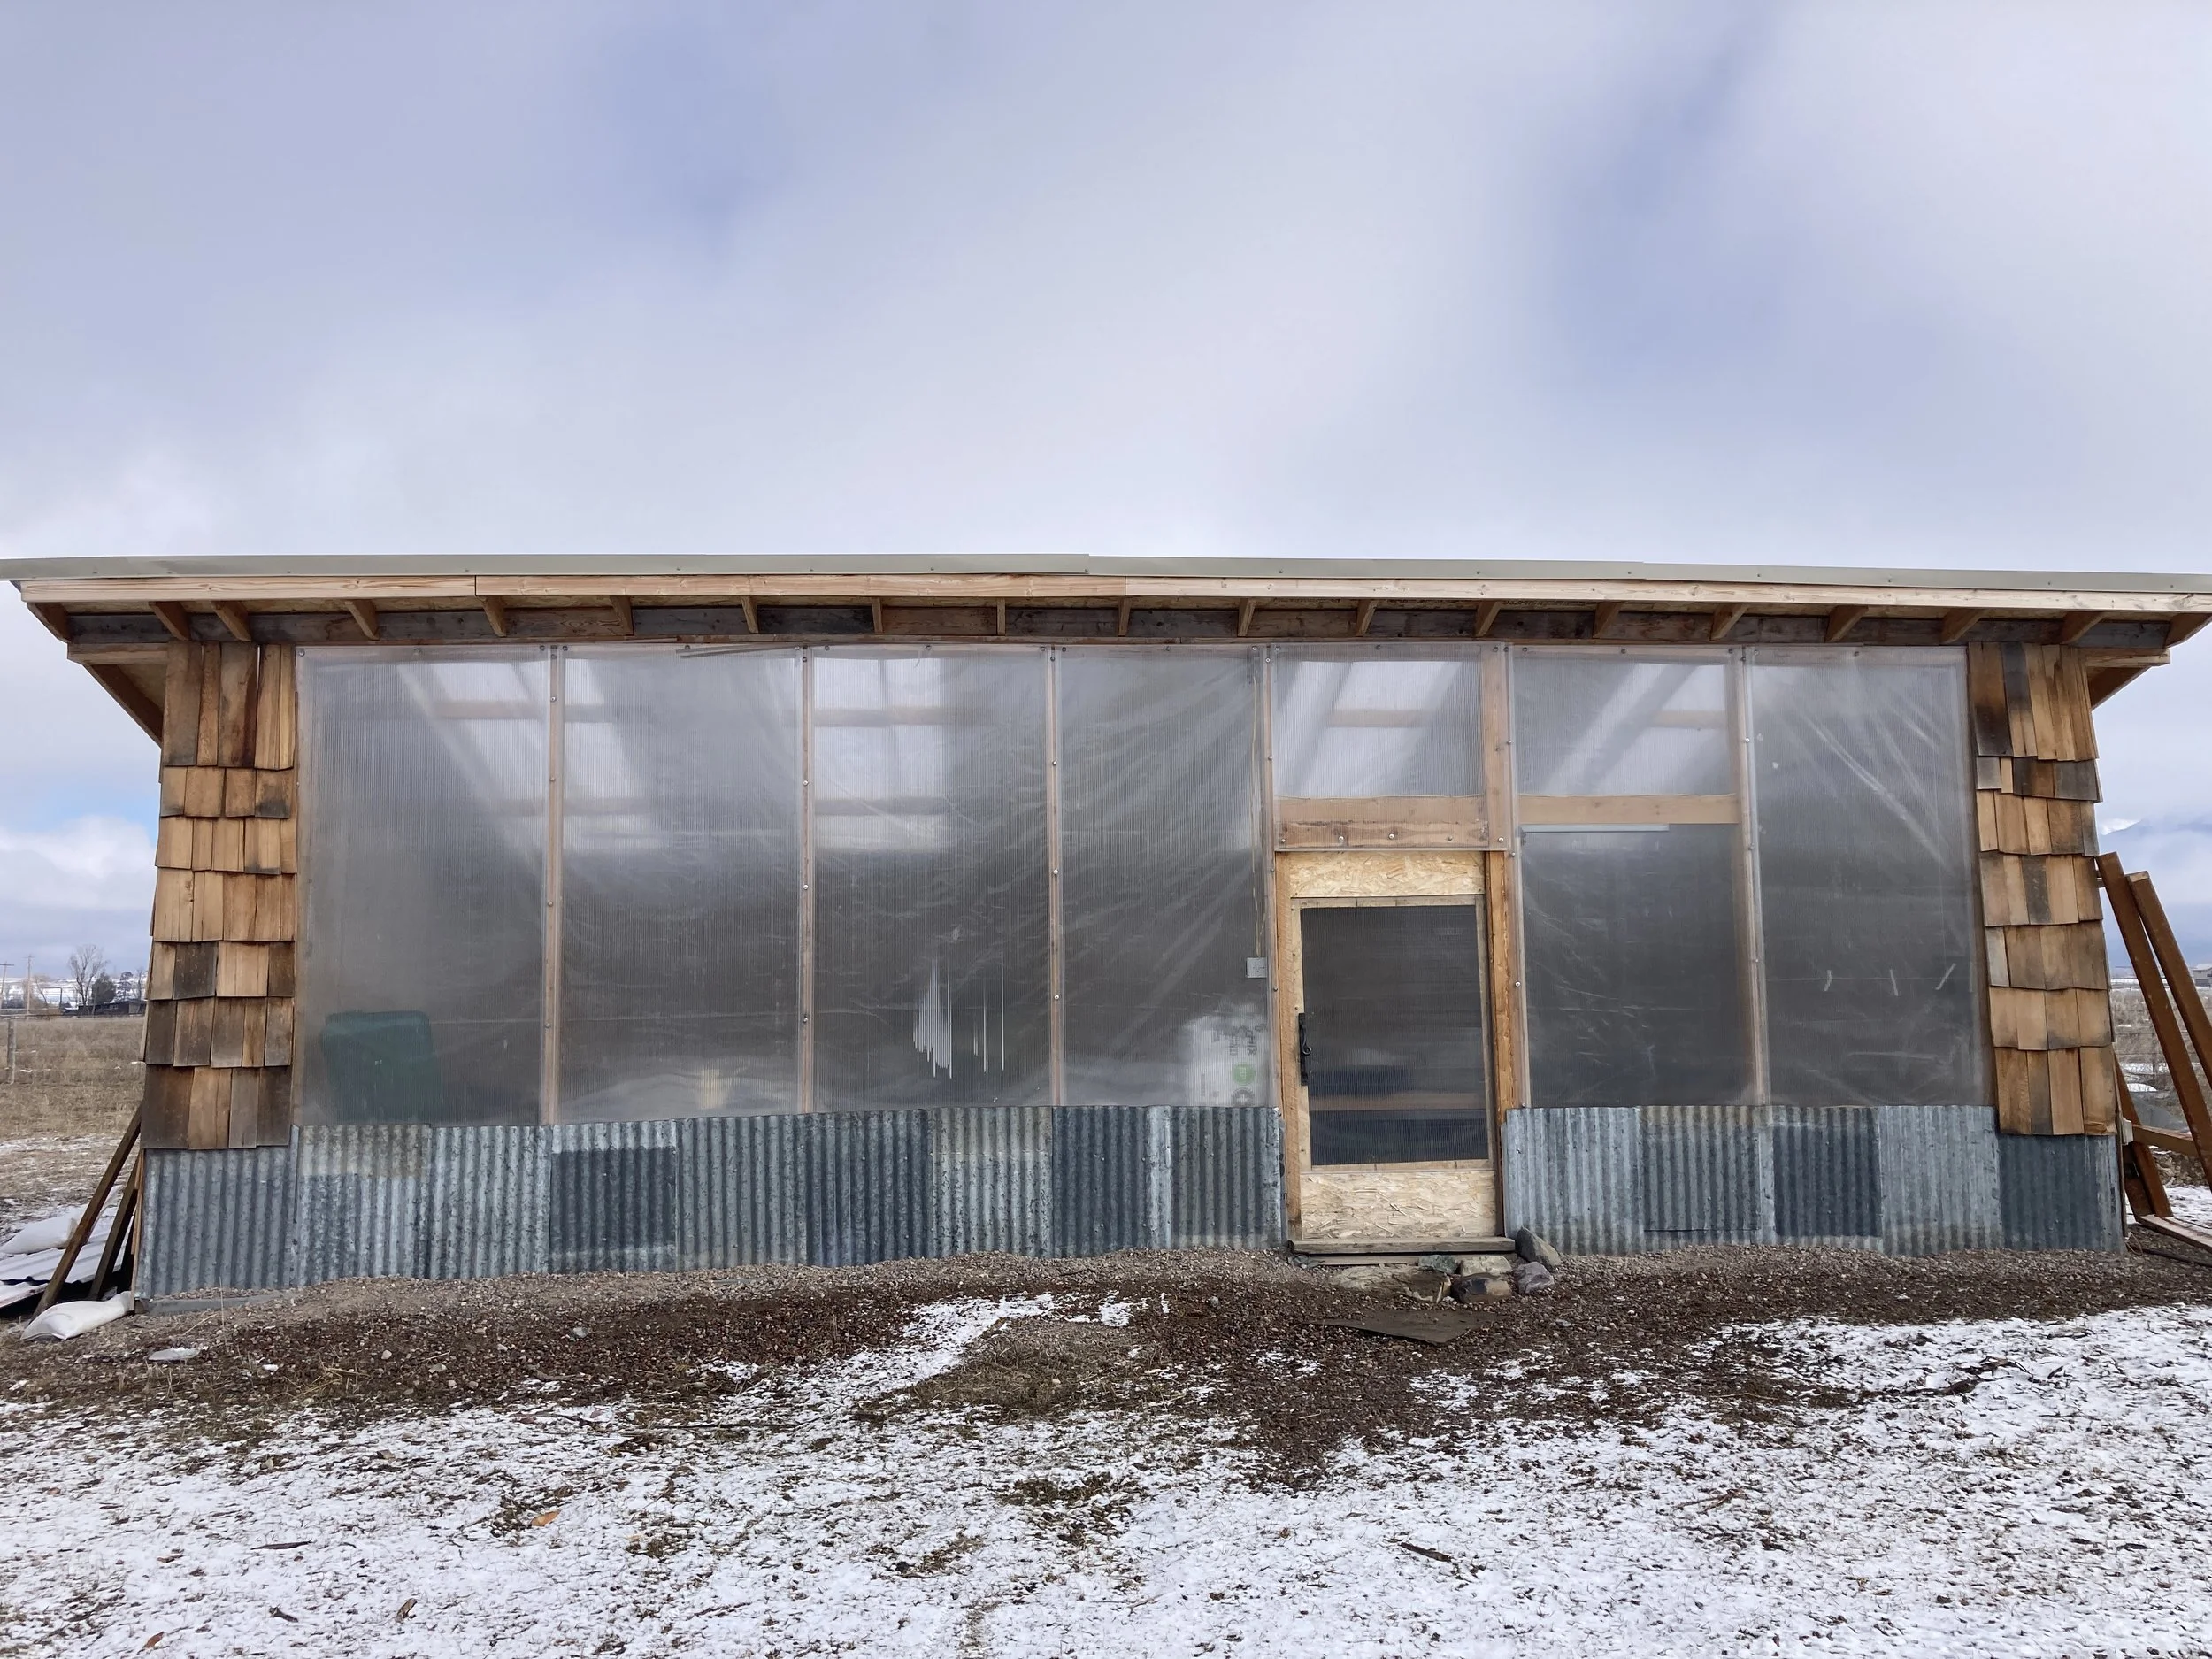
 Mostly finished south wall.   Skylights and interior greenhouse plastic are installed.  Scavenged cedar shingles and corrugated steel sheeting were used as siding.   View fullsize
 Another picture of the south wall showing skylights, etc.   View fullsize
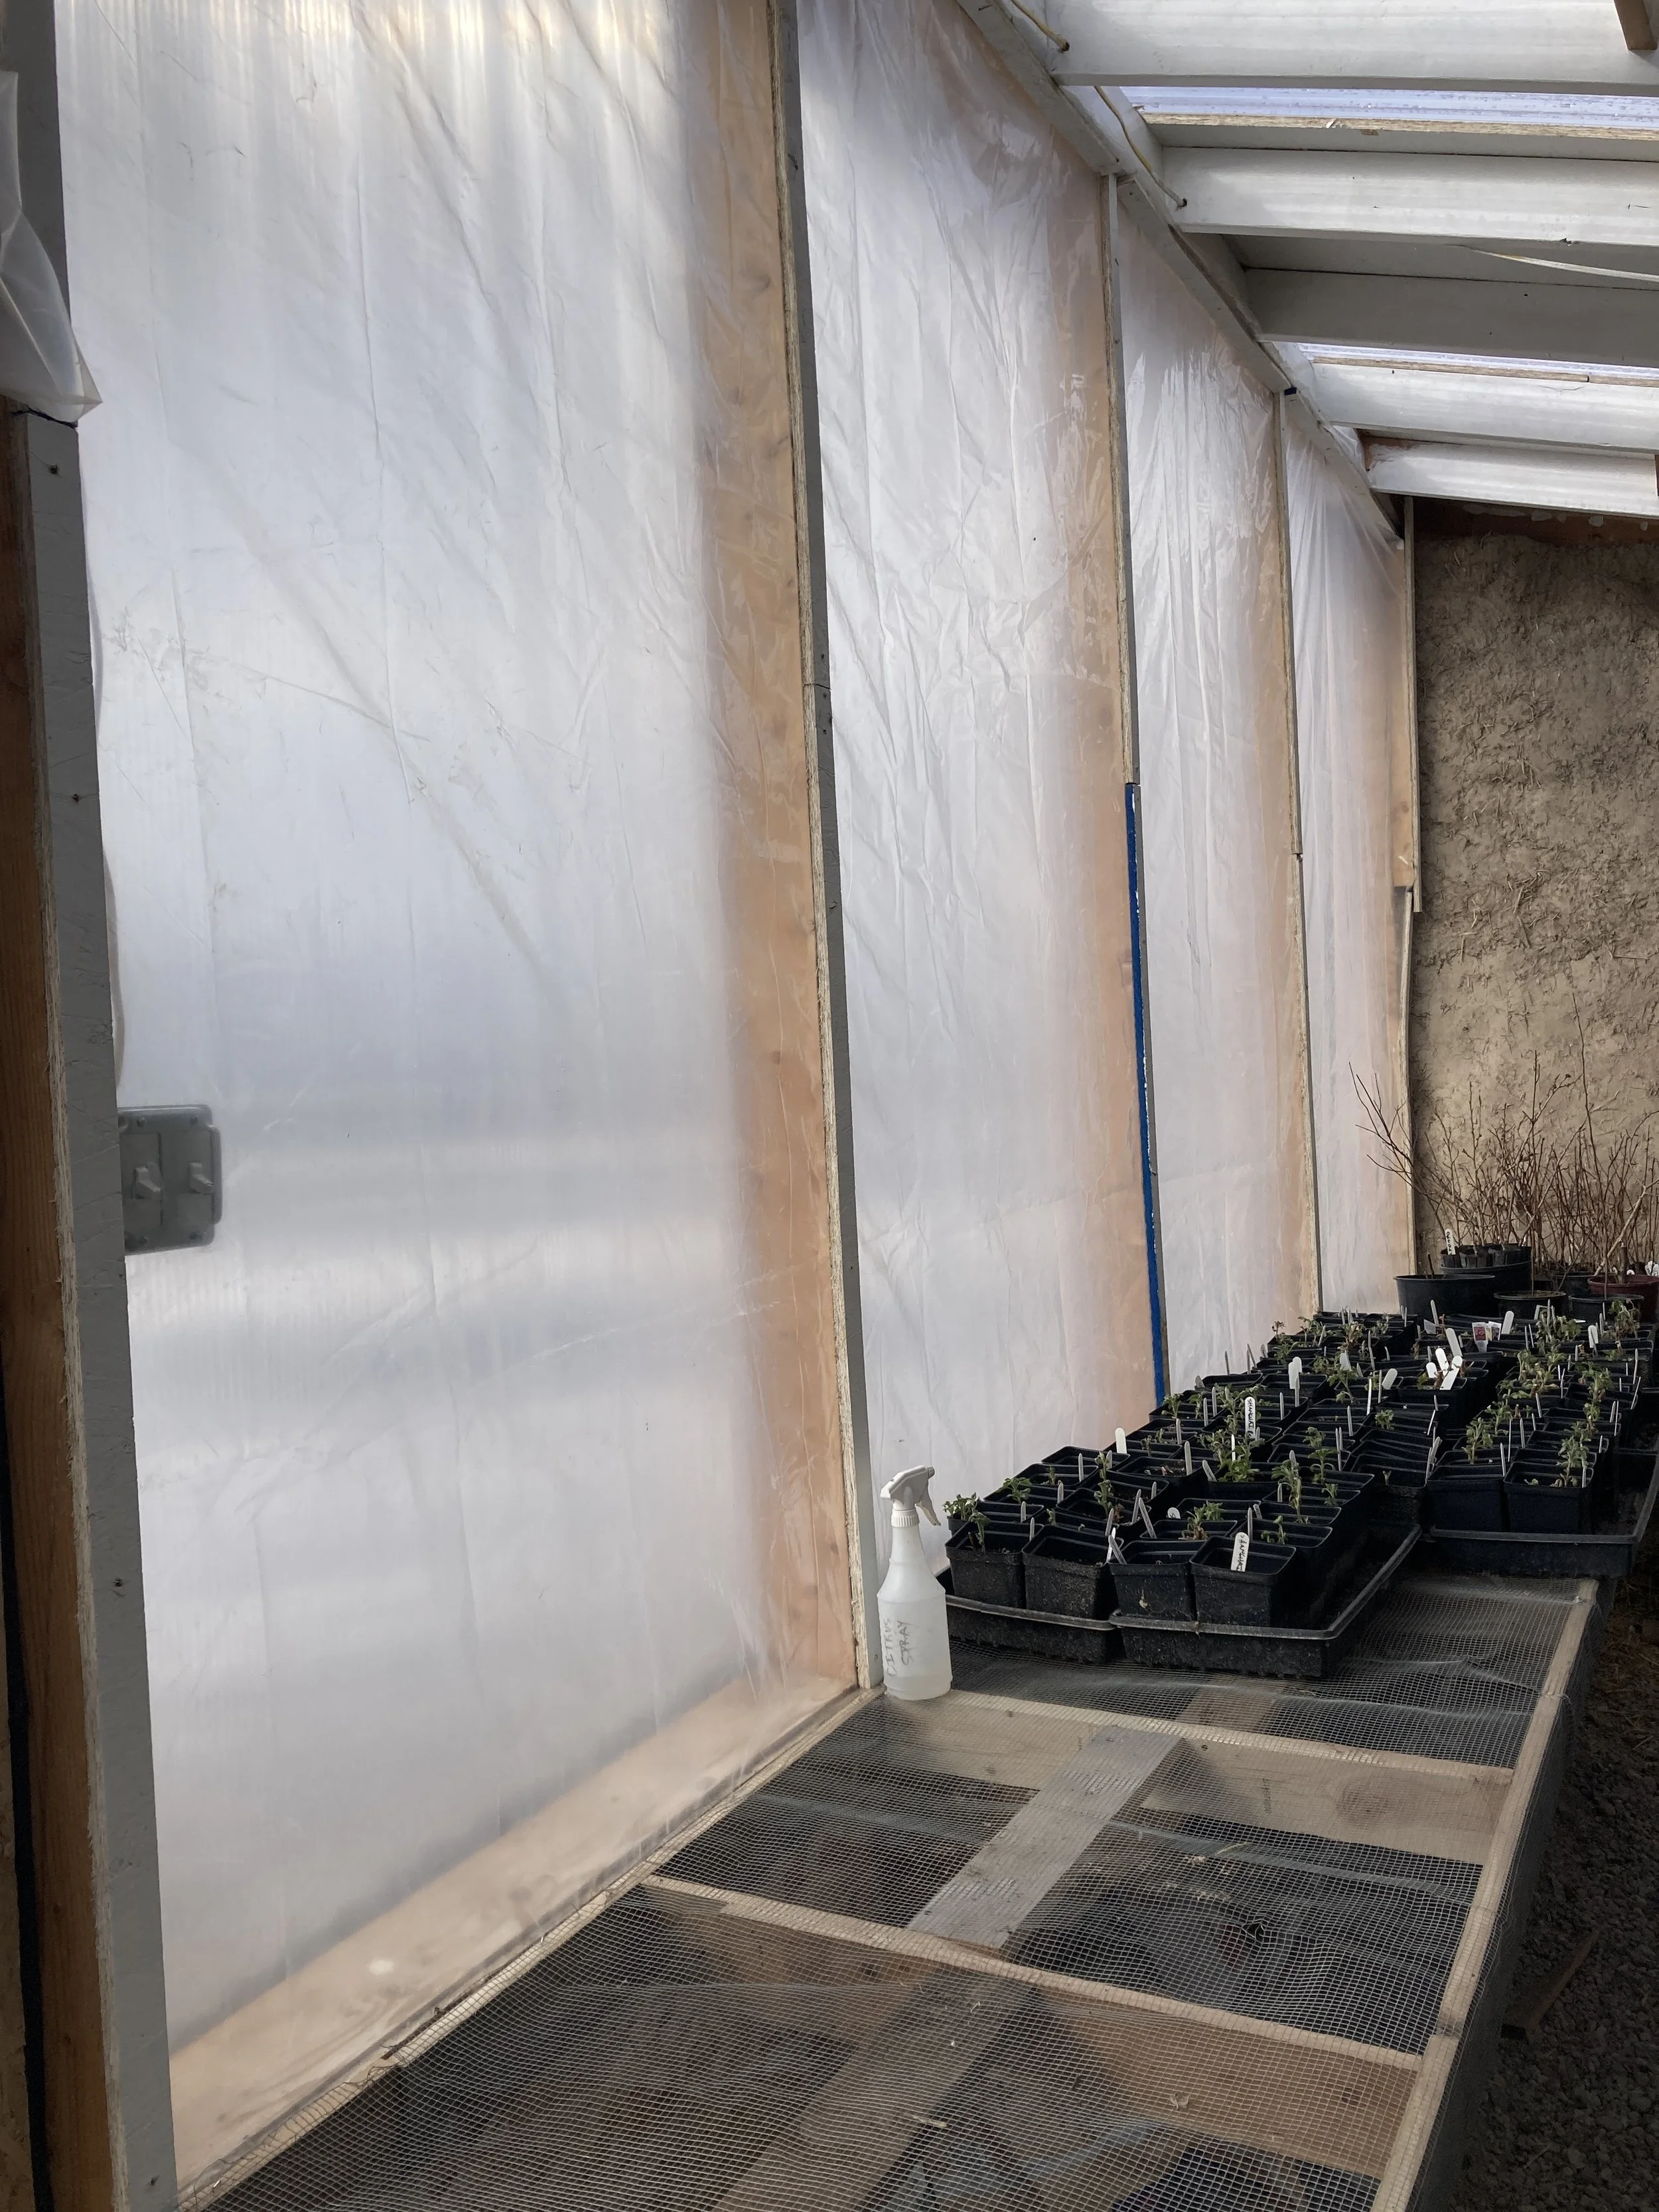
 Detail of skylights.  Way more light coming in.  Plants are  happy.   View fullsize
 Tree cuttings and specialty mums getting some light on a late winter day.  A new window bench was constructed from building scraps.  Shows interior plastic and skylights.   View fullsize
 Stay tuned!  The greenhouse isn’t done yet!  Will it ever be done??  Coming up:     Painting some trim.     Clearing out and cleaning up in and around the greenhouse.     Installing ceiling greenhouse plastic for double insulation.     Designing and View fullsize
IMG_1999.JPG View fullsize
 Bare ground.
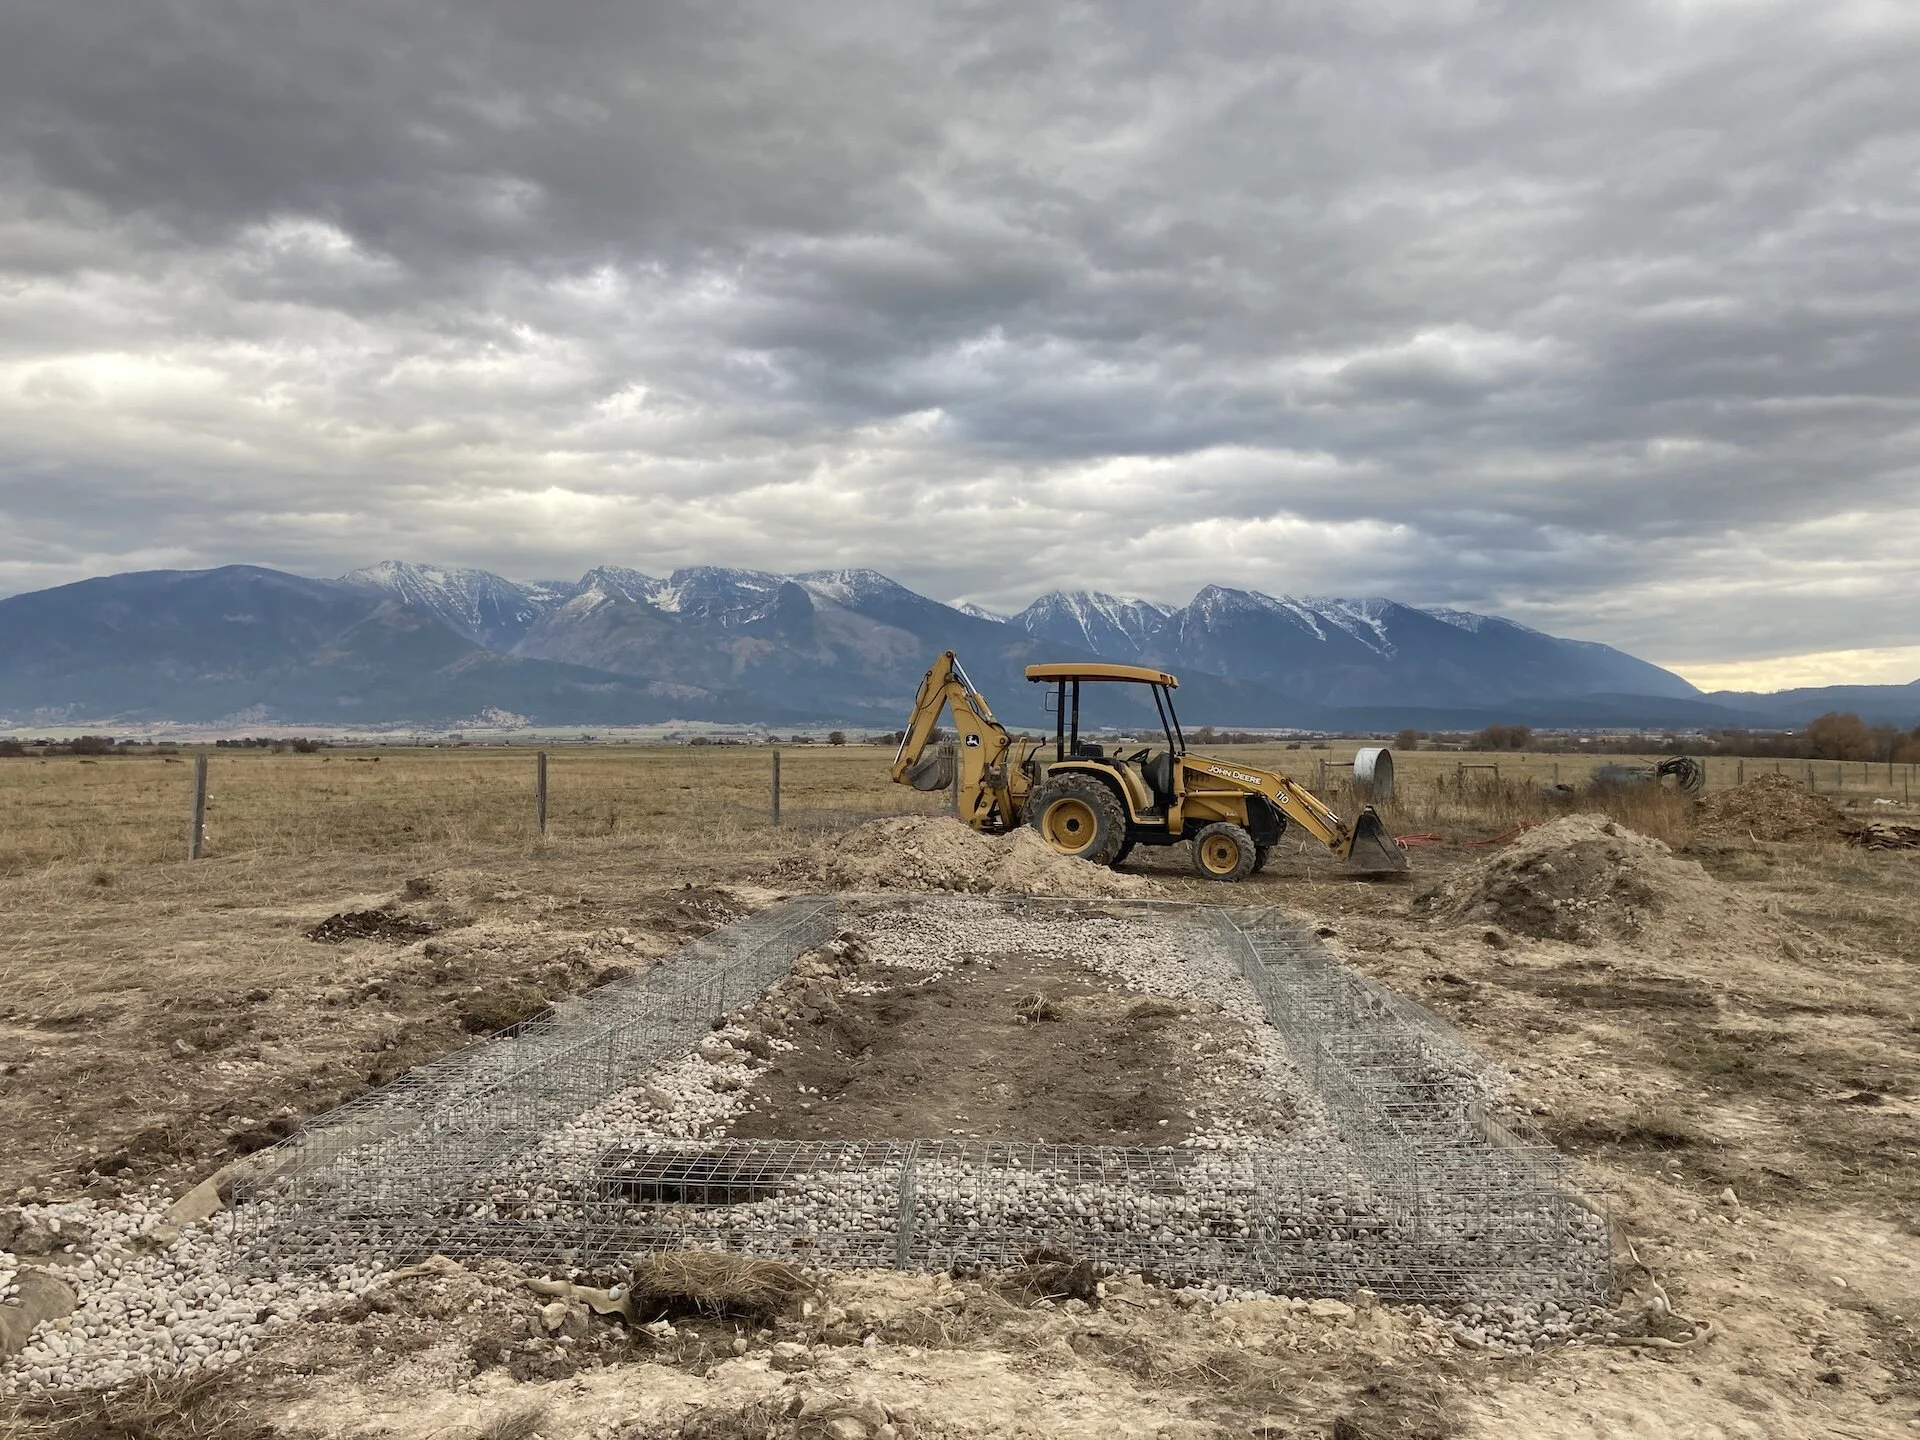
 The site has been cleared and leveled.  Gabion cages assembled and put in place to mark out excavation path.
 After excavation, the trench was backfilled with sand.  A drainpipe was layed over the sand.  Some burlap was draped to prevent silt migration.  Drain rock was used for the remaining fill up to just below grade.
 Another shot of the foundation trench.  Drain pipe heads towards a really deep section on the west side of the foundation trench.
 With the trench backfilled, the Gabions are set in place.
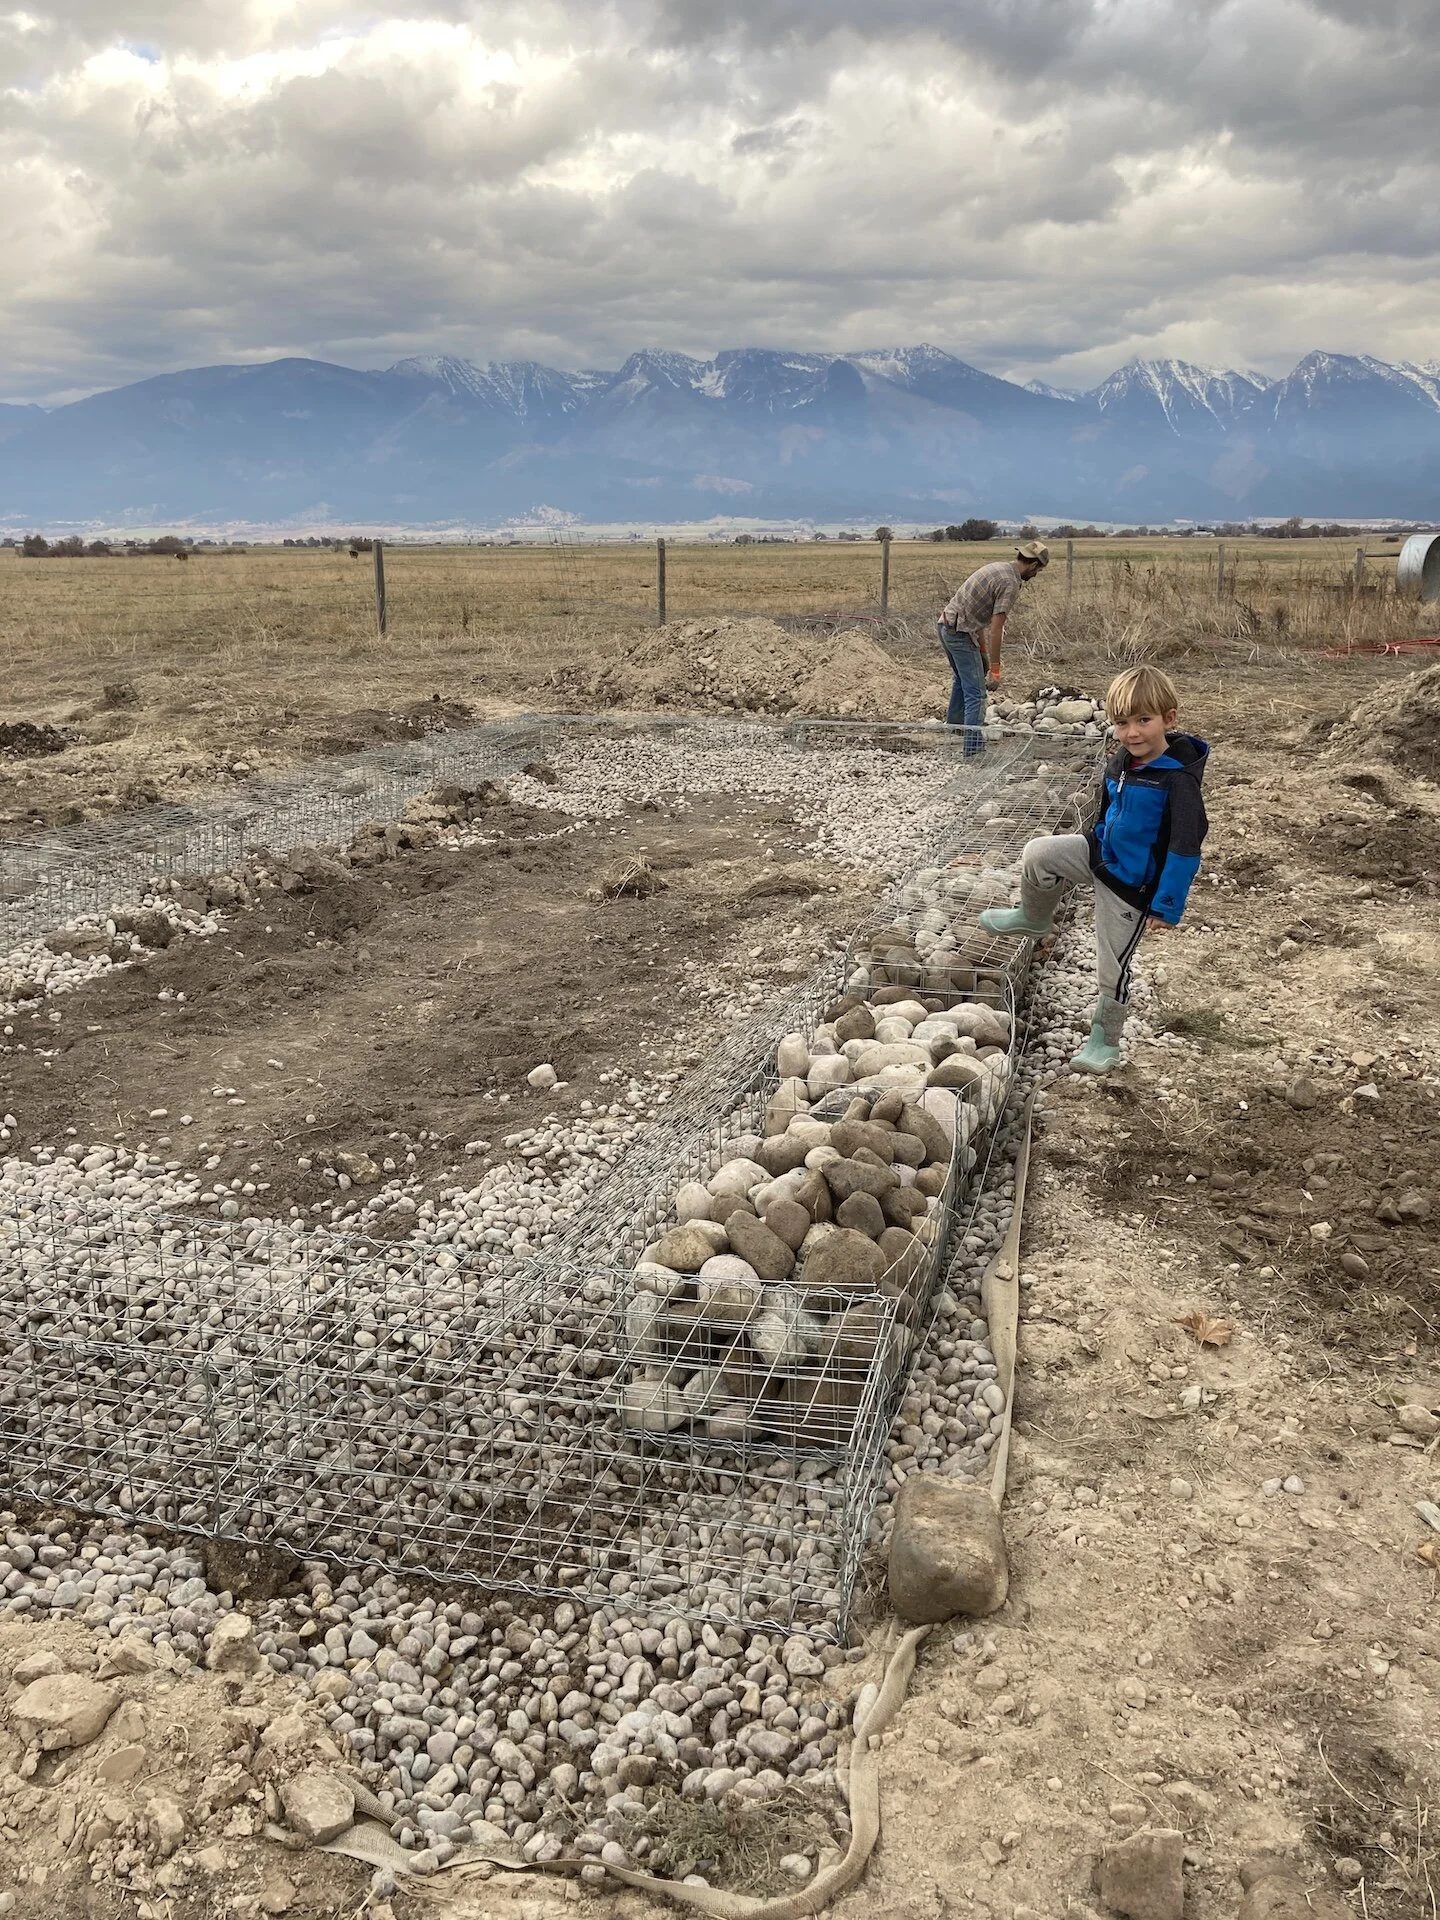
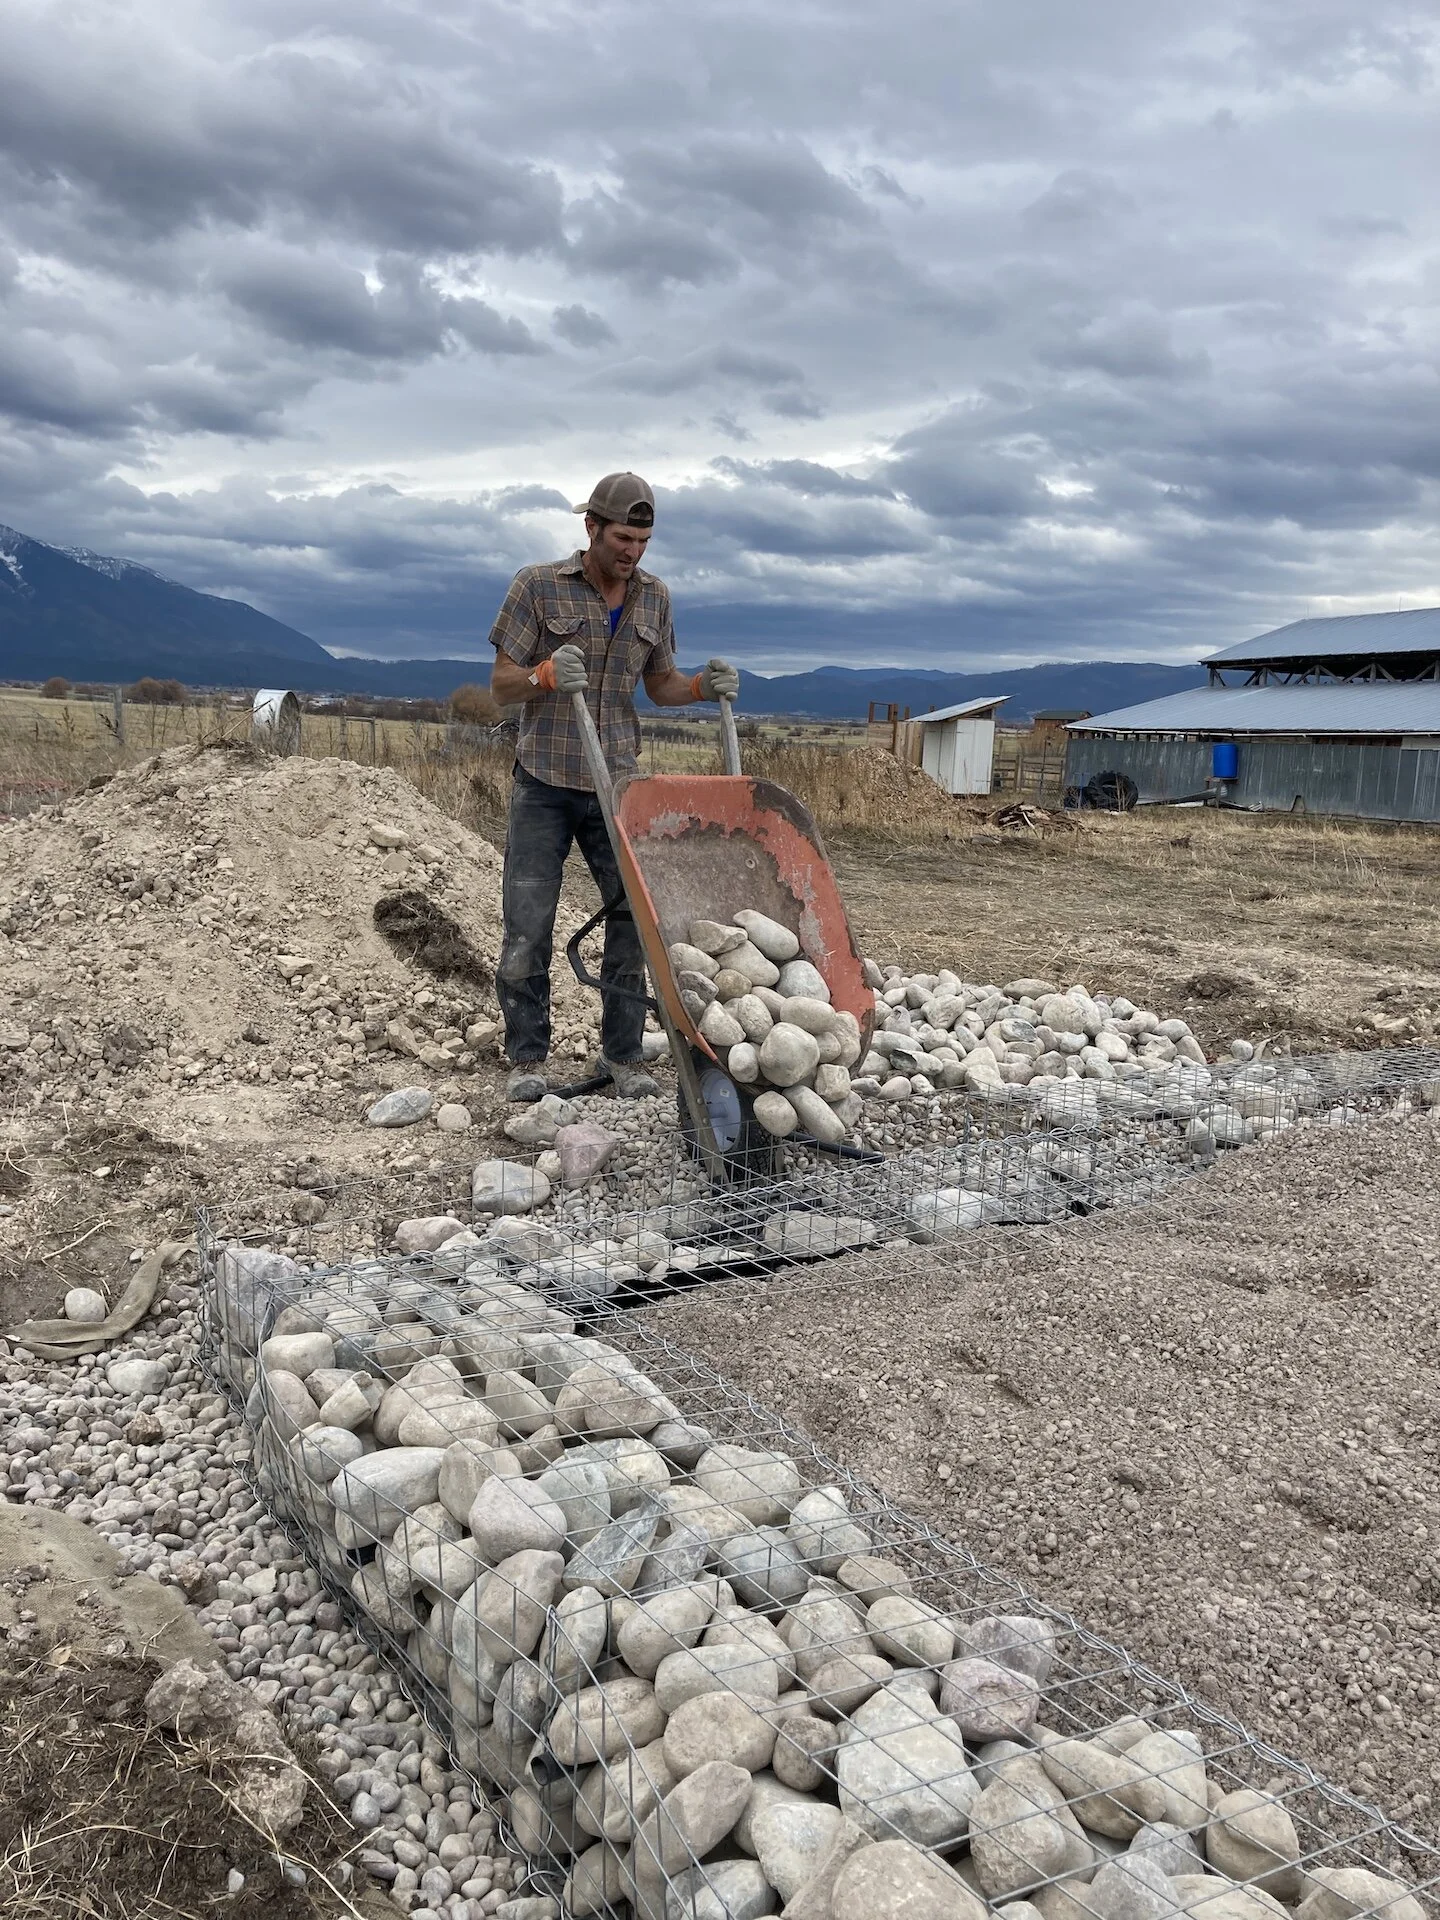
 Gabions being filled with larger rock.
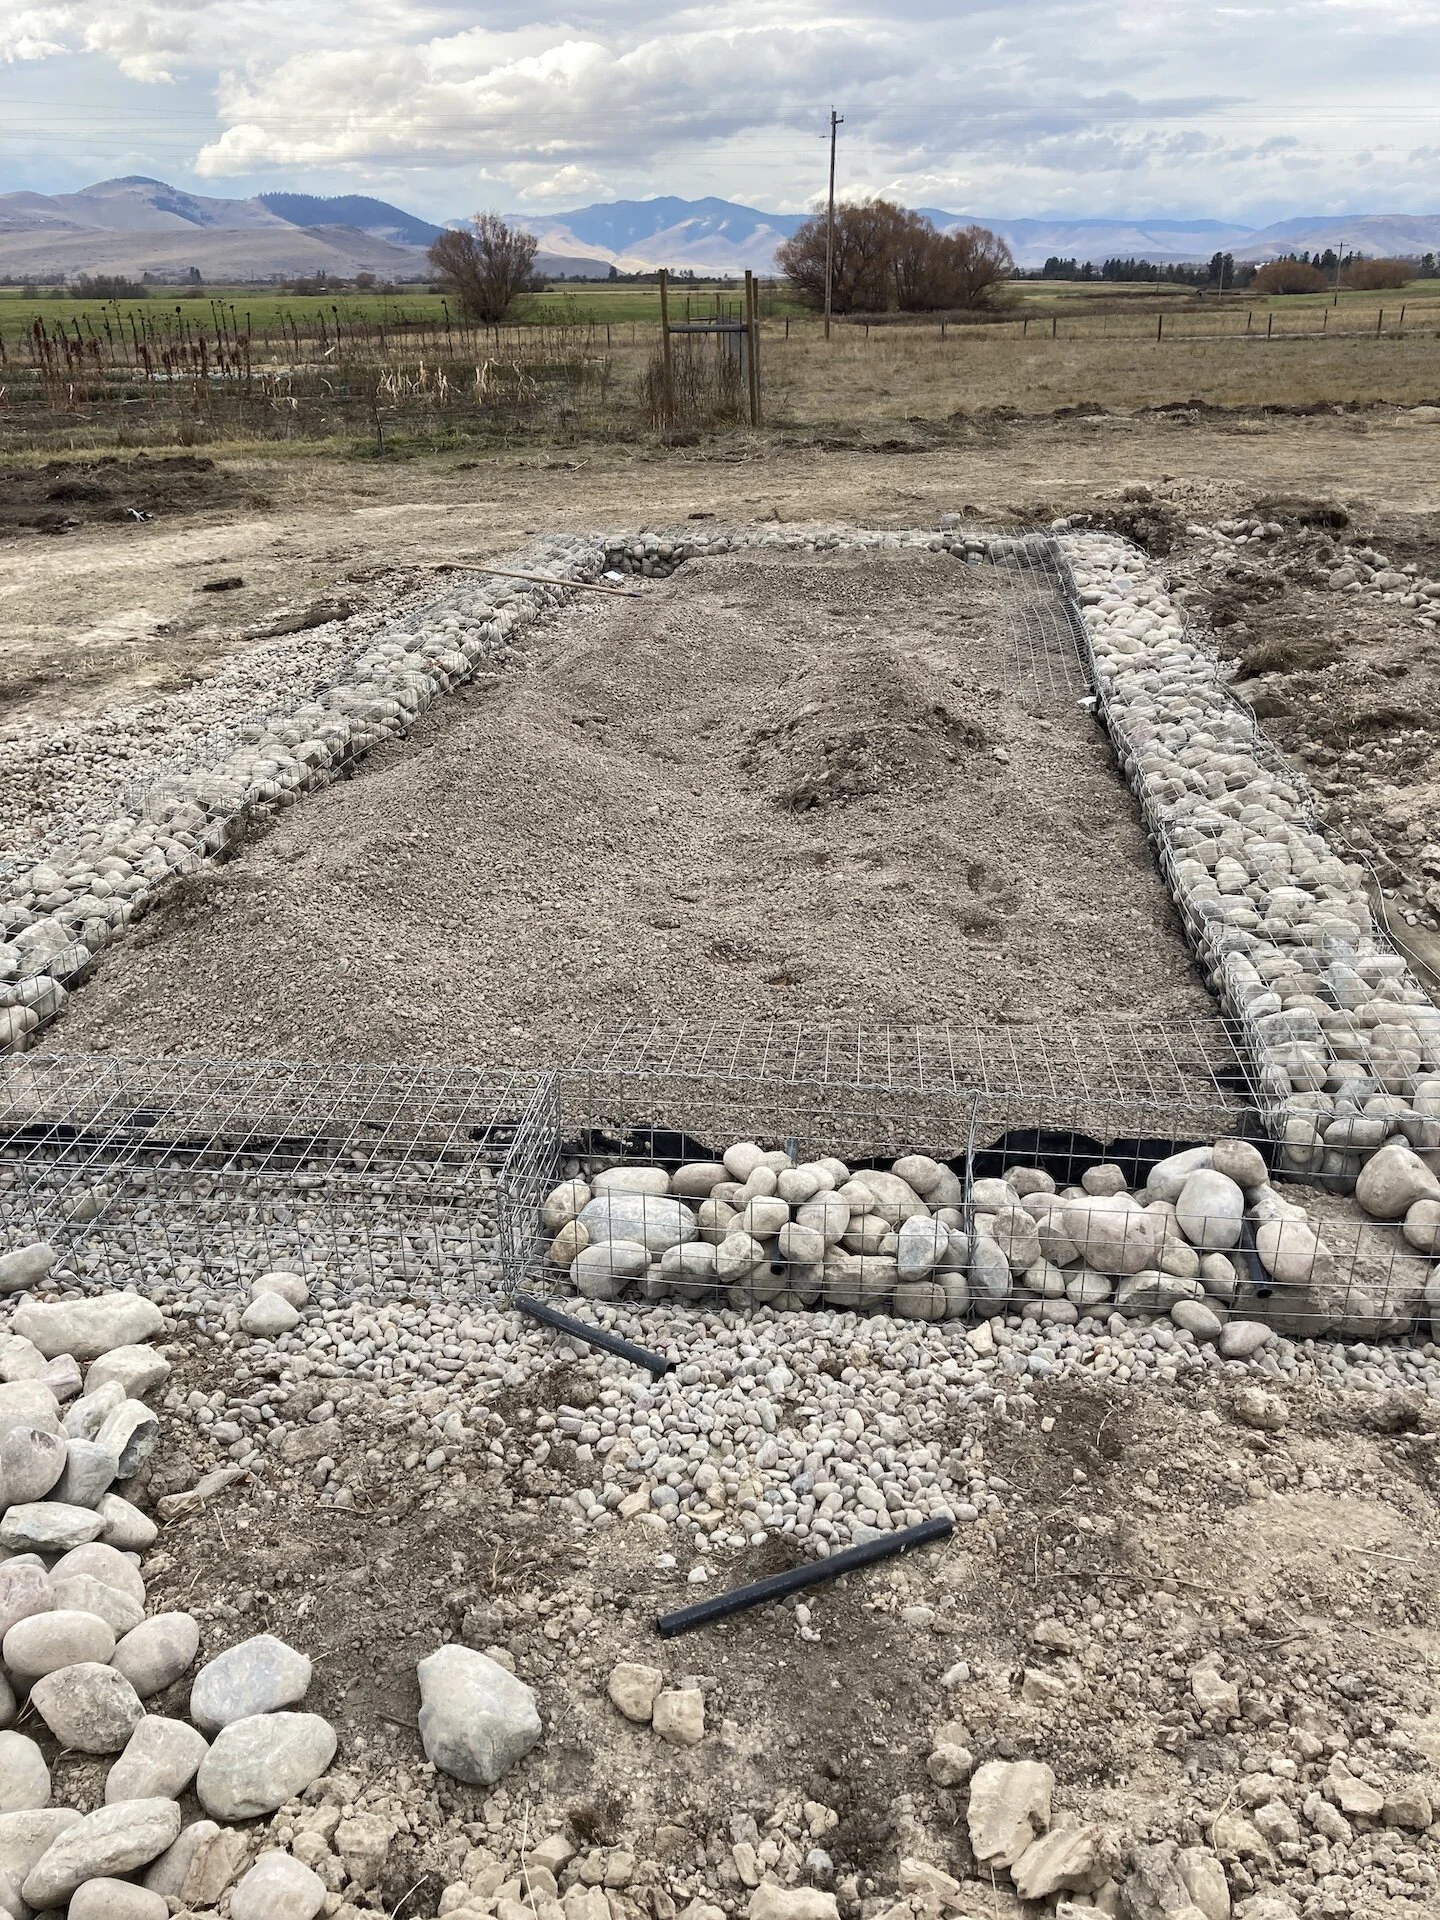
 Feed bags were used as a weed barrier beneath the greenhouse floor.  The floor was backfilled with 3/4” aggregate.
 Filling Gabions with rock and other concrete debris sitting around the farm.
 Filling the gabions in sections.  1” poly pipe sections were put into the rock to accept compression wires later in the process.
 Gabions filled in sealed up - ready for bales once the south wall framing was complete.
 South wall framing was done with 2X6’s and was ~ 10’ tall.  Everything had to be prepared so that the structure could be assembled during a good weather window.  Didn’t want the bales getting wet!
 The bale walls went up quickly.  Bales were picked up locally, we bought ~ 120-ish.  Note the 2X6’s set into the Gabions on the south end.  This is so the south framed wall could be screwed into the foundation.
 Putting up bales.  Walls were ultimately 6 bales high.
 Taking a break while putting up bales.  We put in as much floor fill as we could with the loader before the structure walls prevented doing so.
 Once the bales were up, the pre-assembled  ‘top-cap’ was put on the walls.  These were OSB framed with 2X4’s.  These served to compress the walls against the foundation.
 Enjoying some winter sunshine.  Bale walls and top cap in place.  Turns out kids don’t need too much to keep them entertained - a few piles of dirt will suffice.
 Winter came late - we were able to do most of the work before any real snow hit the valley.
 The bales up and compressed, we put up the south wall framing in two pieces.
 Another view from the west side of the structure.  Fastening the south wall to the top cap.
 Cutting and installing rafters.
 A little help from our friends.  This bale bump that Snowberry is asleep on was ultimately cut off and covered with OSB.  Many things were figured out as I went and changed/updated on the fly.
 Moving along with rafters.  The roof needed to go up quickly during a nice weather window.
 On the rafters was OSB, roof sheeting and then metal panels.  While we completed inside mudding during the winter, outside mudding would need to wait for spring when temps were warmer.  We covered the outside in tarps to keep any precip off of the b
 Got the roof on just in time for some snow squalls.  Seven, 10 mm polycarbonate panels were set into the south wall.  I built a custom sliding door with additional poly panels and plywood.
 Next step was to put in some power so we could run heat in there to get started on the inside mudding.  I rented a trencher over Christmas time to put in an electrical line over ~ 200 foot run.
 The trench from the main breaker to the greenhouse.  Ended up being sort of epic!  I recommend doing this when the ground is not frozen.
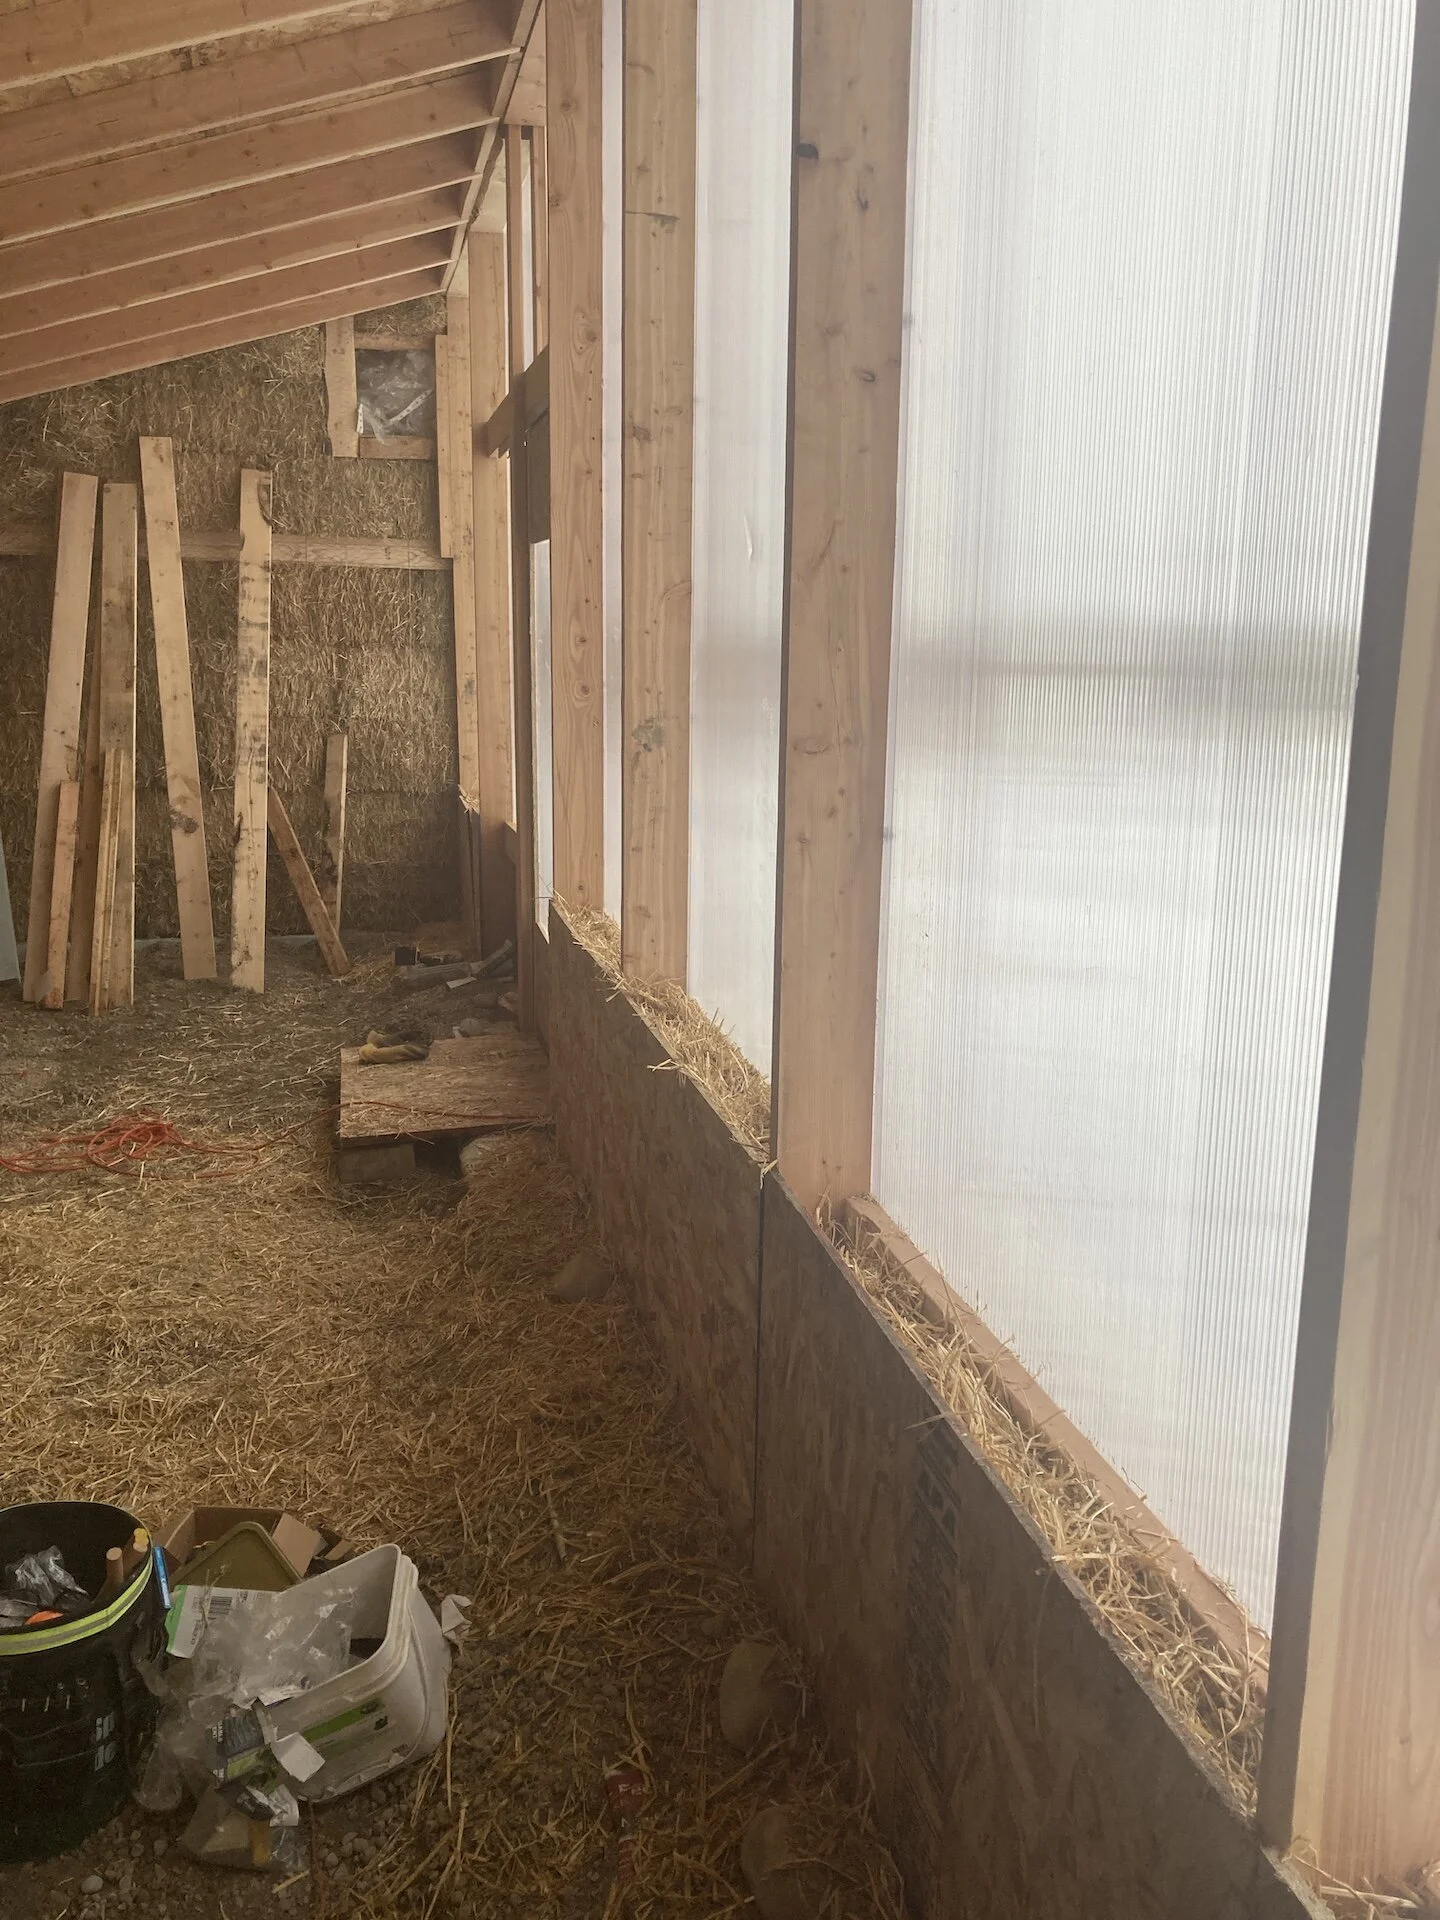
 With the structure mostly built and sealed up for winter, it was time to turn attentions to the inside.  Here I insulated the window bases with loose straw.
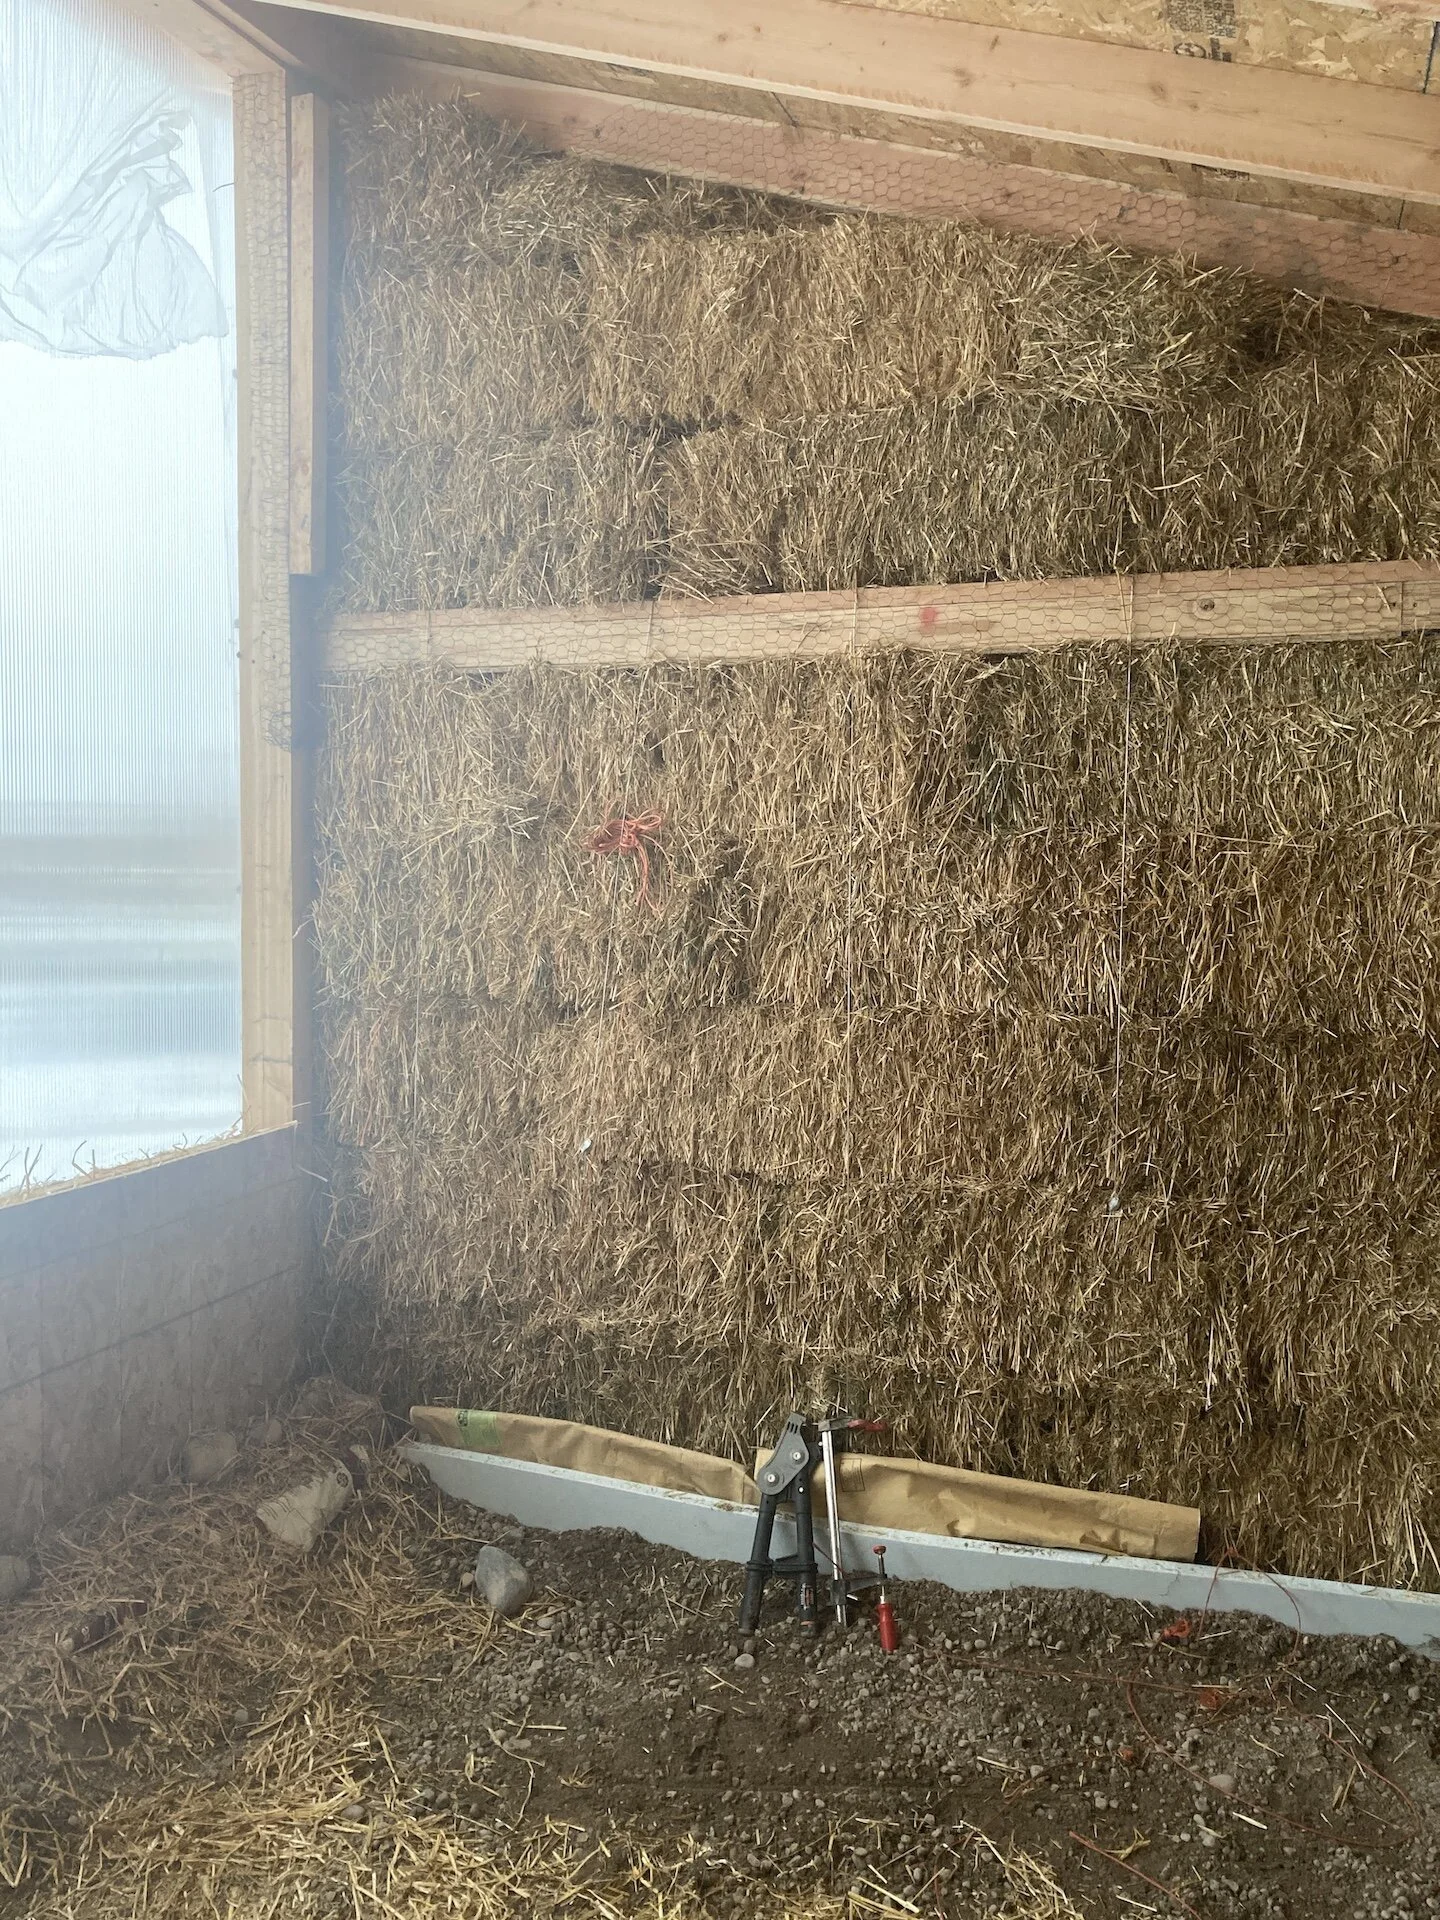
 The base of the walls, where the bales meet the gabions were blocked with some scrap blue board pieces around the inside perimeter.  Until we had everything mudded, feed bags were used to block drafts.  Feed bags were also used below the windows to
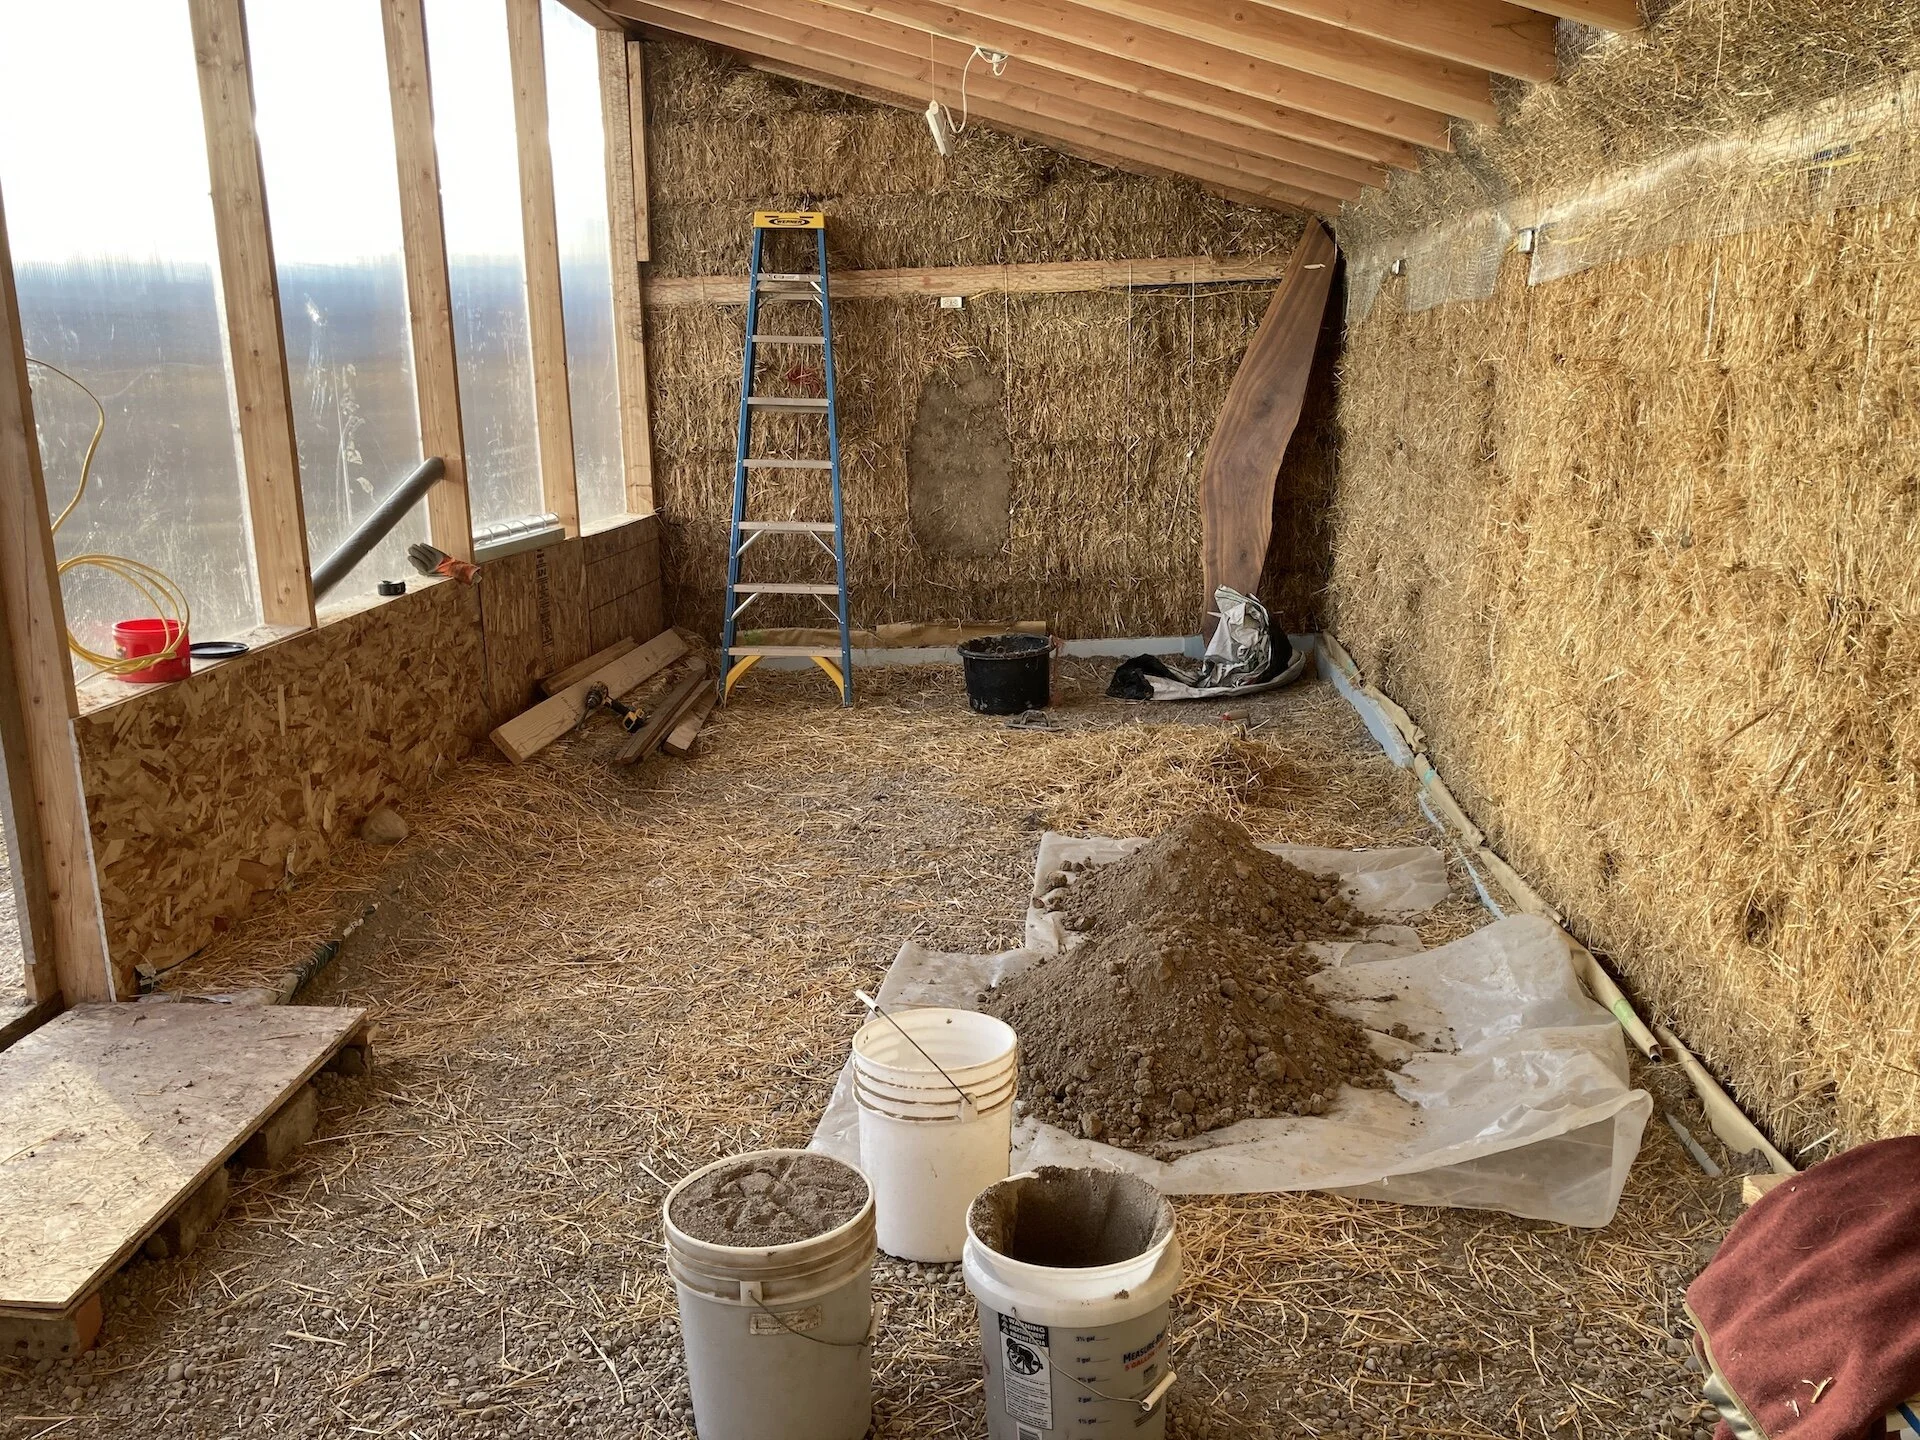
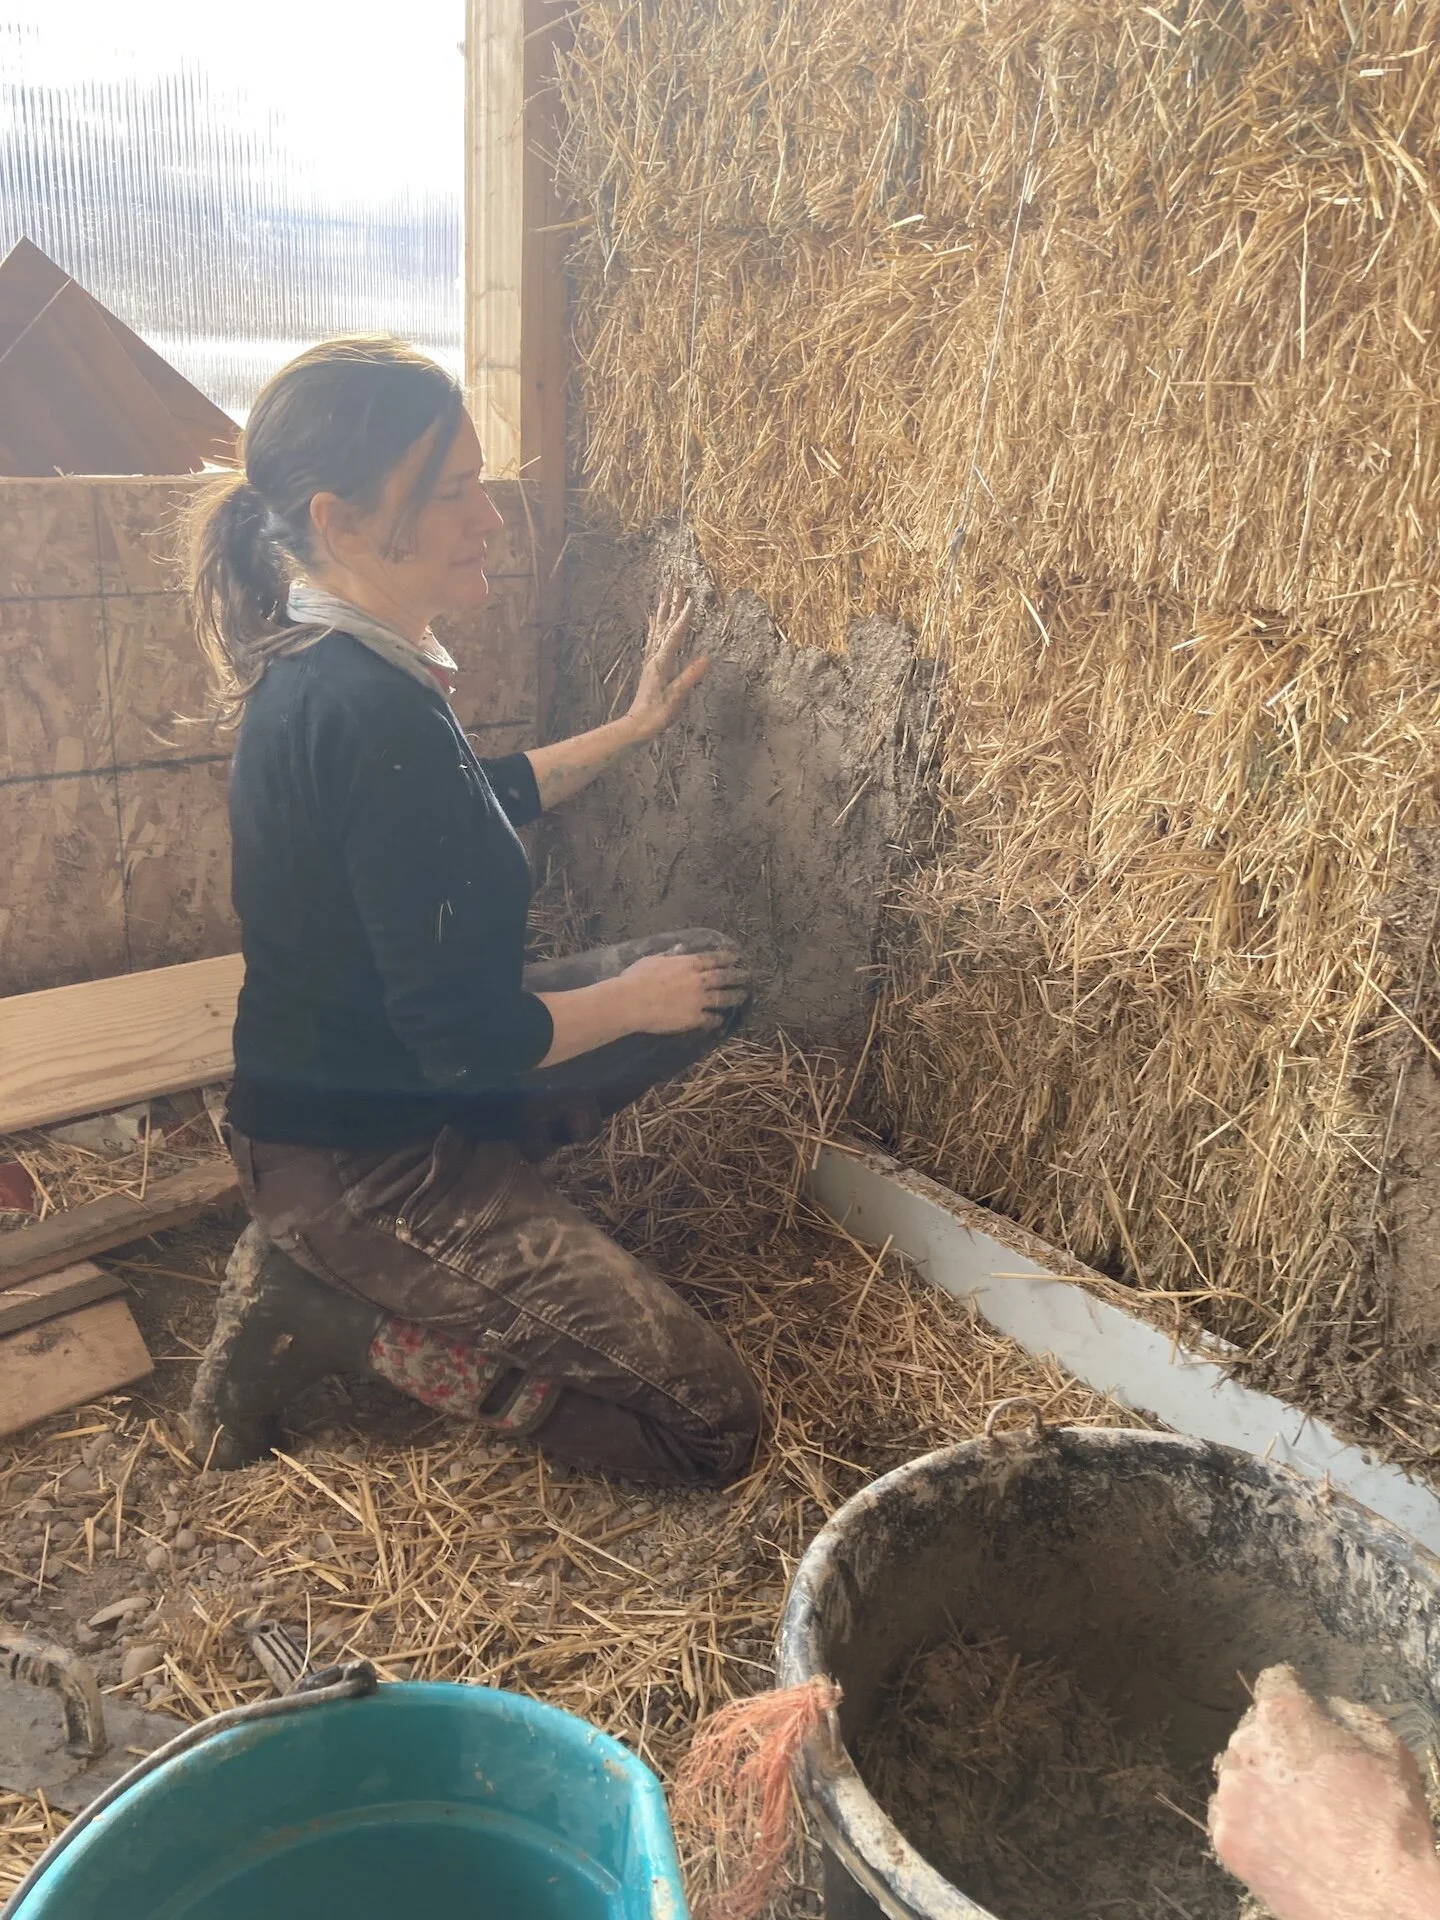
 WIth the electrical installed (subpanel and circuits for lights, general outlets, heater, fan, etc.) it was time to start mudding.  Having never done this before we did a test section and gave it ~ 2 weeks to dry.  Our recipe consisted of loose stra
 Starting at a one end and working our way around, two of us mixed and mudded over the course of a week or so.  Many batches of mud were mixed by hand in a large feed bucket.  I’ll be finding a concrete mixer for mudding the outside this spring….
 While somewhat tedious, the mudding process was very rewarding.  By following the random contours, bulges and depressions of the bale walls, the undulations and alcoves of the walls remain apparent.  This resulted in a relative ‘living’ structure th
 Nearly mudded!  Note the wires protruding from the walls.  These are high-tensile wires preloading the walls between the top cap and the gabion cages; this is a highly structural component of the load bearing walls.  On the right is the electrical s
 Once the inside of the greenhouse was fully mudded, we put together some tables and jumped into planting starts.
 The greenhouse space exceeded our expectations - plant starts are cruising.  Here is some clarkia reaching for the light!
 Farmers hard at work prepping starts in the strawbale greenhouse!
 April 10th.  Outside, a Montana spring - sideways snow squalls and chilly temps in the 20’s.  Inside, a comfy 65.
 August 2021.  Pulling off the tarps that had covered the walls through winter, spring and summer we found our chickens had laid many eggs, as well , birds and mice had found nice homes.  No permanent damage, but we should have mudded this thing in M
 August 2021.  Good weather and good friends make hard work much easier.  Mixing mud batches by hand, four of us put on a single base coat of mud in about 8 hours.
 Good progress on the first outer base coat.
 Happy mudder - exhibit A.
 Happy mudder - exhibit B.  A second coat was applied a few weeks later.  This fall/winter, we will be adding some siding to the south wall adding thermal mass and tightening things up for winter.  Winter greens and next springs flower starts just ar
 Gratuitous sun rise picture.  Mudding of the exterior greenhouse walls was completed in September of 2021 in anticipation of the oncoming winter.  From there we prepped for our 2022 growing season thinking the greenhouse would be adequate as it was.
 Mostly finished south wall.   Skylights and interior greenhouse plastic are installed.  Scavenged cedar shingles and corrugated steel sheeting were used as siding.
 Another picture of the south wall showing skylights, etc.
 Detail of skylights.  Way more light coming in.  Plants are  happy.
 Tree cuttings and specialty mums getting some light on a late winter day.  A new window bench was constructed from building scraps.  Shows interior plastic and skylights.
 Stay tuned!  The greenhouse isn’t done yet!  Will it ever be done??  Coming up:     Painting some trim.     Clearing out and cleaning up in and around the greenhouse.     Installing ceiling greenhouse plastic for double insulation.     Designing and
IMG_1999.JPG
Newsletter Block
This newsletter signup form needs a storage option. Edit the block and enter a storage location via the Storage tab.

Please keep in touch!

Register your email address to receive news and updates on happenings at Meridian.

We respect your privacy.

Thank you for your interest in Meridian Farm and Forge!

We look forward to connecting with you.

CONTACT

meridianfarmmt@gmail.com

ph: (406) 544 - 7131

Powered by Squarespace